A Week in the Boundary Waters

I’ve only been back in the US for a few days, but I can’t pass up the chance to jump on my buddy Neal’s Boundary Waters Canoe Area permit. It’s been too long since I was in the midwest’s premier backcountry spot

The thing I love about the BWCA is the limitless combinations to weave together routes through the lakes. It’s this kind of freeform exploration that I’m drawn to. So in this spirit, we set off for a week in the backcountry with no defined plan. 

We set off on a perfect day. Deep blue skies with puffy white clouds lazily floating along. The paddle started with 4 portages in rapid succession. None of them were particularly tough, but loading and unloading that many times gets tiring. 

Our first big lake, Fourtown, is a classic BWCA lake. Rocky points, islands, and lots of campsites. We had our pick of the lot and found a sunny site by 2pm. Early enough to get the hammocks out. I like the speed of this trip already.

The next day we paddled to Gun Lake with a few fishing stops along the way. Another great site surrounded by water on 3 sides. 

We woke up to a misty, rainy day. We debated if we should stay put or move on. After a few extra cups of rainy day coffee, we decided to move. 😆

Turns out it was a good call. The spot we got on Thunder Lake was top-notch. So good we made it a double. Thunder Lake was very quiet. It’s at the end of the line so not many paddlers make their way up there. Both nights we had clear starry skies and heard elk bugling at night. 

After a day off from paddling, we were raring to go. Plus, the wind was picking up and we could feel a storm brewing. Best to get the miles in and find a camp. When we hit Boot Lake the wind was at a full gale. We could see the thunderheads looming in the distance. 

After an exhausting paddle, we got to Fourtown Lake. We grabbed a west-facing spot. Figured it was better to get a view of what was rolling in.

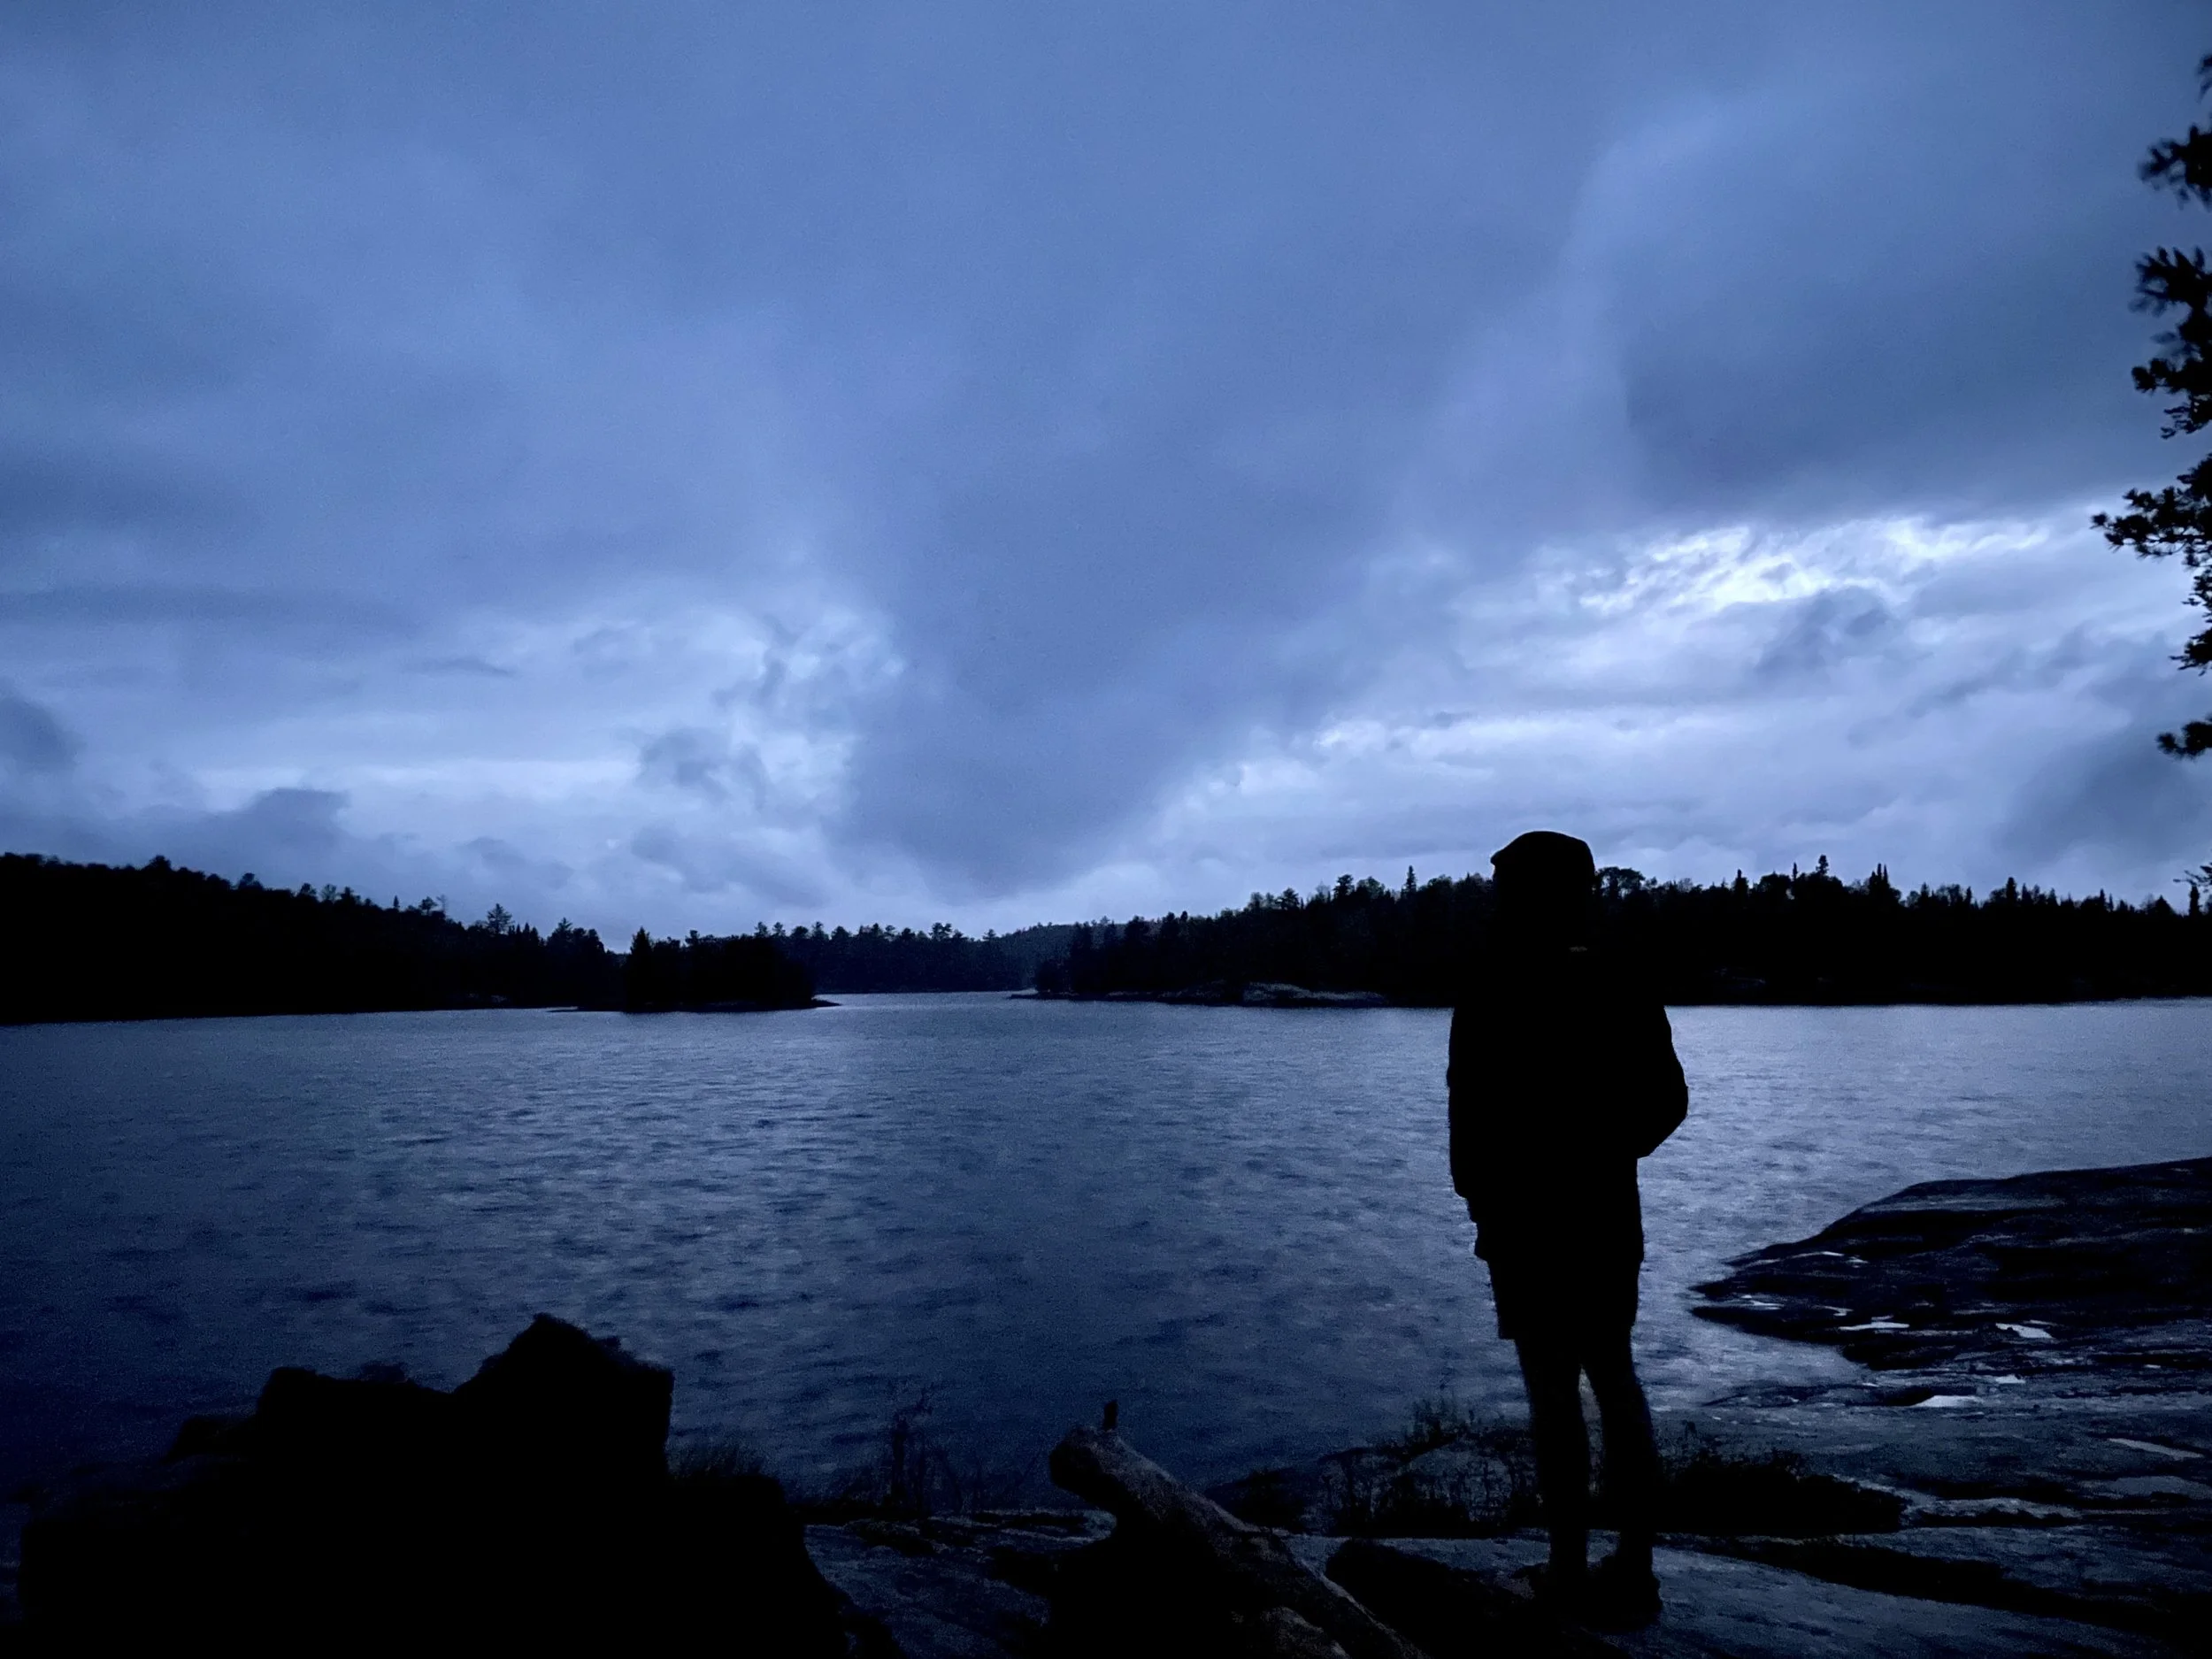
We had just enough time to get the tarp up before the rain started bucketing down. For the next 3+ hours, we rode out the multiple waves of thunderstorms that passed by. It was epic and terrifying. By the time everything blew over, it was well past dark. Finding a spot to pitch our tents that wasn’t a puddle was a challenge. 

The next day was much cooler with bright blue skies. It was our last full day. Since we hardly slept (and survived the thunderstorms!), we decided to stay firmly planted at camp and take full advantage of the day by making good use of our hammocks. 

Links:

6 Days in the Pecos Wilderness

It’s been a year since I’ve been backpacking. A whole year. 😢

With the pandemic and being extremely busy at work, backpacking in 2020 seemed like a lost cause. Then my friend, Eric, texted a fully worked-out route in the Pecos Wilderness . All I needed to do was show up. After a bit of juggling, I managed to get the time off. Away I went!

Our route was a touch over 36 miles. Lots of high elevation ridgewalking, views, and alpine lakes. Perfect! In total, our trip was 6 days with a rest day in the middle. The pace was great for the shorter and cooler days at the end of September. Plenty of time to rest and soak in the views. And for Eric’s 9-year-old canine Daisy to hike with us.

The night before we started we camped at Jack’s Creek Campground. An excellent jumping-off point .5 miles from the trailhead. It had been two years since I saw Eric, but pulling into the campground his old familiar Tarptent was easy to spot amongst all the RV setups.

The first day began with a climb and leveled once we were up on the ridge. The ridge was mostly through active grazing land at the start with our first views. Then it changed to an aspen forest before dropping into the Pecos River valley. Right before the descent, there was a spectacular cliff viewpoint. This would make a great dry camp, but we pushed on a little further.

On day 2, we continued our hike up the Pecos River. The hiking was mostly through the forest. Pecos Falls served as a scenic spot for lunch. As we climbed higher along the Valdez Trail, the weather turned to drizzle with thunderstorms in the distance. Around dinner, there was a quick break in the weather allowing us to set up camp and shovel down some food before the next round.

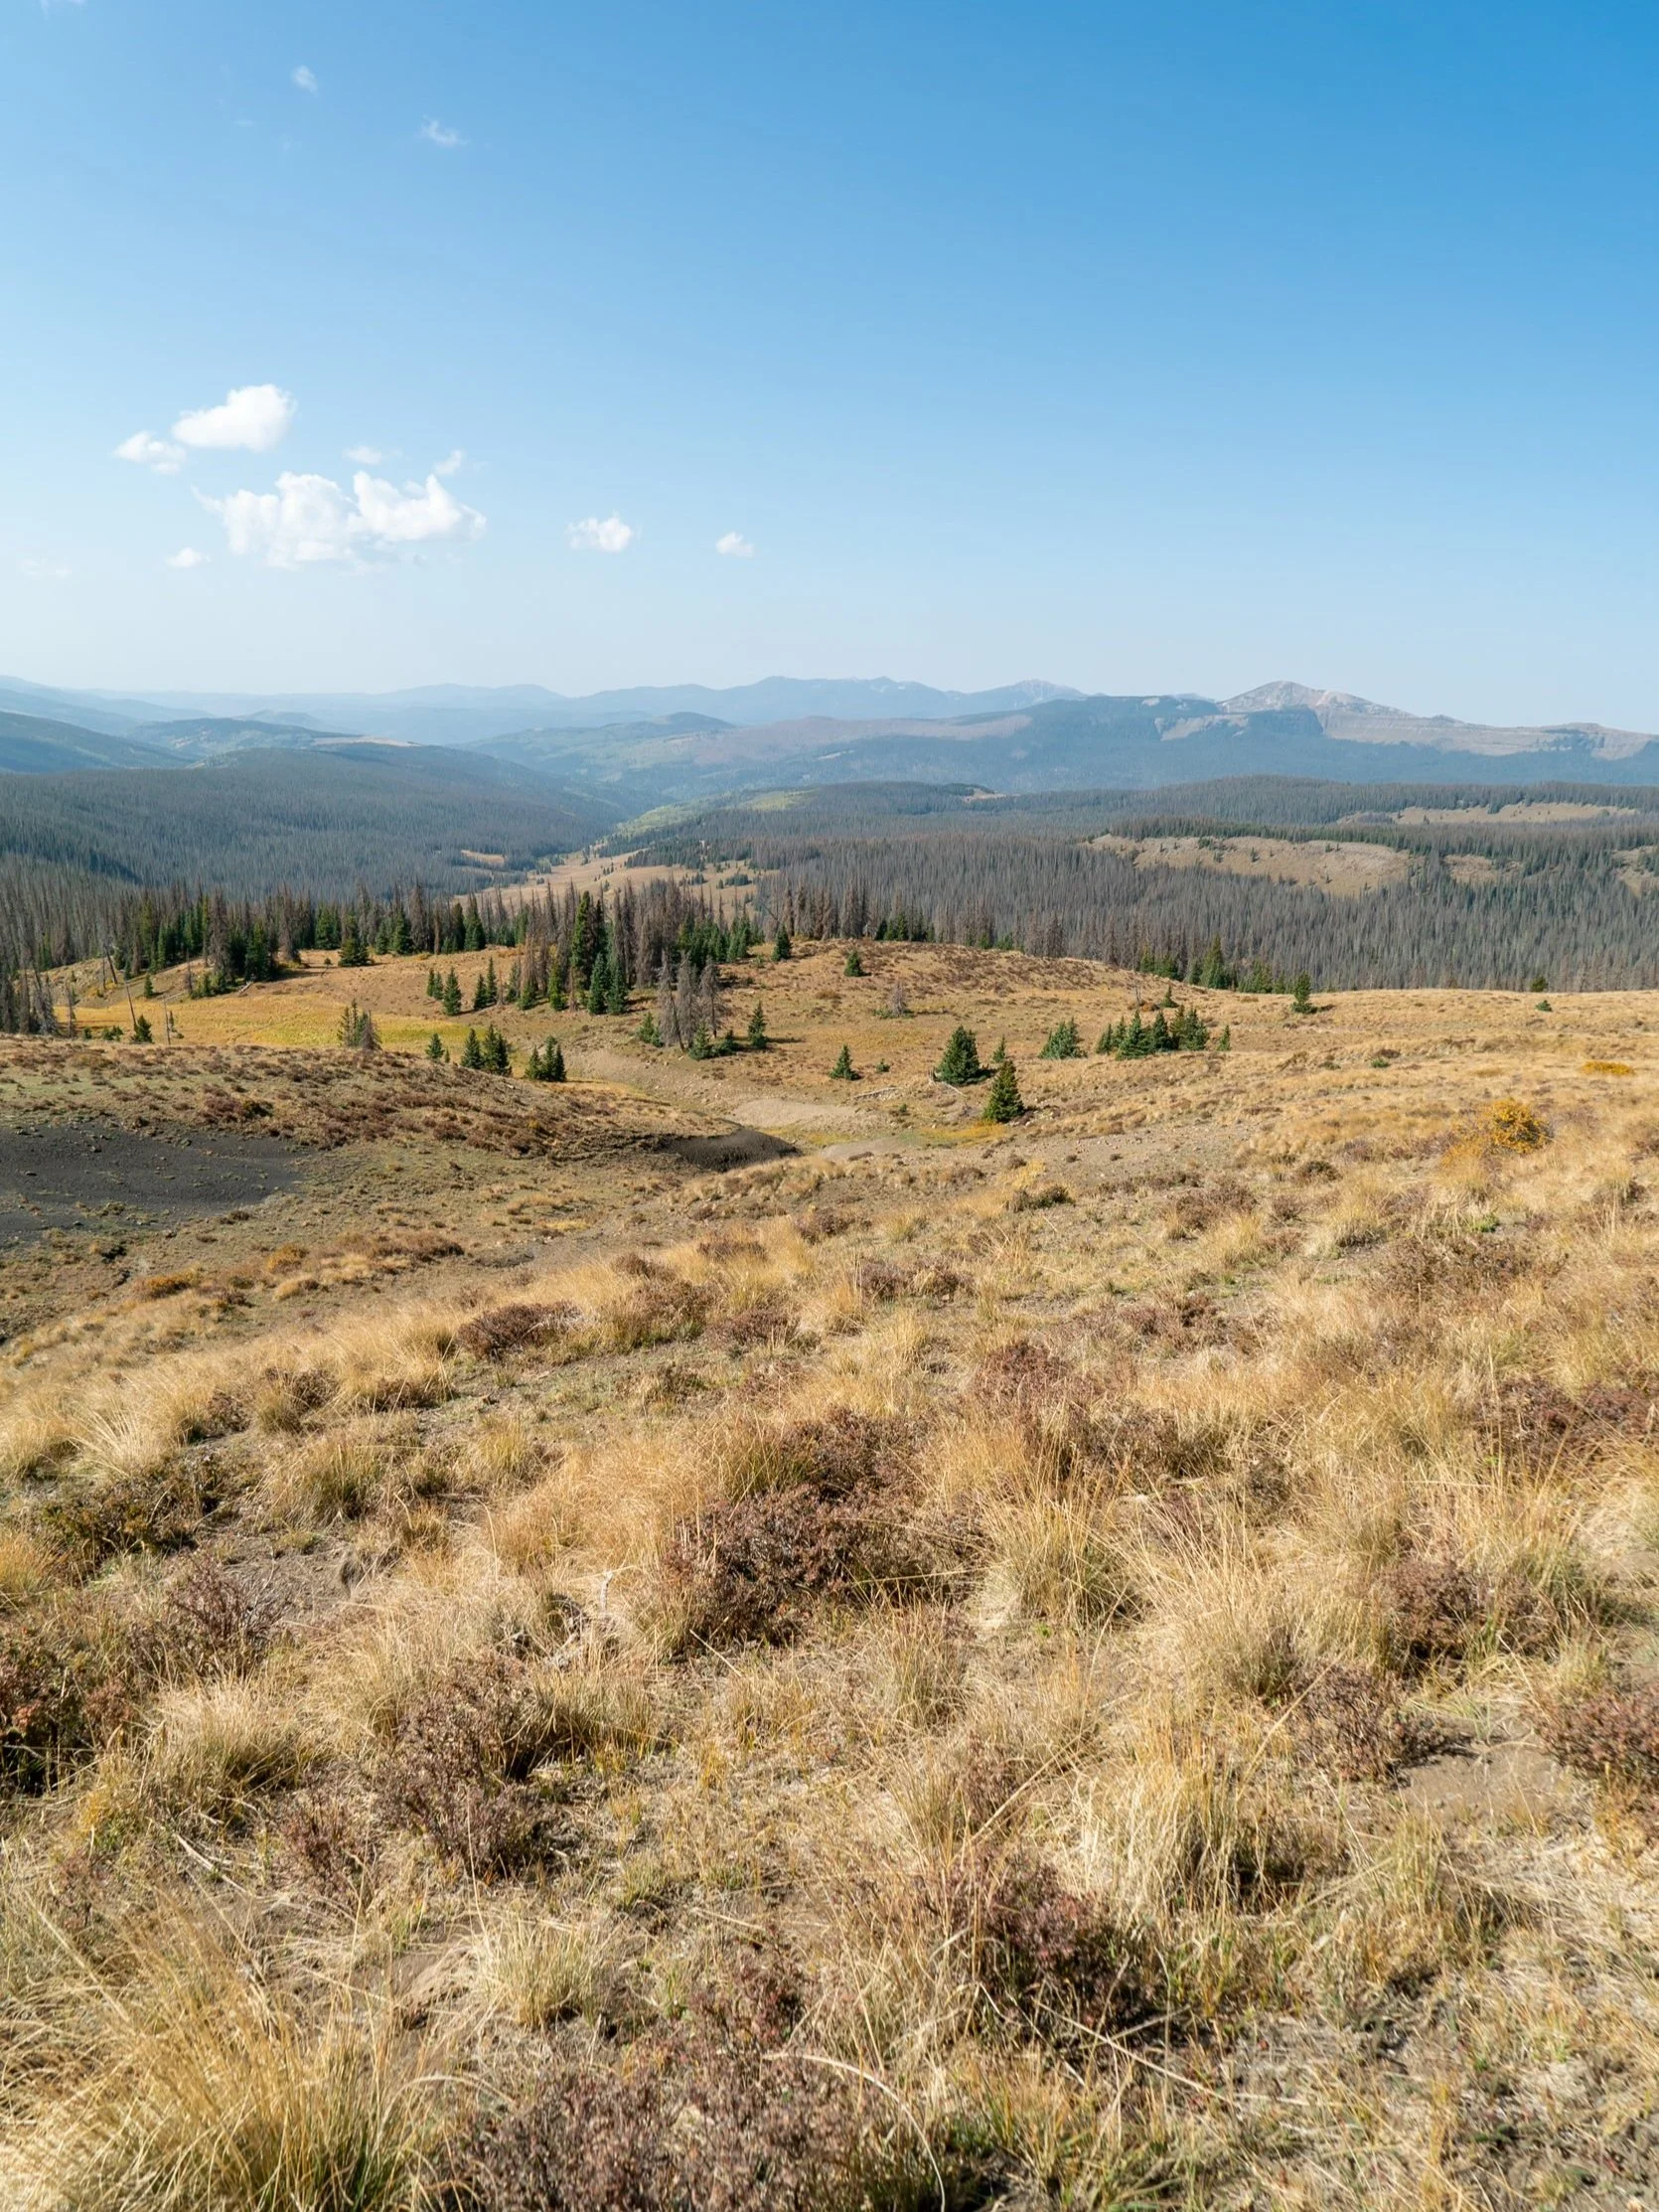
The next morning we woke up to a magical (and extremely cold) frost inside and outside of our tents. We decided to break camp as fast as possible and high tail it to the ridgeline for breakfast in the sun. The rest of the day was entirely along the ridgeline with phenomenal panoramic views in every direction. There was a mix of trail and cross country travel, but it was easy to navigate. We ended the day at Truchas Lake, which we had all to ourselves.

The clear alpine lake was a perfect spot for a rest day. We spend the morning basking in the sun around the lake, reading and watching the world go by. In the afternoon, we explored the upper lake and boulder field. Chirping pikas and marmots were busy preparing for the nearing winter. The weather was stunningly warm for late September.

Day 5, back on the trail. Another sunny day almost entirely of ridgewalking and 360-degree views. We found a stunning spot in the sun and out of the wind for a 2+ hour siesta. Dropping off the ridge, we camped at Pecos Baldy Lake with views of East Pecos Baldy.

On day 6, we did a morning summit of East Pecos Baldy, about 1,000ft above the lake. Then back to camp for lunch. It’s another stunning late September day. The aspens' full yellow foliage is on display. We get to the car in the late afternoon, sip a post-hike beer, recap the trip, and part ways.

Overall I'd highly recommend this route. I enjoyed going counterclockwise to warm up my legs through the forested section and get the spectacular ridgewalking in the second half of the trip. However, either direction works. Best to tailor your trip to time the ridge walking with the clearest weather window for the views. At 36.5 miles you certainly could do it faster if you don’t have a full week. Many thanks to Eric for planning and getting me back out there. And to Daisy who was the best hiker in the group!

If you go:

Sneaky Wisconsin River Camp

It’s been a sedate summer. Most of the camping trips we had planned have been postponed. While it’s nice to focus on staying close to home the vibrate neighborhood festivals that make Madison so fun in the summer have been cancelled. To add to it, K and I both got new jobs at the end of June. With lack of other things to do we’ve thrown ourselves into them and barely taken a day off. 

Realizing it had been over a month since we slept in a tent - a crime in the summer, right? - we decided we needed to do something about it. Even if it was just for a night. So we took a short drive to the Lower Wisconsin Riverway

The LWR is the longest free-flowing stretch of river in the Midwest, 92 miles long. Leave No Trace camping is allowed on the sandbars. Most people access it by boat, but there are a few spots that you can park and walk a couple hundred yards to some great camping spots. We chose a spot near Arena, WI about an hour from Madison.

In total we were probably at this spot only about 14 hours. But it was a great recharge with great swimming, beaching and a spectacular sunset. 

If you go:

https://dnr.wisconsin.gov/topic/lands/lowerwisconsin

Beach Camping - Innes National Park

It’s the first time we’ve been back in Australia in over 3 years. Amazing how time flies. After a winter chock full of cross country skiing, landing in the summer sun of Australia is a jarring (but very welcome!) switch. Especially since the first thing we’re doing is a family beach camping trip.

South Australia’s beaches are stunning. Given the huge size of the state and small population you don’t have to go very far to get a beach entirely to yourself. Dhilba Guuranda-Innes National Park is roughly 3 hours from Adelaide and loaded with such beaches. And don’t forget the wildlife! There were resident kangaroos at the campground and an emu family roaming the beach.

Camping with the in-laws is a bit different than my normal set up, but we certainly don’t lack for creature comforts.

And if you’re wondering if this car can tow all of this, it can. It did however get a flat tire and the battery died twice. But we eventually made it, set up camp, and had a wonderful few days of exploring the beaches and tide pools.

Utah with the Nikon Z7

We blast over the divide and into Utah for a long weekend and find a truly stunning camping spot overlooking a canyon just outside of Canyonlands National Park. We might end up just sitting here the whole weekend.

Moab-0402.jpg
Moab-0385.jpg

I was able to score a Nikon Z7 w/ Nikkor Z 24-70mm zoom lens to test for the weekend. All photos from this post are taken with that camera, and more detailed review follows (warning, I’m not a gear junkie, it’s more of an aesthetic review than a technical).

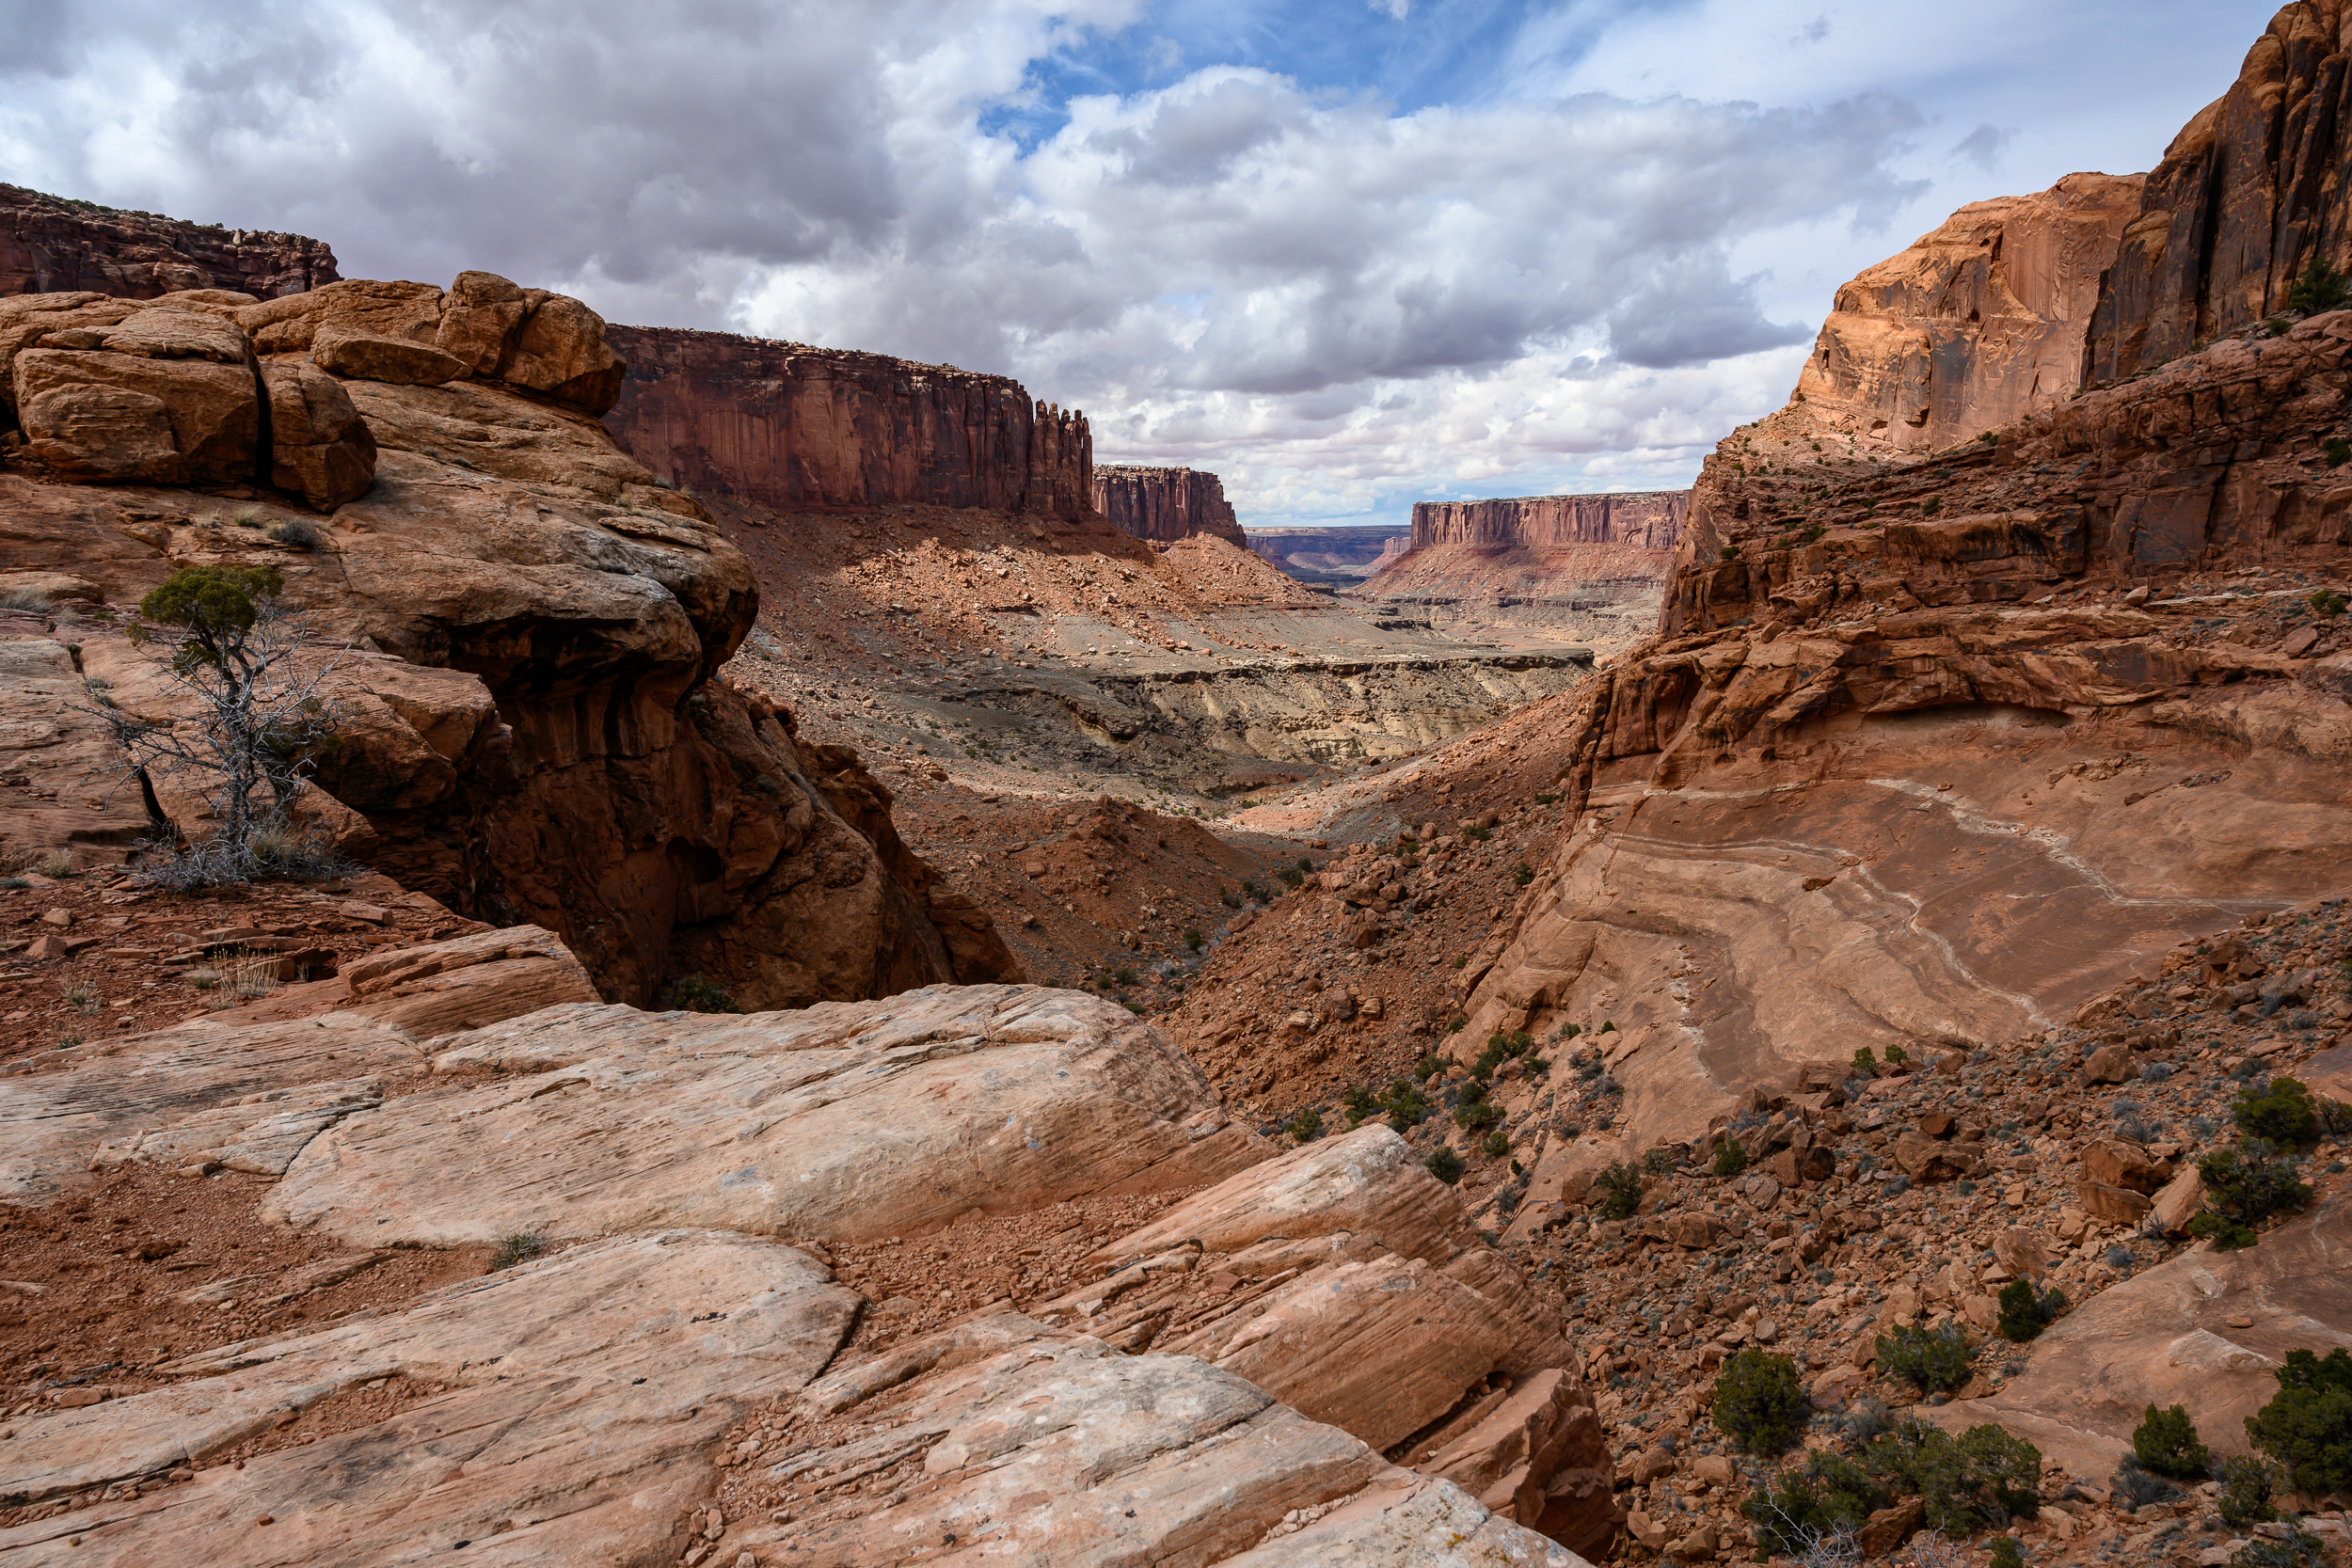
We do end up leaving the camp to do the Syncline Trail in Canyonlands NP. This trail is awesome. It circles the Upheaval Dome, the origin of which is unknown (cool). First we hike down into a canyon and along a riverbed, then up a boulder field and back to the start. It’s certainly my kind of hike: the trail isn’t always obvious, scrambling required, lots of up and down through amazing scenery and very few people.

Moab-0127.jpg
Moab-0137.jpg

The Devil’s Garden & Primitive Trail in Arches NP also has the scenery but is much more popular. The Devil’s Garden Trail is very busy, makes sense there are a ton of arches in a short span. For being a popular trail in a National Park I’m pleasantly surprised by the ruggedness of some sections, especially the ones walking on and over rock faces. Taking the Primitive Trail makes this hike a loop (yay!) and adds more of a challenge with steep rock climbs and less obvious trail. Despite the warnings of such our hike on this trail turns into more of a rescue mission. K pulls an 80 year old woman up a rock face (kudos to her for making it that far!), I guide a group of hikers down a steep section of rocks and we help a number of people re-find the trail. It’s kinda fun, makes me feel like I know what I’m doing.

Moab-0219.jpg
Moab-0326.jpg

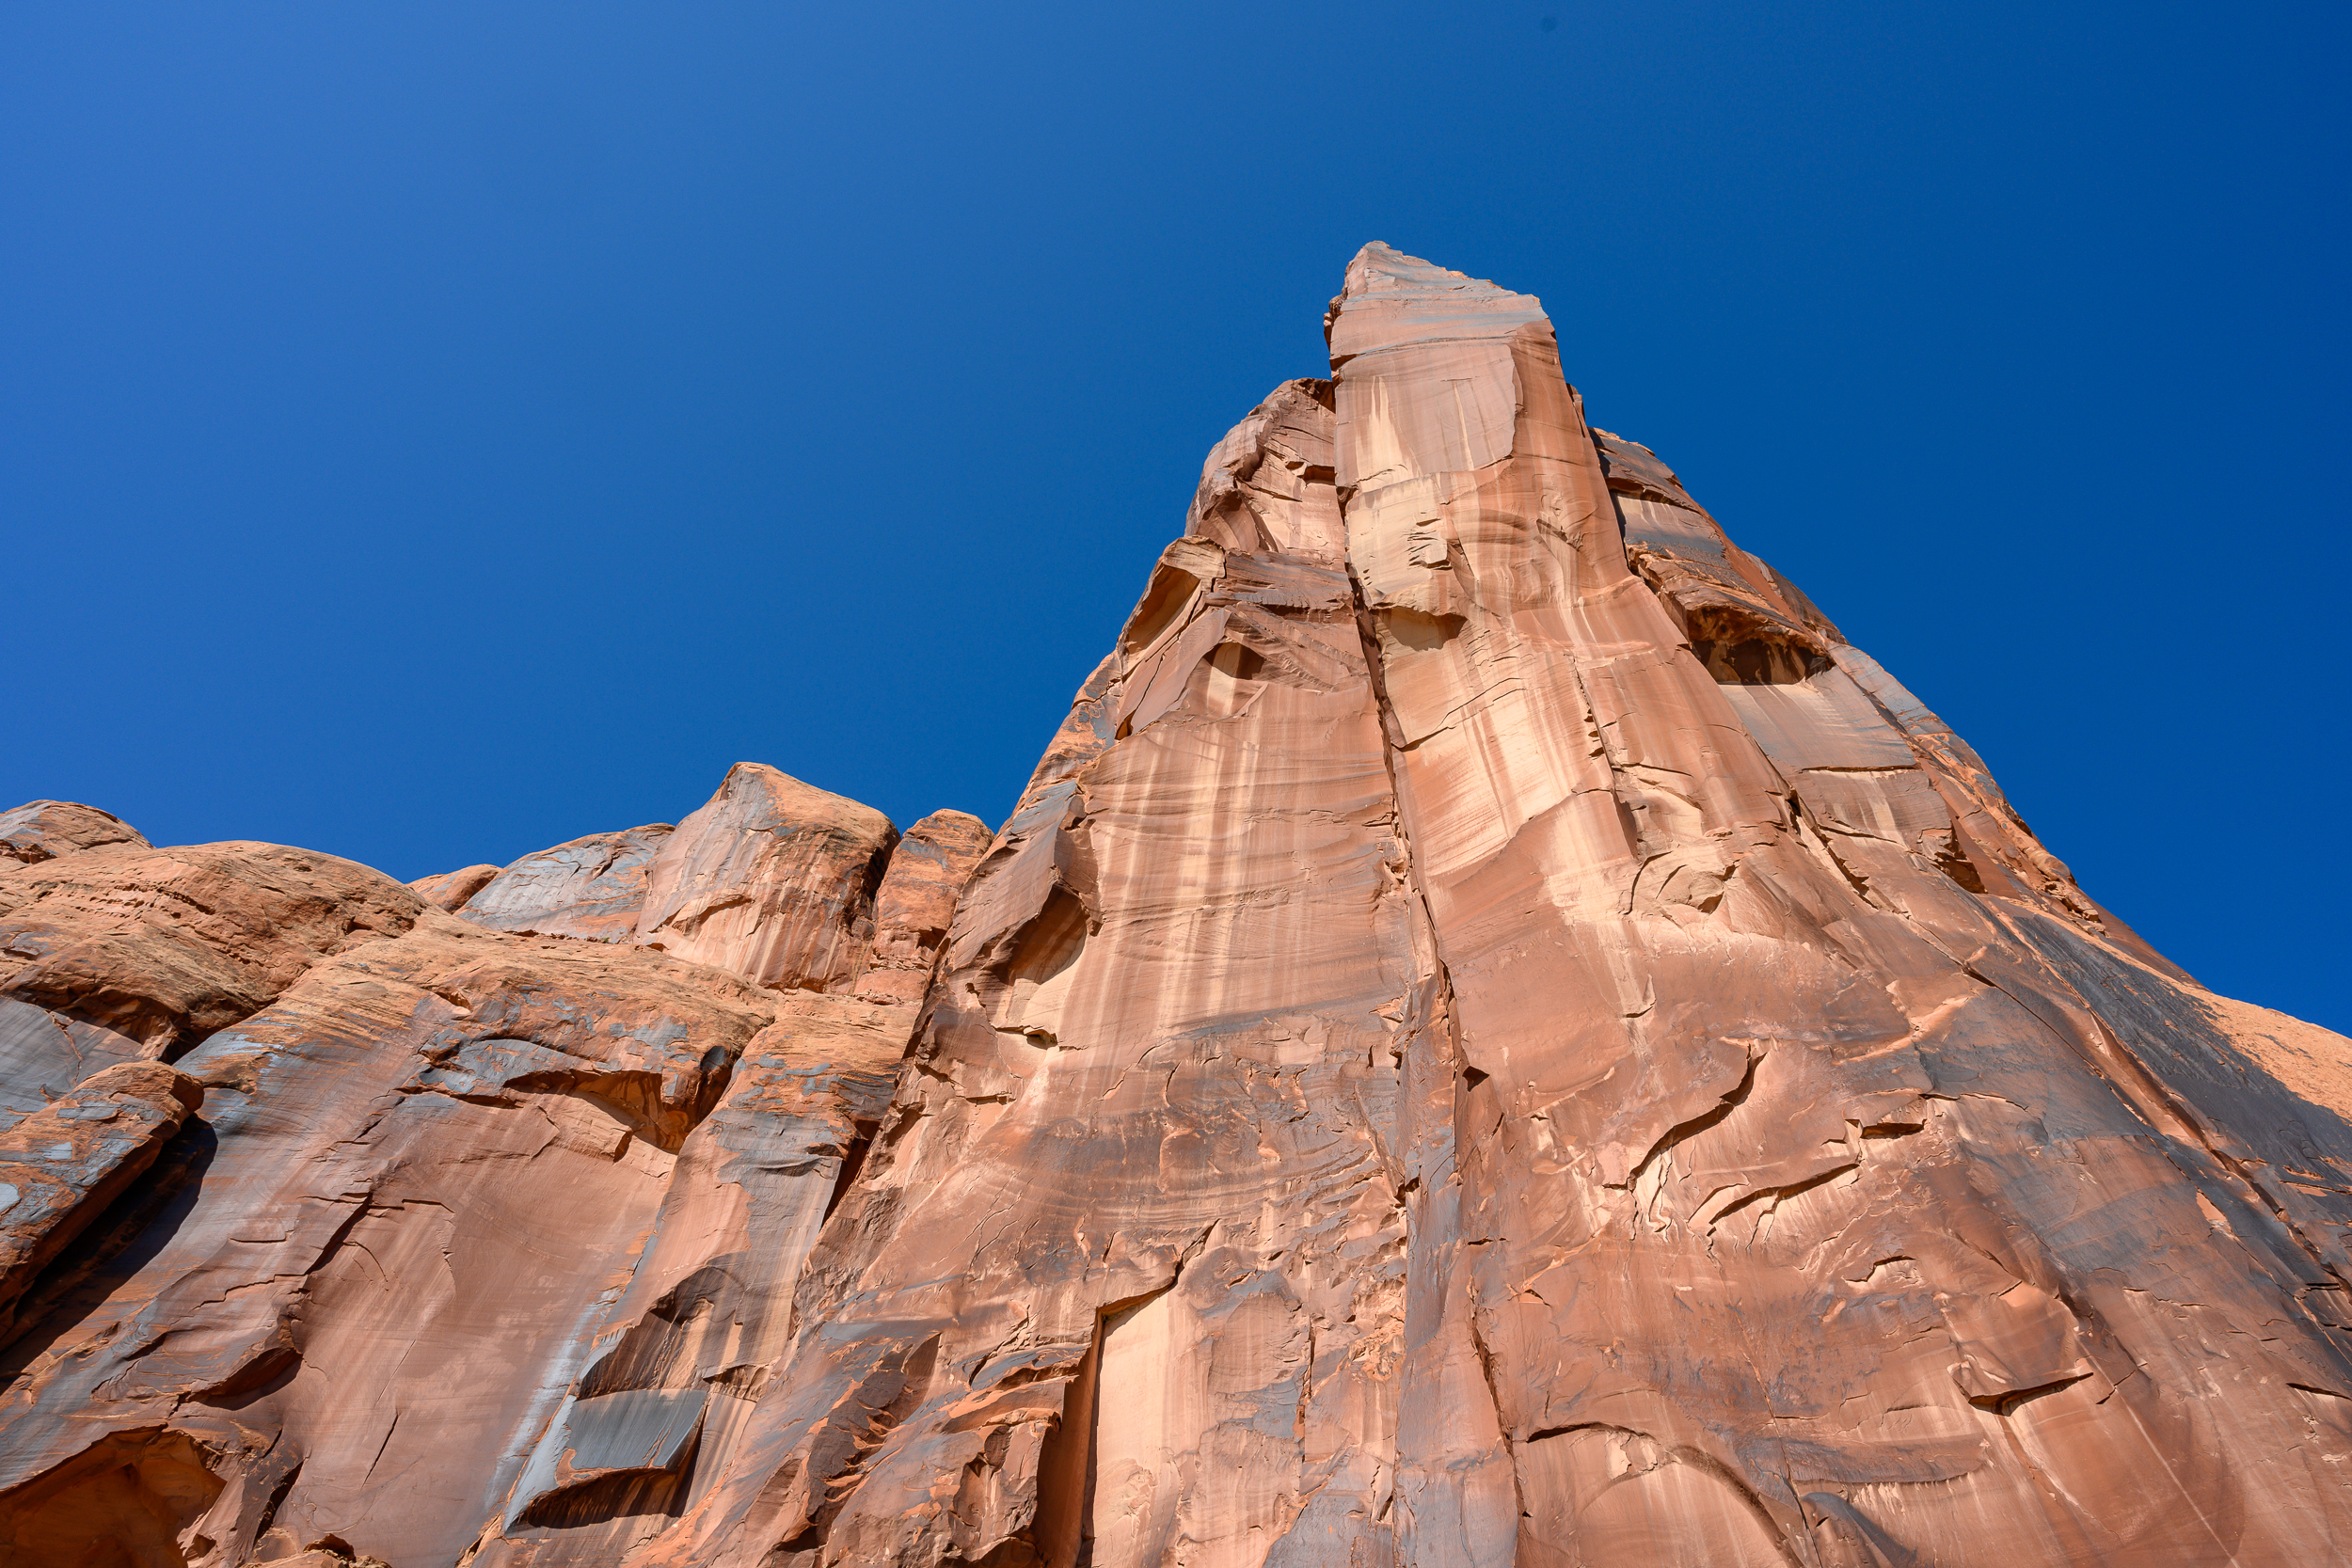
One of the days we switch it up with a bit of 4WDing down the valley we are camped by and under a giant rock. We also explore Moab a bit - I found a $4 flannel shirt in a thrift shop, that’s my highlight from town.

Moab-0283.jpg

On the way back to Boulder we stop to do the Professor Creek and Mary Jane Trail. The trail follows a creek up a deeper and deeper canyon and ends with a waterfall (we didn’t go that far, just to the canyon). It’s really fun to splash through the creek. There isn’t really a trail and we end up follow footprints in the sand to make sure we are going the correct way. It would be easy to get lost in these canyons and if it was raining a flash flood would be dangerous here. Getting back is easier, just follow the main branch of the creek back the way you came.

Using the Nikon Z7 for the weekend was a fun treat (my primary cameras for hiking & backpacking are the Sony A6000 or Sony A7R ii). I don’t often use zoom lenses so I had to retrain myself how to take photos. I don’t have to walk around to get different shots, I can zoom! As fun as the zoom is I really enjoy using prime lenses, I feel like they are more “natural” to how my eyes perceive the world. Due to habit most of the pictures in the post are taken at 24mm, the widest the lens goes, because I forgot the lens could zoom. The exceptions are the shot with the car which is at 38mm and the shot of the arch which is at 36mm.

The camera has a nice feel in the hand, the grip is more robust than the Sony’s, and has a nice look to it. I’m not fully dialed in with the Nikon control menus but I found it easy to navigate and use when I wanted to change settings. For the kit lens I found the Nikkor 24-70mm to take excellent pictures. The biggest con for me is the weight (why I love the Sonys so much), I think the Z7 would be good on day hikes but it would be too much for a longer trip.

If you go:

Moab-0181.jpg

Winter Camping

I don’t winter camp. I love the idea in theory but in practice the long hours of darkness cooped up inside a tent just put me off it. Get me a hut with a woodburning stove and I’ll walk/ski/snowshoe miles back to it.

Living this close to the mountains it kills me that prime backpacking season is 3, maybe 4 months max. After a few weeks of coaxing I finally convinced K that we should try it. She’s from the desert, this is probably the last thing she ever saw herself doing.

Winter Camping-3693.jpg
Winter Camping-3702.jpg

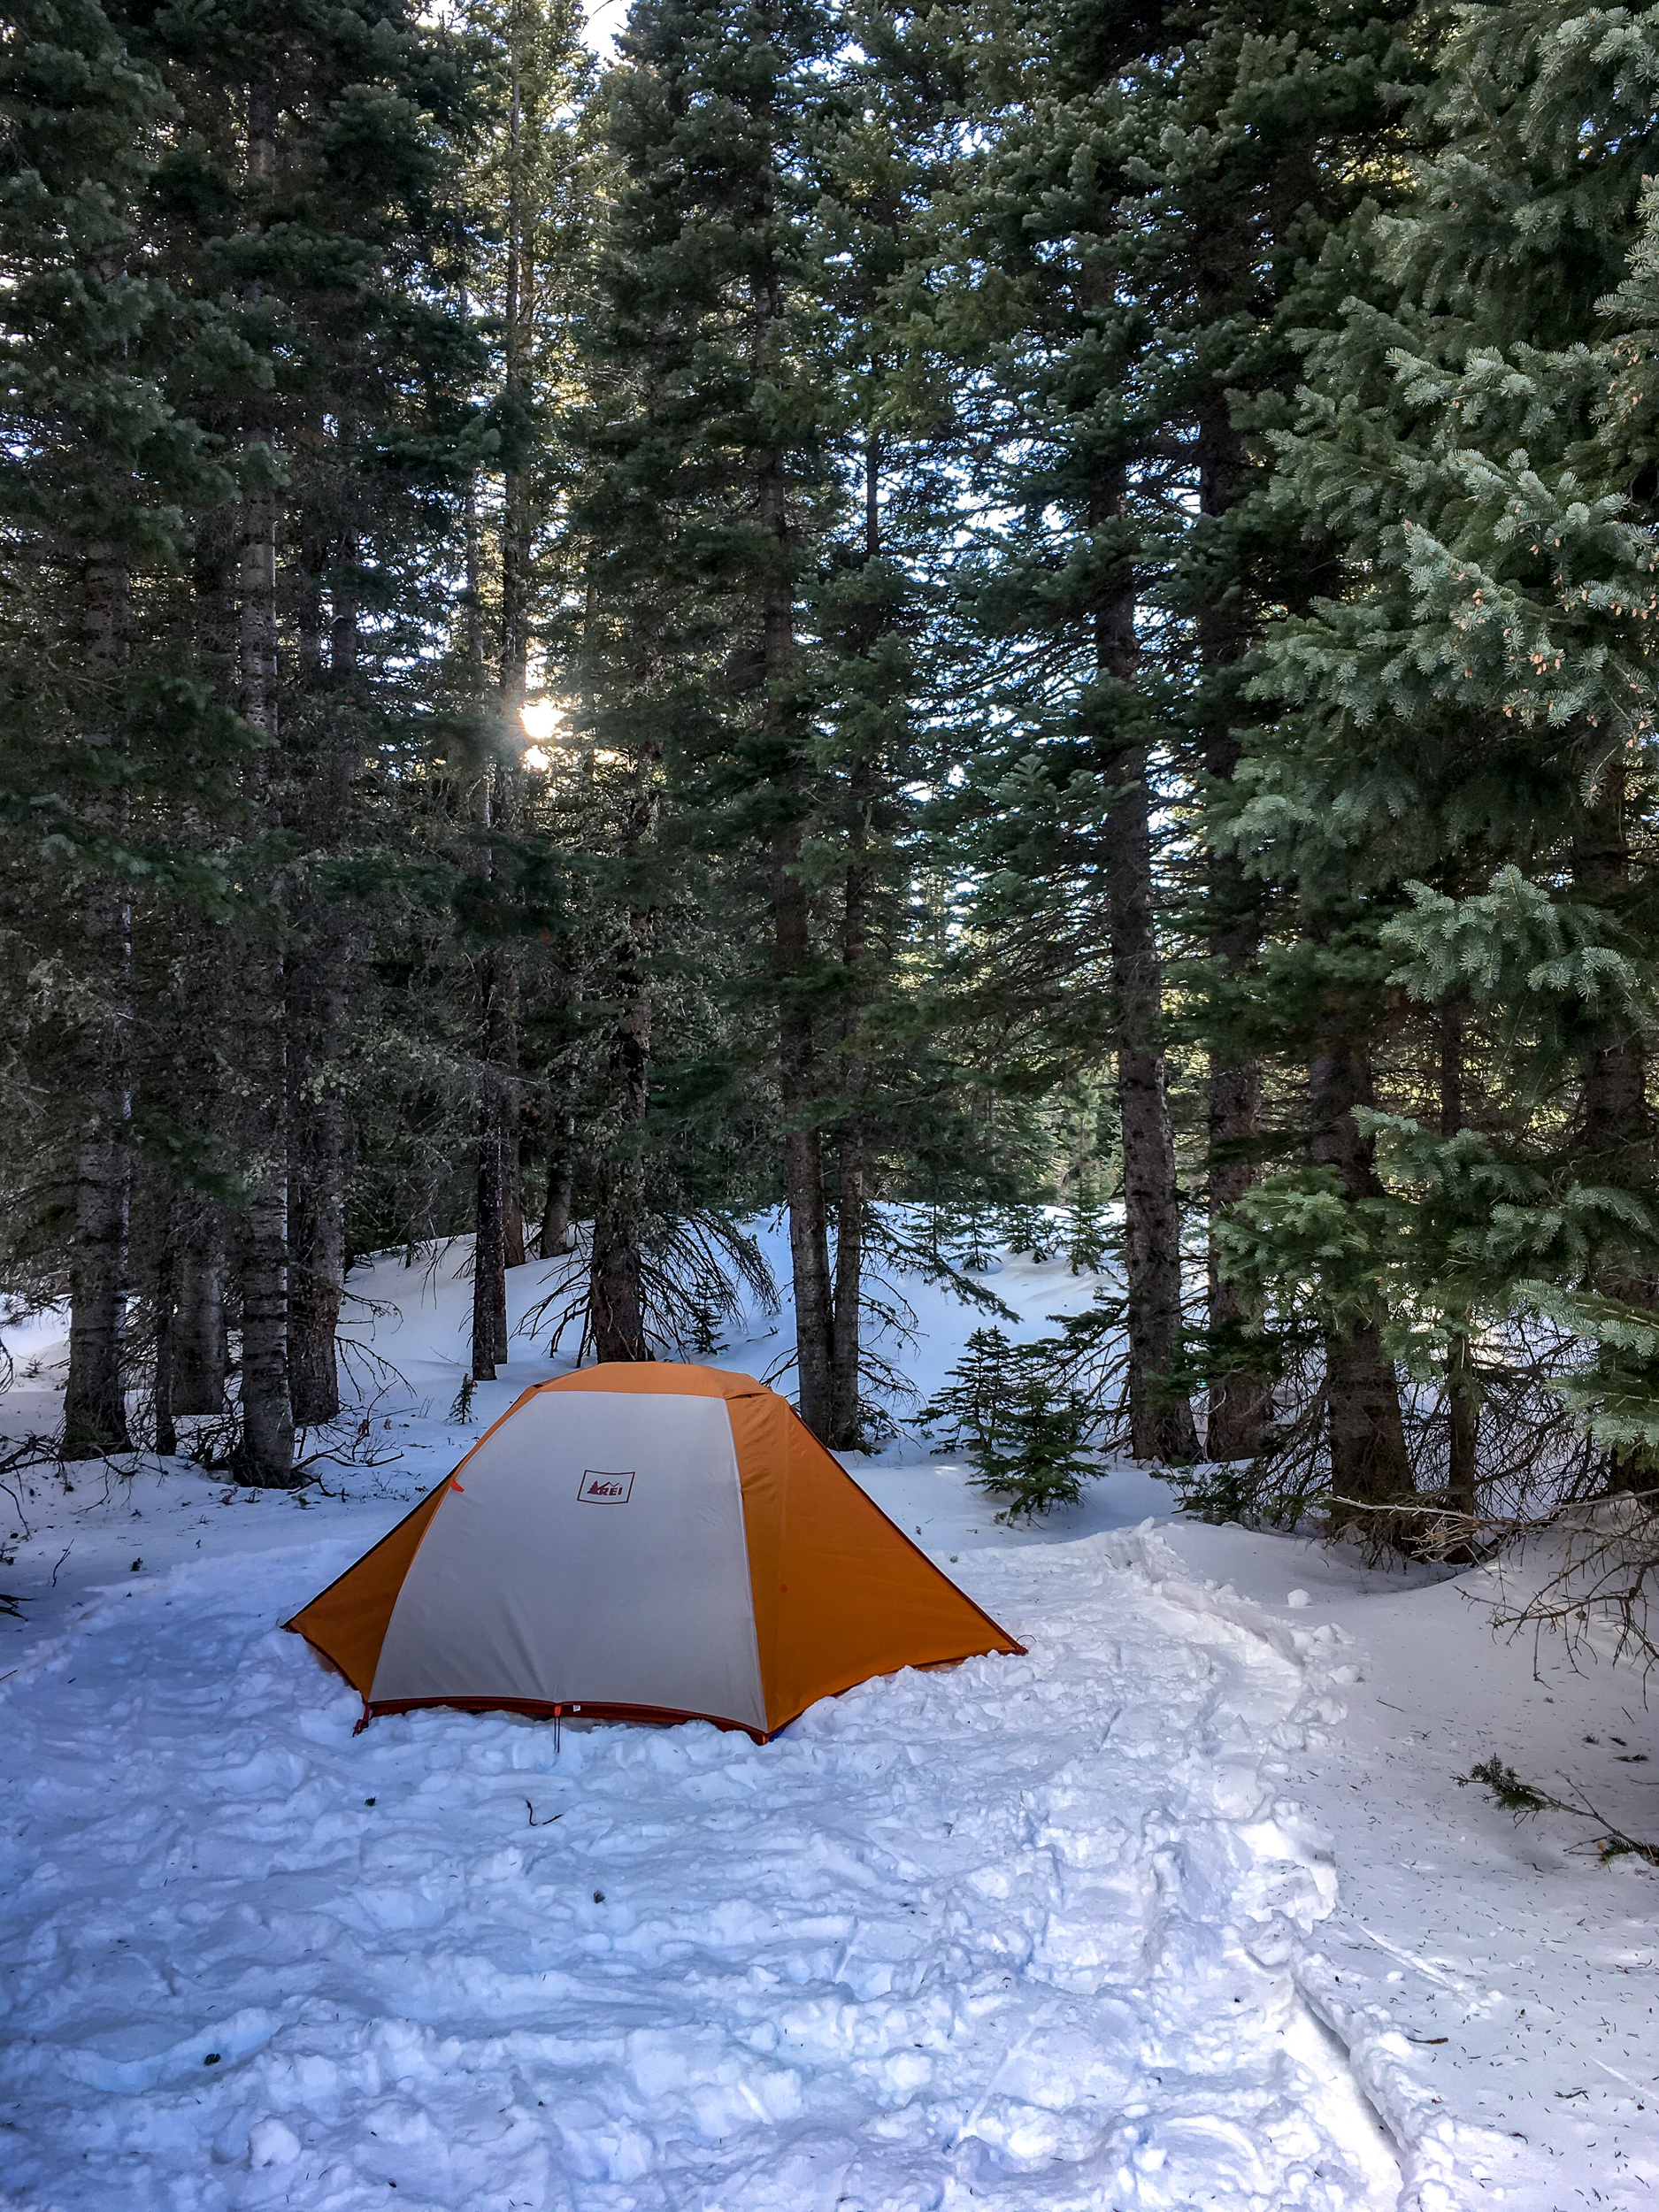
At the Moffat Tunnel trailhead , the gateway to the James Peak Wilderness, there are some camping options within a mile of the trailhead. Seems reasonable, close enough to escape if we can’t handle it but far enough away to make it feel worth it.

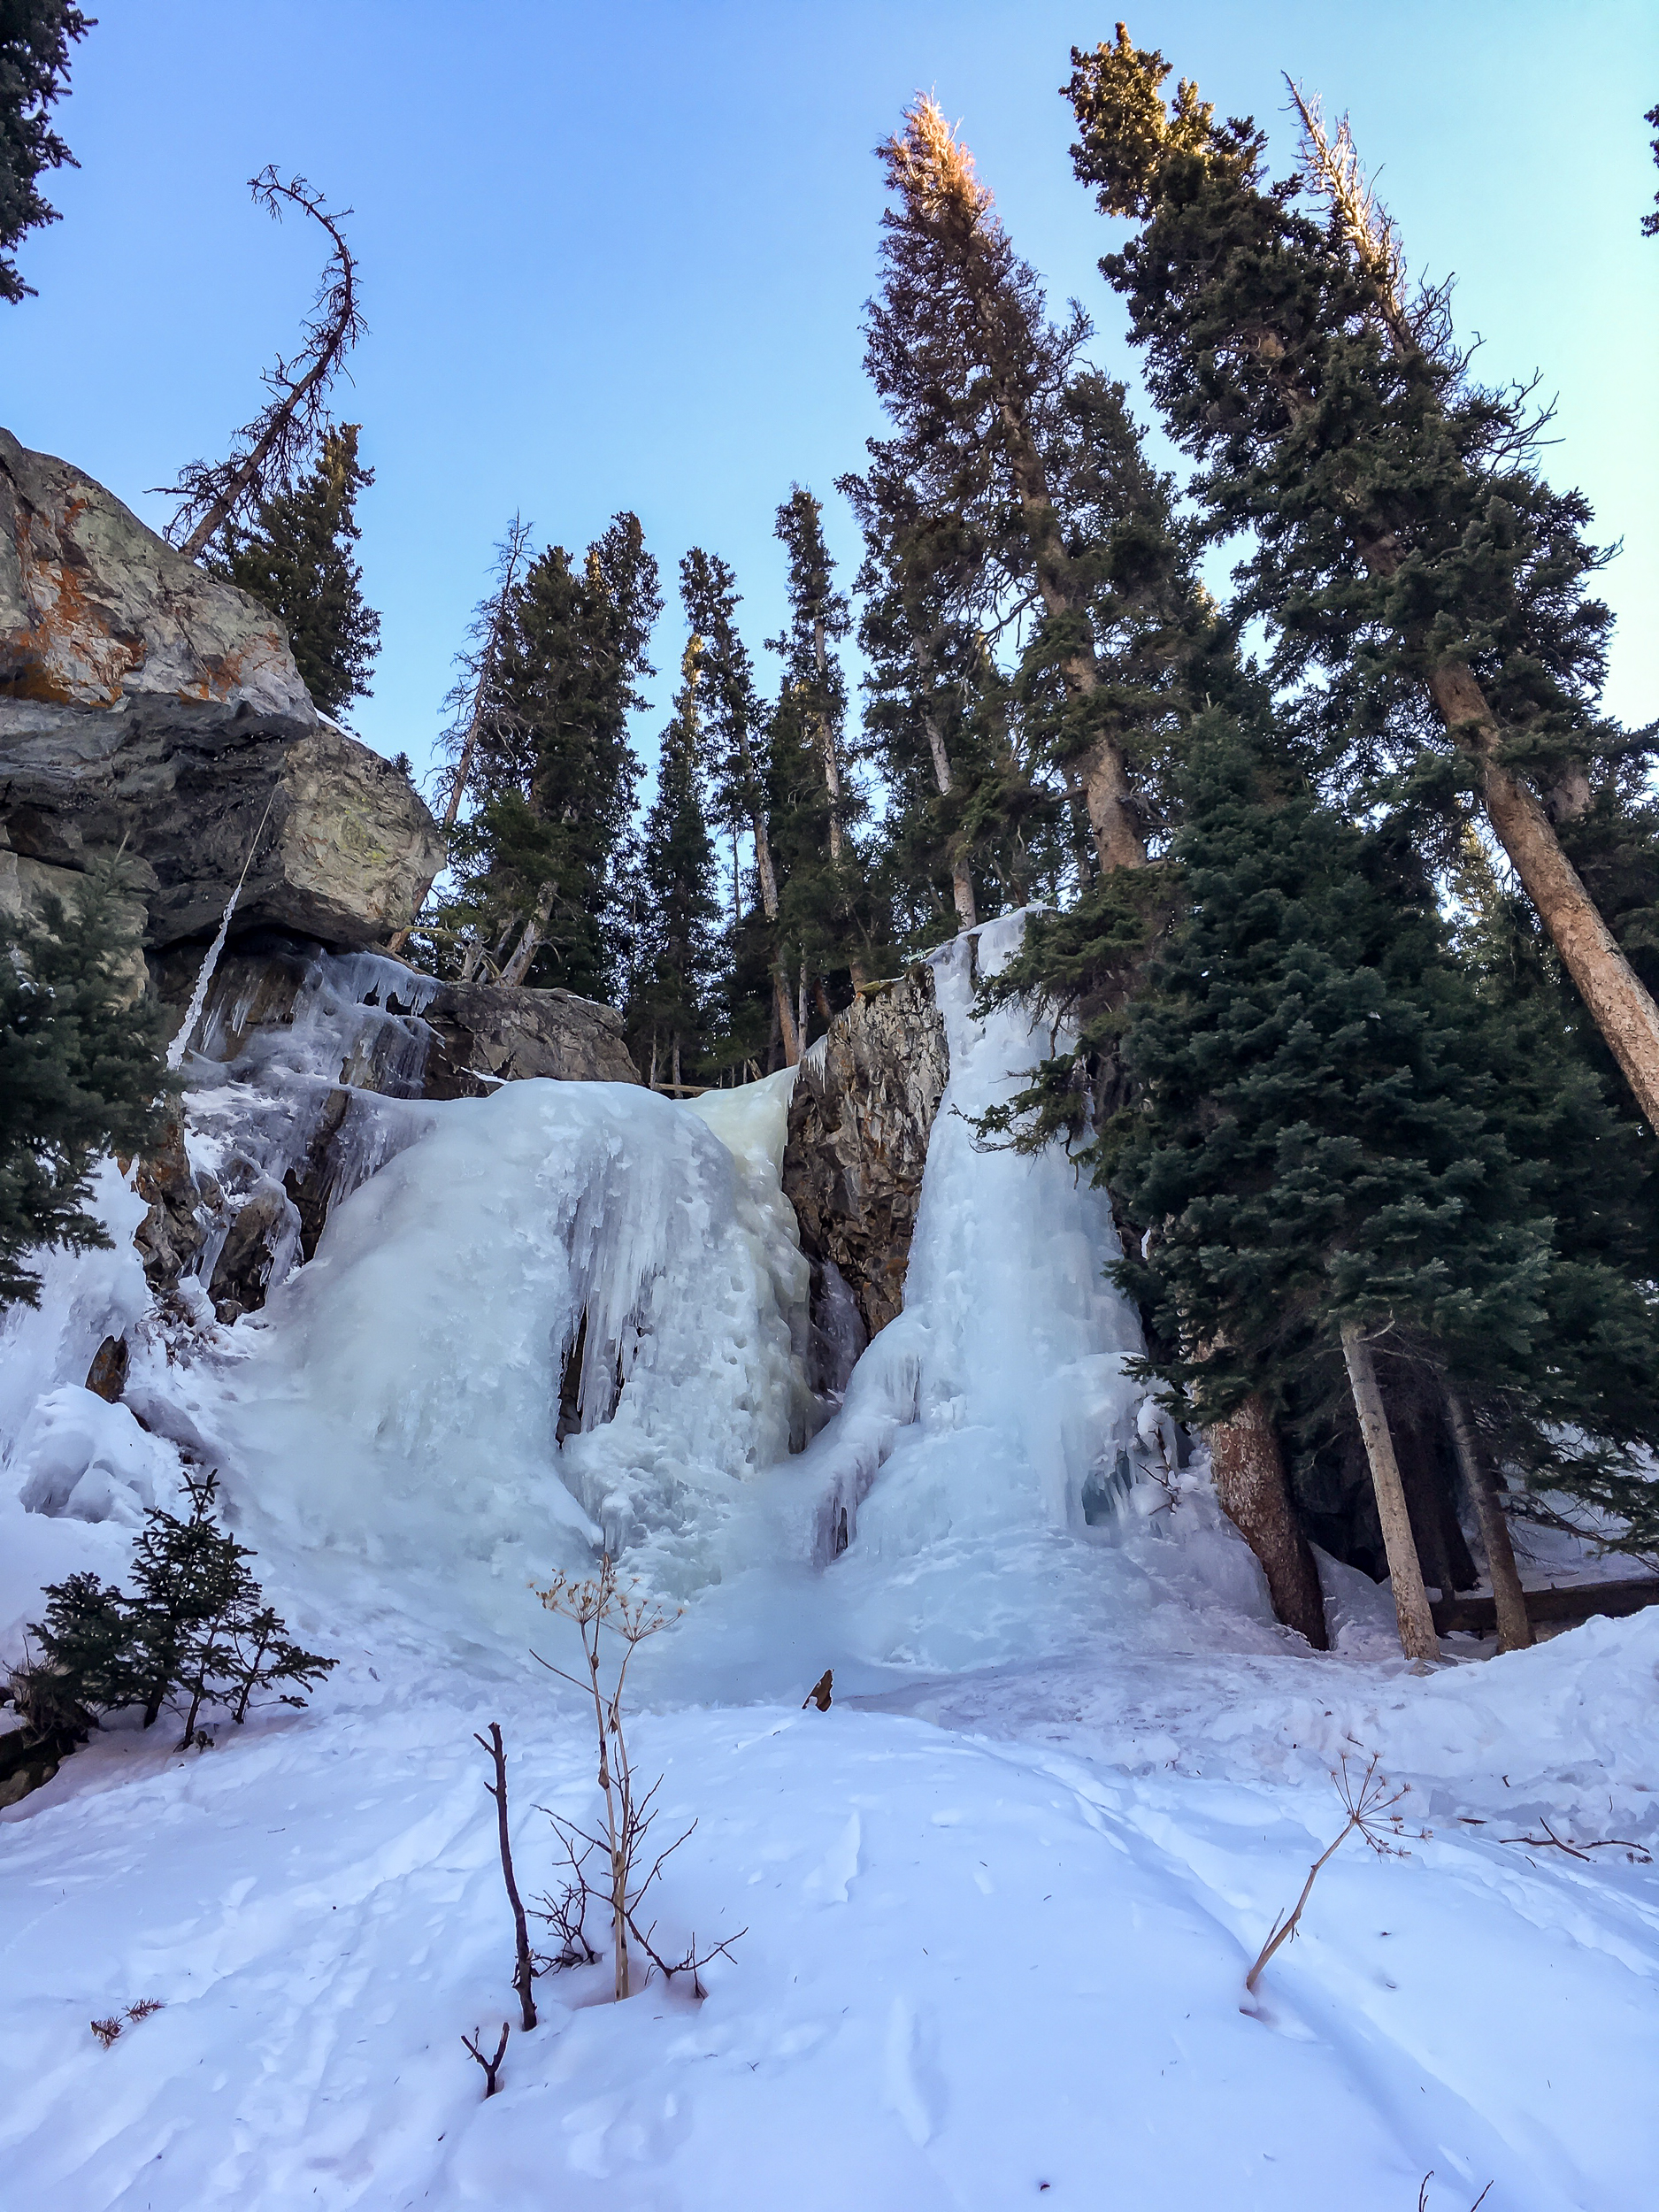
We headed in midday and found a nice spot between some pines and packed down a nice spot for the tent. After everything was all set up we snowshoed around the area and found a side trail leading up to a frozen waterfall.

About 4pm the sun set in our little valley and we got into the tent. Only 15 hours until the next ray of light…

The temps dropped to the teens and the wind howled through the trees but we stayed nice and cozy in the tent armed with books, crosswords and some warming stout.

I’d do it again, but I think I’d still take the hut and woodburning stove.

If you go:

Winter Camping-3709.jpg

20 Hour Getaway

Its a busy Labor Day weekend for me but I have the itch to camp. 

After shooting photos for a client in the morning i grabb my pack and hastily shove my gear in. Luckily, in the spring I got on kick making a bunch of meals in anticipation of hiking season. I grab one of those and some oats and hop in the car. An hour later I’m at the Moffat Tunnel trailhead ready to hit the trail. The beauty of living in Boulder.

Blog Crater Lakes-0545.jpg

I’ve been to James Peak Wilderness before and I know there are multiple lakes with awesome campsites within 3-4 miles of the trailhead. This time I’m headed to the Crater Lake area, about 3 miles from the car. 

It’s late afternoon by this point and most people I pass are headed back to the trailhead. After 2 miles of steady gradual incline I get to the turn off to crater lakes. From here the trail becomes more steep before eventually flattening out near the lakes.

Unsurprisingly, there is a lot of activity around the lakes. On another weekend it could be a nice place to camp but for tonight I’m going another .5 mile and 400ft up to Upper Crater Lake. 

Blog Crater Lakes-0497.jpg
Blog Crater Lakes-0513.jpg

This is the steepest part of the climb and at lake level it becomes more of a rock hopping experience than actual trail. Not a lot in the way of flat sites but I find a little spot for my tent near the east side of the lake just past the outflow. The bonus is no one else is up here camping. 

By the time I finish dinner it is already fairly dark and the Milky Way is starting to emerge. The job I was working this morning was using a Canon 5DS R with an 16-35mm zoom. Perfect for having a bit of fun messing around with long exposure shots while the sky is still moonless. This is a great camera, it’s completely impractical to bring into backcountry but, hey, what the hell.

Blog Crater Lakes-0469.jpg
Blog Crater Lakes-0460.jpg

The next day I make it out early to get home. From door to door the whole trip was only 20 hours but was a great reset.

If you go:

Buffalo Peaks Wilderness Backpack

I wouldn’t call this loop challenging by any stretch of the imagination and the views are nice but not going to top any “best of” lists for Colorado. But when the more scenic trails are still covered in snow and you’re looking for an easy, pleasant weekend trip it does the trick. You could easily do this route as a day hike too.

The loop is 11.5 miles total with a net elevation gain of ~2,000ft and no steep climbs. It’s located just south of Fairplay, CO. Access is an easy 2WD gravel road.

We did the loop counter-clockwise starting from the Rich Creek trailhead. The trail is a steady uphill for the first 5 miles (most of the elevation gain for the hike) through aspen, pine and then a meadow: the high point of the hike.

2018-Buffalo Peaks Wilderness-00328.jpg

Just after the high point we started looking for camping spots. As you go downhill a small creek starts to form. I suspect as the season goes on this creek dries up. We chose a spot not too far off the trail here amongst the trees about 50 yards from the creek. Turns out there is a more popular (and flat) camping spot about a mile down the trail just before the Tumble Creek trail junction, but the privacy we had was worth it.

2018-Buffalo Peaks Wilderness-00281.jpg

On day 2 we spent the part of the morning looking for the Buffalo Ridge 1470 trail but we couldn’t find the access; it may have been partially under water as the marshy area was full with spring snowmelt. Regardless the area was fun, we saw turtles, beavers and many birds in and around the water.

2018-Buffalo Peaks Wilderness-00302.jpg
2018-Buffalo Peaks Wilderness-00309.jpg

We followed the Tumble Creek trail for the rest of the loop back to the car getting nice views of east and west Buffalo peak along the way. I’d certainly recommend this loop if you’re looking to get away from the crowds and have a relaxing backpacking trip.  

If you go:

Rich Creek TH

Maps: Caltopo / Gaia

USFS Buffalo Peaks information

New Gear Testing

I did an easy two nights out to test a few new items I purchased to lighten my pack on solo trips. The first night was in a steep valley near a river approx 8,200 ft in elevation. Not normally an ideal place to camp given the cold air will sink to the valley floor, but I wanted to see how the gear performs in more humid conditions. Night 2 was above an alpine lake, approx 9,800 ft in elevation. Forecast was for lows near freezing on Night 1 and upper 30s on Night 2. Chance of rain was about 30% each night.

New gear tested:

-Enlightened Equipment Enigma 30F Short/Slim - $265

-Therm-a-Rest Z Lite Sol Sleeping Pad - REI $35

-Outdoor Research Helium II - $65, REI Garage Sale

Night 1

Night 1

Night 2

Night 2

Enlightened Equipment Enigma 30F Sleeping Quilt:

Those of you who know me know it’s pretty rare that I buy new items or drop serious coin on gear (patience is key to finding good deals). However, EE makes amazing gear and when I do buy new I like to support good folks. I love my 20F EE Accomplice for 2 person trips so it was a no brainer to go back to the well for my solo quilt. Night 1 was, as predicted, humid and just above freezing. With base layers and a hat on I was nice and toasty. Night 2 was in upper 30s and much less humid and I slept well without base layers.

For sizing I got the short/slim. The EE site says short is for “5’6” or under”, I’m 5’ 7 1/2” and I find the short to be the perfect size for me. My feet are snug in the footbox and the top of the quilt comes nicely to my chin. The slim size is for “50” or smaller”, I measure myself at 51”. I sleep in a corpse position and like to be essentially swaddled so this works great for me but it’s about the the smallest I’d go. If you’re the type of person who feels restricted in a mummy bag you’ll want a bigger size. The insulation value is in the loft, if the quilt is too tight around you it’s making the quilt less effective.

Fox friend at Lost Lake night 2

Fox friend at Lost Lake night 2

Therm-a-Rest Z Lite Sol Sleeping Pad:

Is it weird that over my many years of backpacking I’ve never used a closed cell foam pad? I’ve always had inflatable mattresses and only once over who knows how many nights have I had to deal with a leak. However, for $35 I figured it was worth a shot, especially since it weighs about the same as inflatables that cost $100 or more. While it’s not as comfortable as an inflatable I like a firm mattress and I slept pretty well. On a longer trip it’d probably get uncomfortable but for a week or less I think it’ll be fine. The best thing was the set up. Just throw it in the tent and you’re done. Amazing. Con was the bulk, I have to strap it to the outside of my pack, but for the cost savings I can deal.

Lost Lake in the morning

Lost Lake in the morning

Outdoor Research Helium II Raincoat:

This piece of gear makes its on to a lot of UL lists. I’ve been eyeing it for a while but at $150 retail you can about guarantee that I’m not going to buy it new. But when I saw one at an REI garage sale for $65 I figured it was time to go for it. On my scale the small weighs in at 5.7oz, a full 10.3oz lighter than my current raincoat (REI Crestrail). The 30% chance of rain never materialized so I didn’t get to put it through its paces but it did work nice as a windbreak layer in the evening.


Great Sand Dunes National Park

“Use the heater on the dash to warm up the turkey leftovers.” This is how our trip to Great Sand Dunes National Park started.

We had an unseasonably warm Thanksgiving weekend to get out and check out the dunes. The days are getting short, not much time left for hiking after a slow start and 4 hour drive from Boulder. Permits were easy to get, after talking with the ranger it seemed like we might be the only ones camping in the dunes tonight… Good sign? Bad sign? ¯\_(ツ)_/¯

BLOG-2017-12-02 GSDNP-09766.jpg

The basic backcountry instructions are to “go at least two ridges over from the visitor center, then camp wherever you want.” We took off from the parking area near the Medano Pass Road (which was closed) and hiked about 2 miles into the dunes before it started to get dark. The wind was intense but we managed to get the tent setup. I’m really glad we chose our heavier freestanding tent vs our Tarpent, which would have been near impossible to pitch in the dunes.

BLOG-2017-12-02 GSDNP-09665.jpg

Backpacking in the dunes is slow going, day 2 we made it a grand total of 5 miles. On top of the sand slowing us down we also were carrying all of our water for the day - there is no water in the dunes themselves and it was highly probable that we wouldn’t have water at the Aspen campsite either (there wasn’t).

BLOG-2017-12-02 GSDNP-09738.jpg

Early afternoon we exited the dunes and reached the Aspen campsite, aptly named as it is nestled in a grove of aspen trees with gorgeous views of the dunes and the mountains. It was much less windy here and with temps near 60 it was a great spot to lounge for the rest of the afternoon and enjoy the sunset.

BLOG-2017-12-02 GSDNP-1415.jpg
BLOG-2017-12-02 GSDNP-09815.jpg

We headed out early in the morning, using the last of our water to eat our breakfast and coffee. Little Medano Creek, our nearest water source, is about 1.75 miles from Aspen and we had a long break there refilling water and basking in the early morning sun. From here back to the car it’s about 5.5 miles and for the most part the sandy trail parallels the dunes. The last mile we chose walk on the 4WD road. The views were similar, just less sand.

BLOG-2017-12-02 GSDNP-09843.jpg