Homicide Suspects and the Kindness of Strangers

A version of this post appears on The Trek, which you can read here

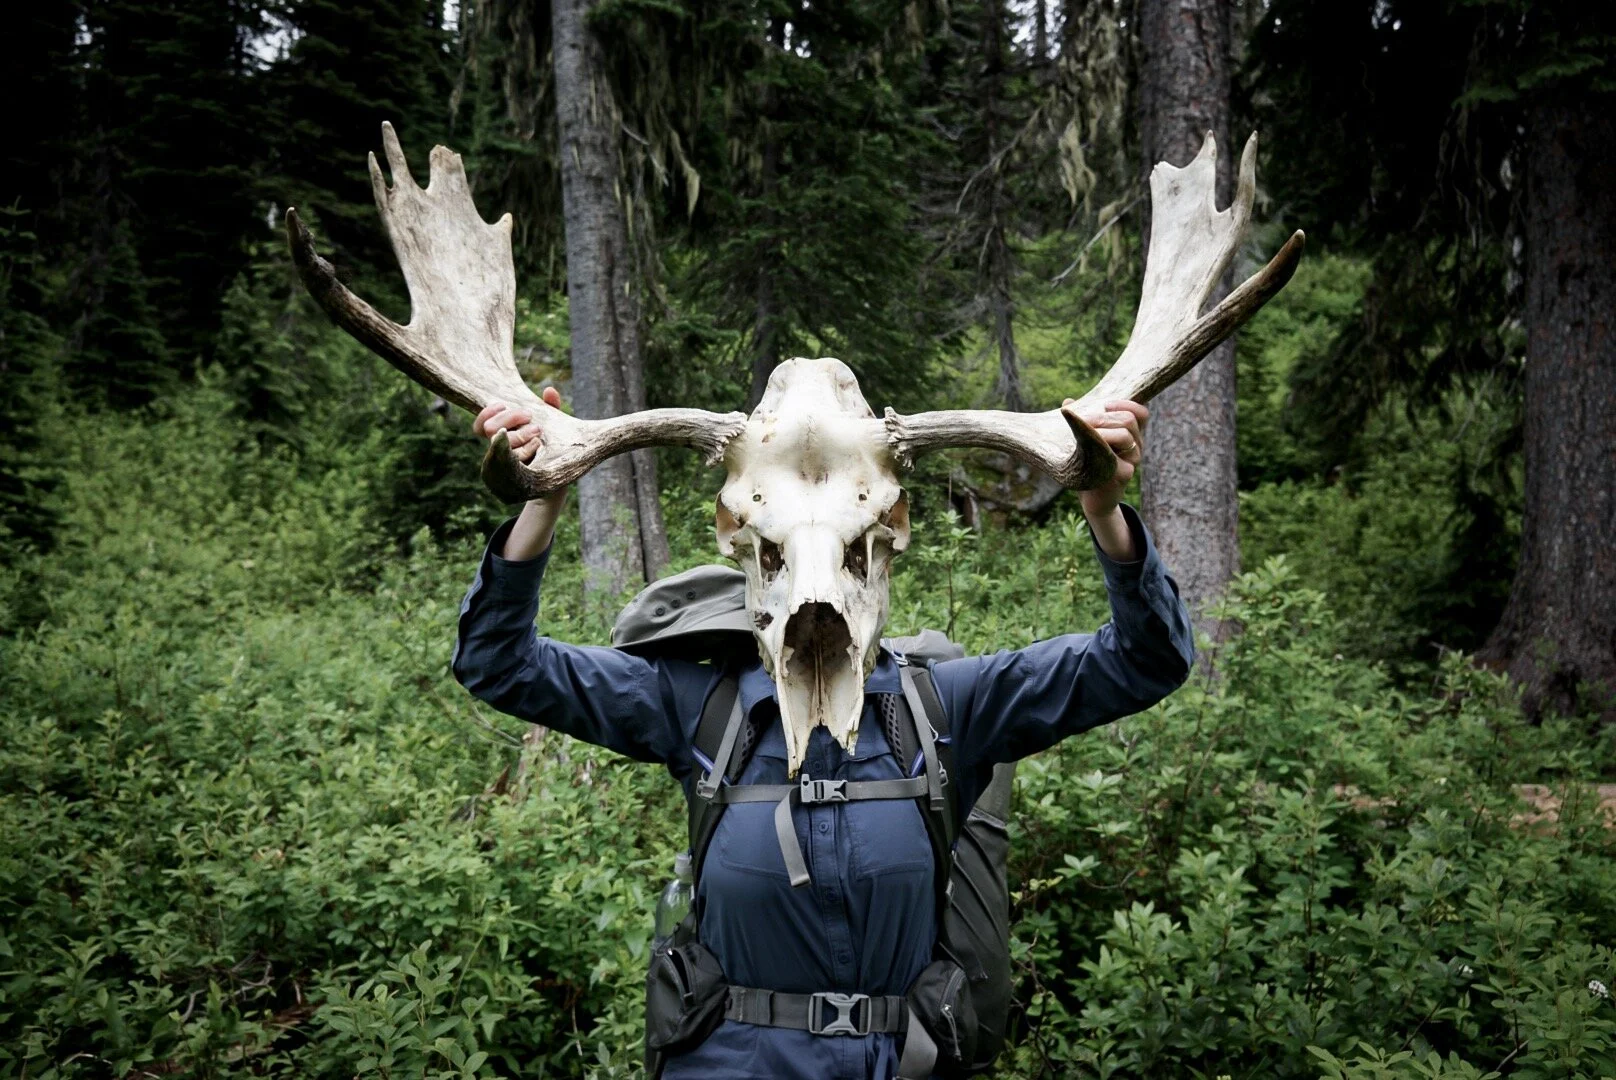
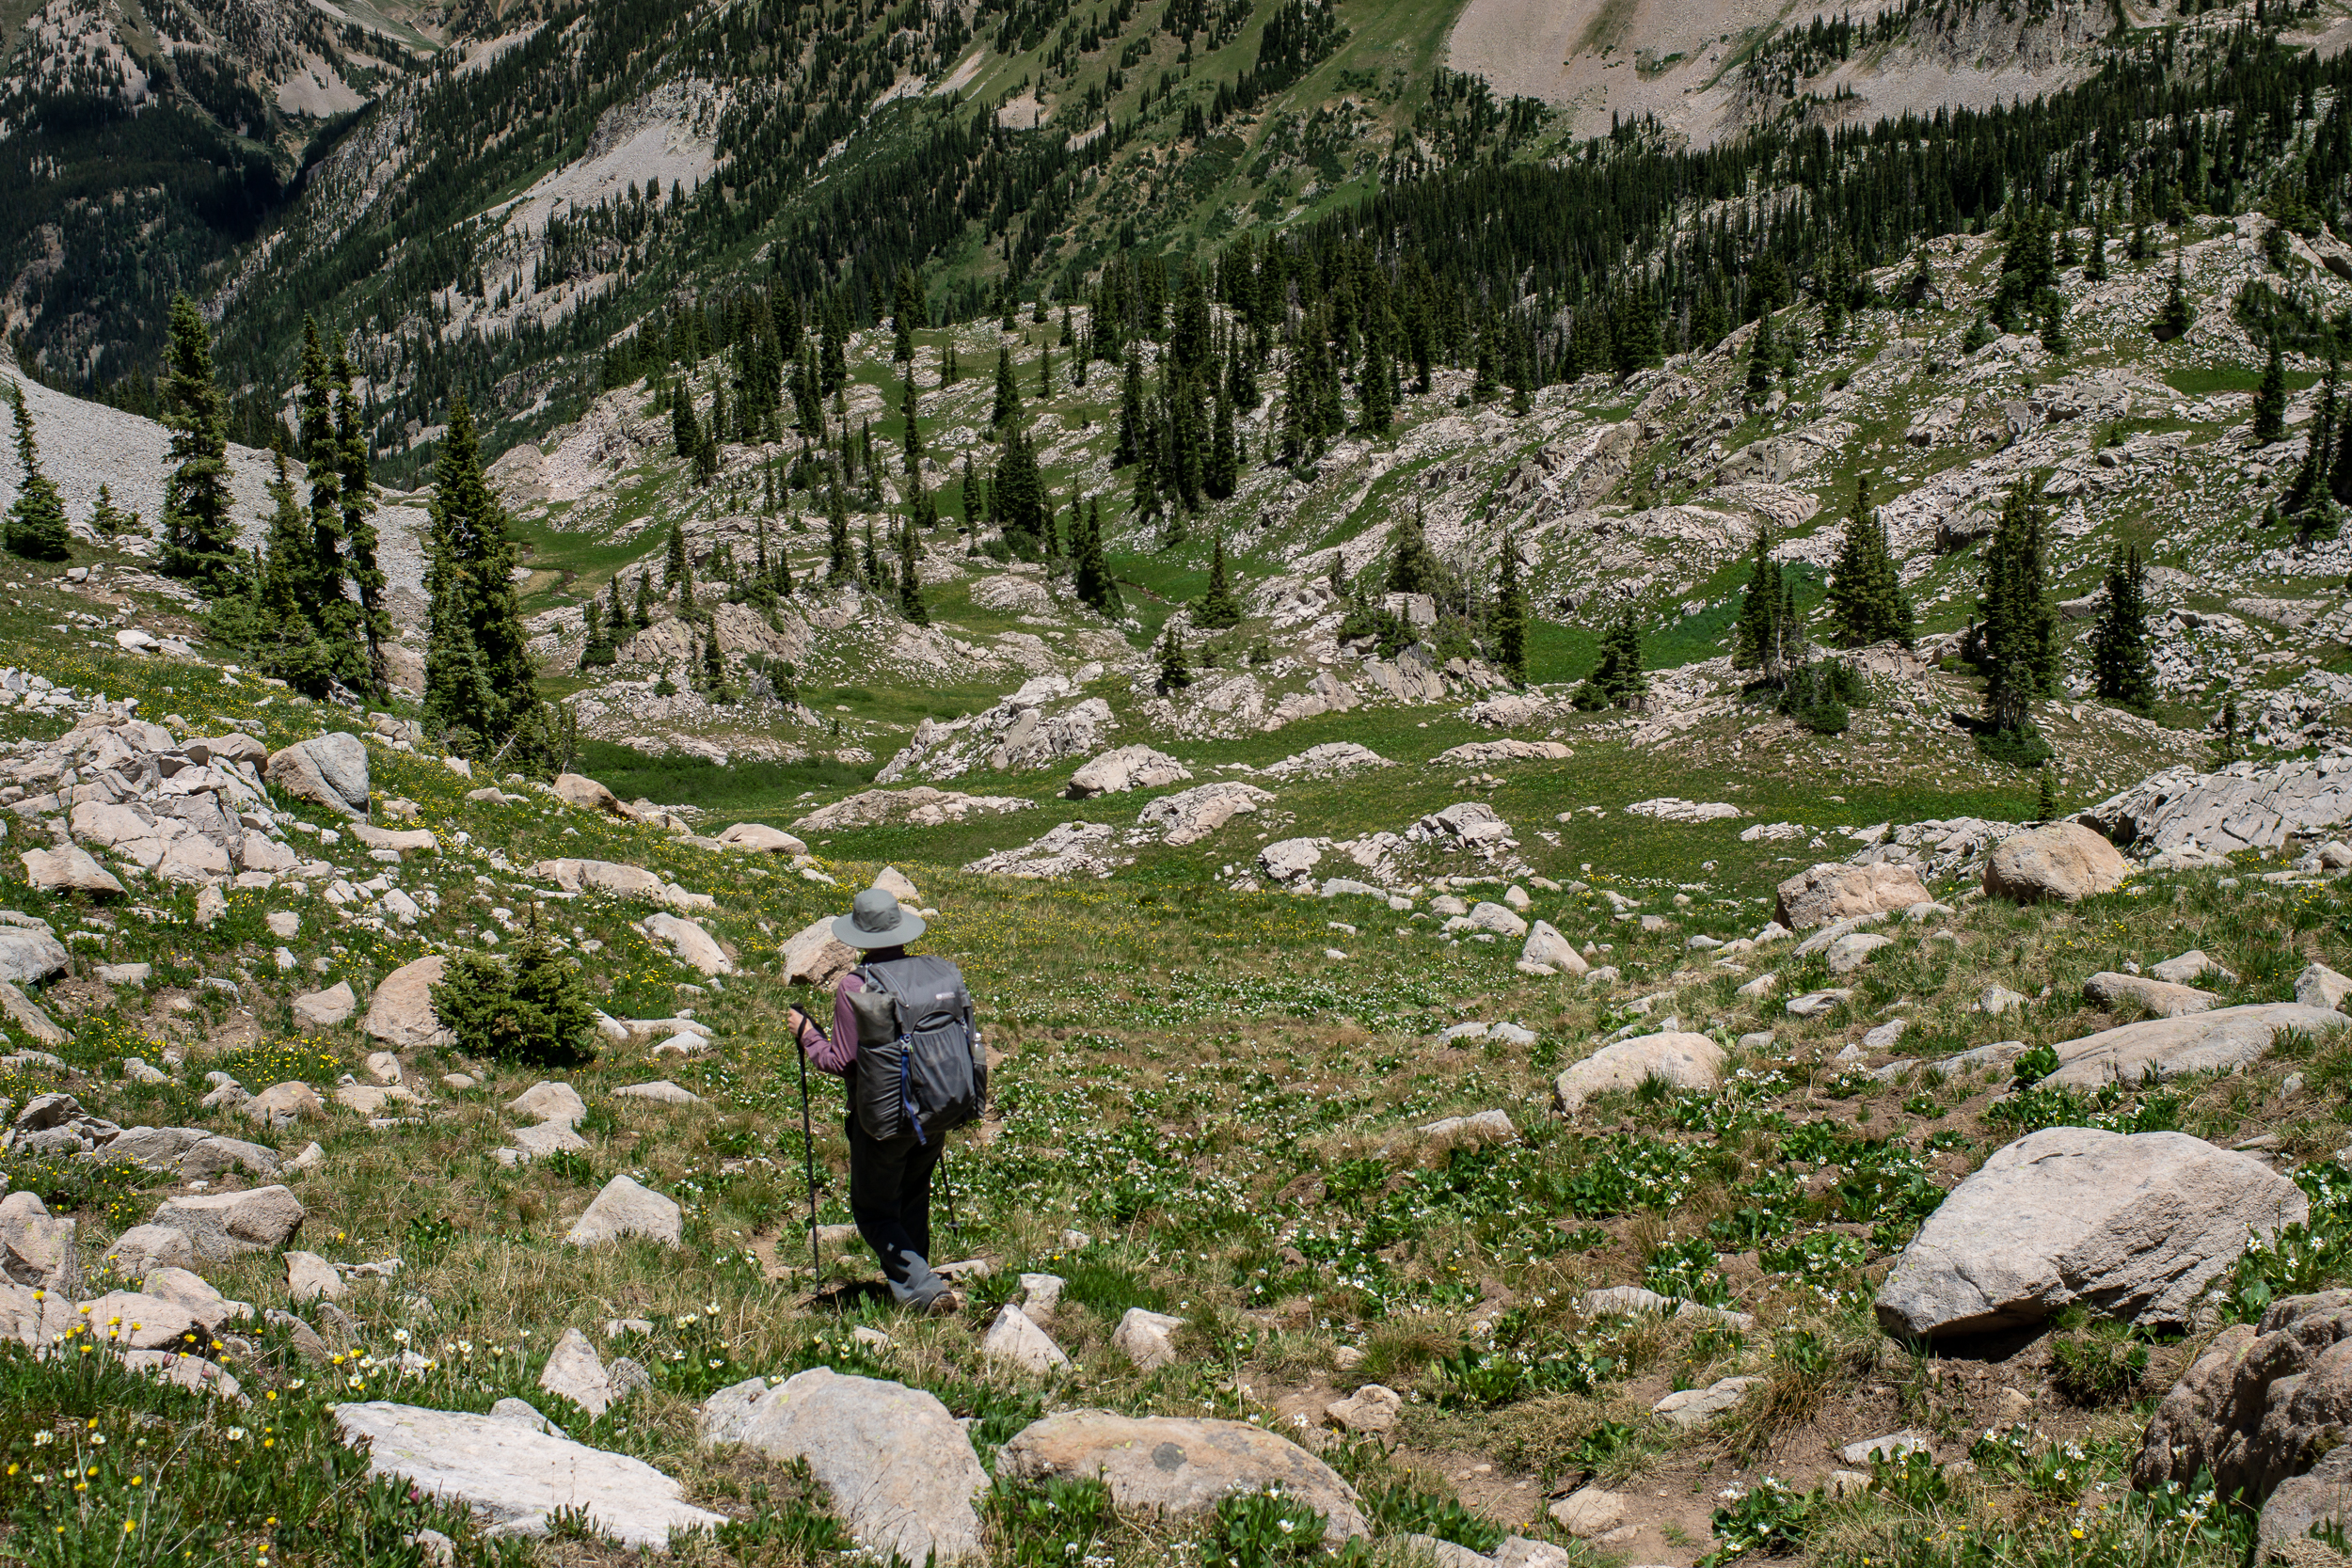
Walking the road into Metaline Falls on a hot 90+ degree day, two cars whip a u-turn and pull up behind us. County sheriff and US Border Patrol. Uh-oh, looks like I’m the latest in a long lineage of PNT hikers who DHS finds suspect.

The sheriff jumps out of his car and starts… belly laughing?

Turns out a concerned local citizen called us in thinking we were two homicide suspects from Canada. The sheriff showed us a photo, we most certainly are not.

After running our IDs he offered us a ride the last mile into town (of course in the back). On the short drive he told us some local history, why he loved living in the town and dropped us a block away from the hotel to “not cause alarm” when checking in. My only regret is not snapping a photo of some part of the event, but I assure you it happened.

075130F6-3FB5-483C-BE64-8691941EC545.jpeg

Section 3 of the PNT was a stunning stretch of trail (and it was mostly trail!) but what marked it for me was the kindness of the strangers we met along the way.

Our section started at Feist Creek Resort, whose kindness I touched on in my last post, and ended in Northport WA with a stay at Jami and Josh’s wonderful small town oasis. 160 miles total.

7C8F98E2-3CB3-4C20-950B-BFC27602BE36.jpeg

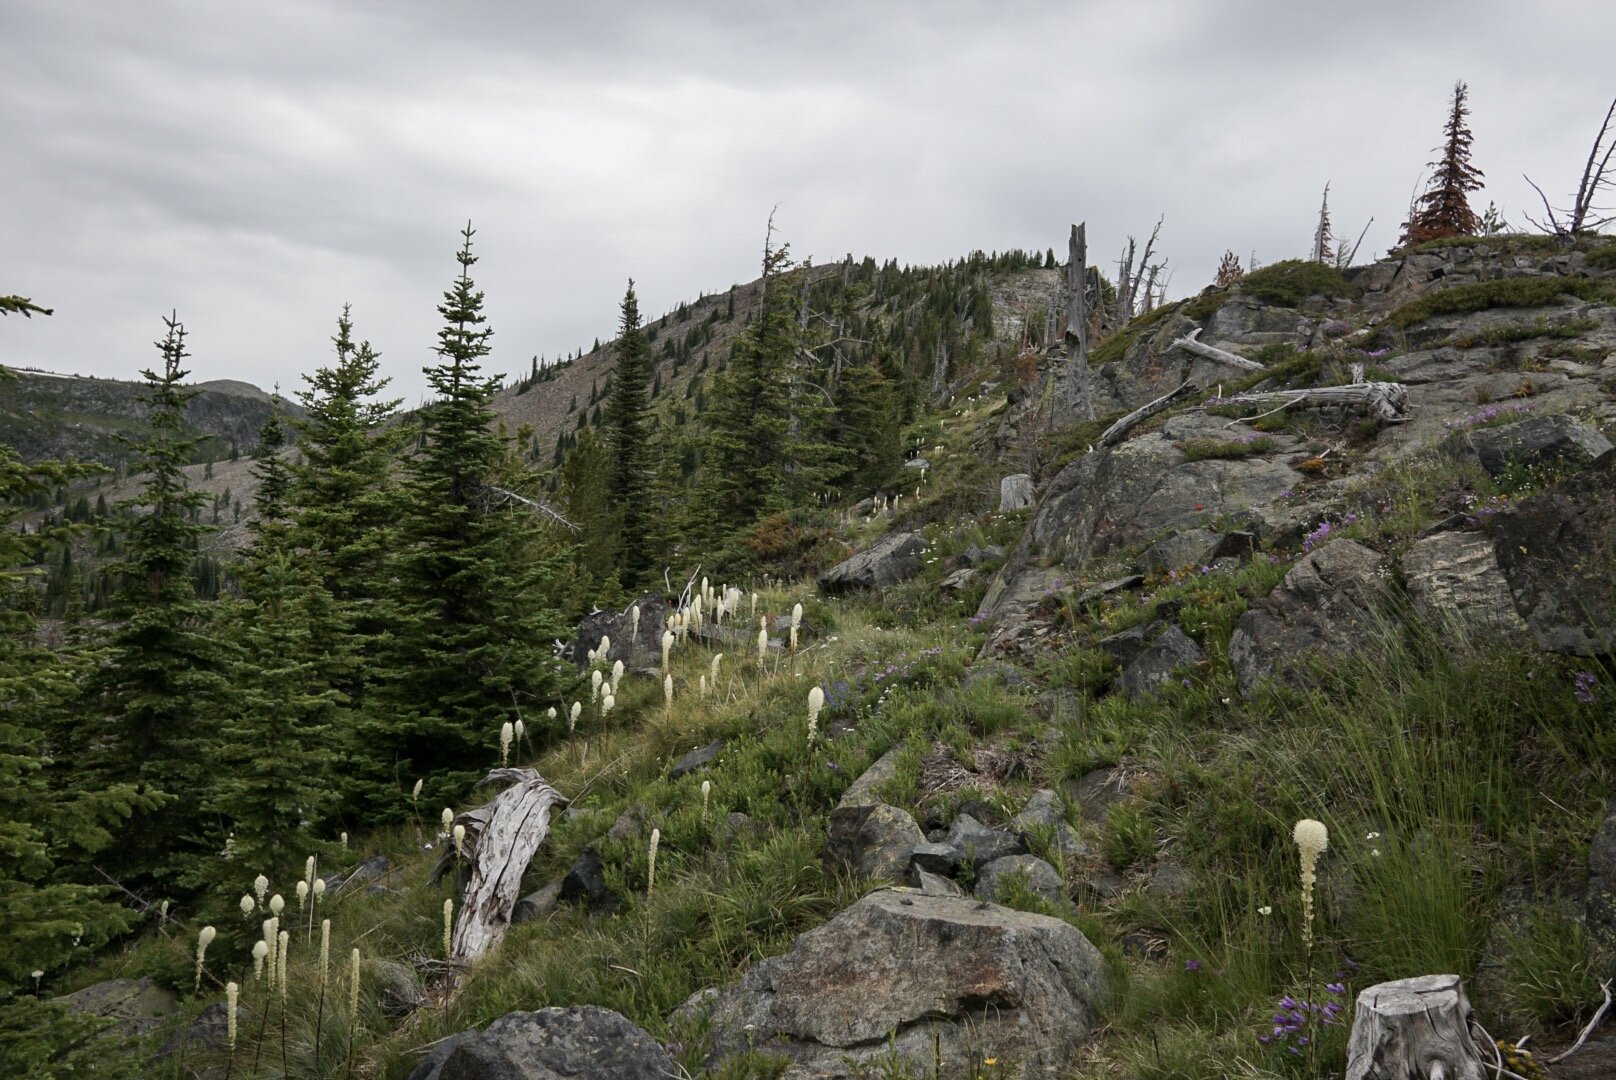
After road walks through farmland to cross the Kootenai Valley we started ascending the Parker Ridge. This was the best day of walking on the PNT so far. After a big climb we were treated to ridge-line views for miles and miles. The weather was cool and the rain held off until just before camp.

Then the next day was the bushwhack day. The PNT bills this as the “rite of passage” day. You can either A: bushwhack about seven miles through thick forest where “grizzlies are known to occur” or B: take a ten mile “climber’s route” along a trail-less ridge with class two and three scrambling. Both are estimated to take a full day.

DDF9F074-230F-4667-B345-07168C5E5246.jpeg

As much as I wanted to take the ridge route I was nervous about my climbing skills and didn’t think this would be the best time or place to find out how good I was. I was feeling a little down about this decision but a few hours into our bushwhack the sky opened up with thunder, lightning and hail. It stormed for the rest of the day and I was sure happy then that I took the low route. Things got a little weird in there but we made it out alive.

A1C3D370-F860-4D3D-ADF6-06A2D3BEC386.jpeg

The day after the bushwhack we slept in and rewarded ourselves with a short day and a beach camp on Upper Priest Lake, a gorgeous lake and our first rain free day of the trip! A perfect day for swimming and relaxing.

A65CEE9A-329B-45BC-8A53-083672DEA257.jpeg

Being a Sunday there were many boaters out on the lake. One particularly rambunctious group pulled up on our beach. Good news, Sunday Funday boaters have two things hikers love: food and beer!

When they heard about our hike the coolers and food baskets opened up and sausage, cheese and cold, cold beers emerged (cue a choir of angels singing)!

3C8B0554-5F82-4EBC-954B-503AB8658A3C.jpeg
890C285D-2D5B-47F9-A121-312998F3D447.jpeg

The next day was a beautiful stretch of trail through old growth cedars and along another ridge-line. There were limited spots to camp so at the late hour the best place we could find was in a trailhead parking in front of the PNT trail crew truck.  Thanks PNT!

735DD1DE-ED8F-4827-B1C1-E6F0206DCA30.jpeg

Then into Metaline Falls (after the sheriff incident) where the Washington Hotel was something out of a hikers dream. Laundry, coffee, town clothes, soft sheets and the owner Arlie who despite not knowing really how the hotel ran was just absolutely excited to host hikers. Then Mary another trail angel, who owns the local theater, opened it up for a special hiker only screening of Toy Story 4. We’re killing it!

CD5537B0-8904-4114-B9E3-C952D4241717.jpeg

It was hard to leave but the trail called us up Abercrombie Mt for a stunning night on a ridge and time to sew some holes in our shoes.

A2A46FC3-F194-49E2-8D5A-9B071D2E6305.jpeg

The walk into Northport the next day was less than ideal (hot paved roads for ~19 miles) but it was totally worth it. The Mustang Grill literally opened the door for us and served up a huge meal. Then a short walk down the road to trail angel Jami and Josh’s beautiful house and perfect backyard for a day and night of relaxing, eating and great conversation.

The kindness showed to us on this leg of the journey makes leaving a tough thing to do, but section 4 awaits!

D41A8D3B-11FE-4B4E-81D5-D57763A64DDA.jpeg

Hey PNT: I Still Love You but the Honeymoon Is Over

A version of this post appears on The Trek, which you can read here

Don’t get the wrong idea, we’re having a great time but section two of the PNT has more road walking, fewer alpine views, and more up and down. To be fair, the first section through the majestic mist-shrouded peaks of Glacier was always going to be a tough act to follow.

Physically the initial boost of energy and excitement has waned as we set in for the long haul. The day to day of thru-hiking has become more routine and less novel. My body seems to tire easier and recover slower. The road walking is harder on the feet than trails.

But hey, PNT, you’re still amazing.

12C2787B-8571-4F60-BD9E-4DB4E015C344.jpeg

I was enticed by the quiet, subdued beauty in this section. Dark, dense forests that seem to have stood for ages. Rugged mountain trails littered with wildflowers. Secret waterfalls to swim in. Fire lookouts with endless views to stay in (in fact you could line up the first three to four days of this section to stay exclusively in lookouts!).

D16D6C35-1A68-4C89-9F8E-795E6C5426CD.jpeg
7A3709A0-3F6F-414E-A58D-58DD8CE4BF89.jpeg
414AF6BD-E908-453F-84F6-AE3C84BF8DD4.jpeg

Yaak was a great anything goes trail town. Pitch the tent anywhere. $4 burgers. Live music. And maybe even laundry if they can find the key by the time you come. The huckleberries are also ripening!

Feist Creek Falls Resort welcomed us in with open arms (even though they were technically closed) and to a special once a year Vietnamese meal.

F6A11F9C-8B65-4FB3-9FD5-80C0F719D9BA.jpeg

Just when I started to despair all of the road walking, we hit a great alpine section with bountiful wildflowers and lots of views of the mountains that surround us. Including views back to the now tiny peaks of Glacier where we started seemingly so long ago. And views of what’s to come in section three with the mighty Selkirks looming to the west.

4EDD24BE-DA66-4B57-BBB6-C4BA27111046.jpeg

The honeymoon’s over, but PNT, our relationship is just getting started.

PNT Section 1 – Am I Back in New Zealand?

A version of this post appears on The Trek, which you can read here

I grew up spending lots of time in the outdoors but I credit the two-plus years I lived in New Zealand for cultivating my love for backpacking.

Ever since moving back stateside I’ve been looking and longing for places that could match. The Pacific Northwest is the closest I’ve found in the Lower 48, a big part of the reason I chose to thru-hike the Pacific Northwest Trail.

BD040E1C-1443-4902-AB86-EE820CF0D78F.jpeg

I was expecting the NZ nostalgia to kick in during the Olympics, possibly the Cascades, but not right away in Glacier National Park. Steep mountains, wet misty weather and lush valleys took me back to the land of the long white cloud.

6EDE4785-1F74-4799-802B-1F3AD593F184.jpeg

Getting to the start of the PNT at the Chief Mountain trailhead is a bit of an adventure in and of itself. There are many ways to get to Chief Mountain but they boil down to either hiring an expensive private shuttle or a series of free shuttles and hitches that can take the better part of a day. Then I got a lead on a former AT hiker, Turtle Man, giving rides to hikers in his turtle van for a very reasonable rate.

We crammed in four PNT hikers and one CDT hiker and set off on the two-hour journey. About halfway through on the Going-to-the-Sun road Turtle Man told us to slide open the door to “enjoy the epic views.” Epic indeed.

58DCFB35-A1C7-423E-9664-23BF001F440E.jpeg

It was overcast when we set out, the best weather we’d have for the better part of the next week. Certainly the driest we’d be. I wish we had more of the views in Glacier but there is a special moody feeling to walking through mountains shrouded in mist and cloud (those NZ feels kicking in again).

The trail runs right through the town of Polebridge at mile 55. Consisting of a hostel, a bar, and a general store, it has everything you need and nothing you don’t. The perfect place for hungry and wet hikers.

82DD1ED4-04EC-4F47-81C4-A0516A0DE8F8.jpeg

The second half of section one runs 80 miles through national forest, features more ridge walking, more up and down, and we are no longer permit limited so we can hike as far as we please each day.

The weather also improves; it still rains each day but for shorter and shorter amounts of time. The highlight of the four days to Eureka is the night we spent atop Stahl Peak in an old hut. The sunset was out of this world and the weather was perfect. The pictures do a better job describing it than I ever could.

BF46BC46-FD5C-4BEB-8009-9569AA76C4B9.jpeg

My Final Gear List for the Pacific Northwest Trail

A version of this post appears on The Trek, which you can read here

Let’s get down on some gear talk for a second. I love nerding out on my spreadsheets (believe me I do) but I also like my bank account to be larger than my base weight. 

276B92E3-AF87-4055-B422-218D29B1D70A.jpeg

As a backpacking couple I get a nice bonus to split weight on items and can also skirt needing to buy super light options. For example, our Silnylon Tarptent MoTrail is 38oz with stakes. You can definitely go lighter but split two ways it’s 19oz each and under $300. Not bad.

Gear-08325.jpg

Being patient has rewarded me with a pretty good run with sales. I found my 850 fill down puffer jacket for $14 at a Kohl’s end of season blow out. I don’t have a fancy logo on it but it keeps me toasty, and at 9.9oz no complaints here.

Sometimes I’ve been downright lucky. My Gossamer Gear Pilgrim pack I found at a thrift store, in pristine condition, for $49.99. Whatever gods blessed me on that day I am forever in your debt.

Of course many times I’ve had to just bite the bullet and pay full price. However, I’ve had good luck buying quality items when I do buy new. I’ve had my Enlightened Equipment Accomplice sleeping quilt for 2.5 years now and it’s still going strong. The initial price tag of around $400 was not fun but certainly worth it in the long run, especially if it makes through this summer.

Tl;dr that’s a long winded intro to giving you a glimpse into my pack. Below is all the gear K and I are bringing on our thru hike this summer. It works out to a base weight of  11.1 lbs each. On our longest sections, 9 days and 8 nights, we’re starting off with a total carried weight of 29.85lbs including food and consumables. 

Document-page-001.jpg
Document-page-002.jpg
Document-page-003.jpg

PNT Prep

Less than 3 weeks until we set off on the Pacific Northwest Trail and we’re in full prep mode. Food, maps, gear. Our apartment is a mess.

PNT Prep-1323.jpg
PNT Prep-1343.jpg

Mostly the mess is due to the food. We’re making all of our meals due to K’s gluten allergy (more info and a recipe here). It’s a lot of work to do ahead of time but it’s also pretty fun, put on some tunes and get a production line going.

Biggest change from previous backpacking trips is we’re going no cook. At least that’s the plan. Seems doable from the comfort of our home but time will tell how I feel after ~70 days of cold soaking (don’t worry my stove will be on hand to send via resupply in case this plan goes horribly south).

2 months of maps 😍

2 months of maps 😍

Maps! Maps are maybe my favorite thing. Not just for backpacking but maybe also in life. K can attest to how long it took me to sort these out (too long) because I kept stopping to look them over. So pretty. So nice. Can’t wait to start using them.

The Pacific Northwest Trail

A version of this article appears on The Trek, which you can read here

I remember as a kid seeing a North Country Trail sign while hiking on Lake Superior. I asked my uncle where the trail went and when he said “New York to North Dakota” the idea of hiking that far both baffled and enticed me.

Since then thru-hiking a long trail has always been in the back of my mind as “something to do someday” but I never really had a plan (or time) on how to do it. Then 3 years ago when I was laid up with a broken ankle I stumbled across the book “Grizzly Bears and Razor Claims” by Chris Townsend. I devoured it. The Pacific Northwest Trail resonated with me: rugged, rough, remote. I became somewhat (ok, totally) obsessed with the idea of hiking it.

And just over a month from now I’ll be starting the PNT. Hell. Yes.

IMG_1315.jpg
PNT+Profile.jpg

Why the PNT?

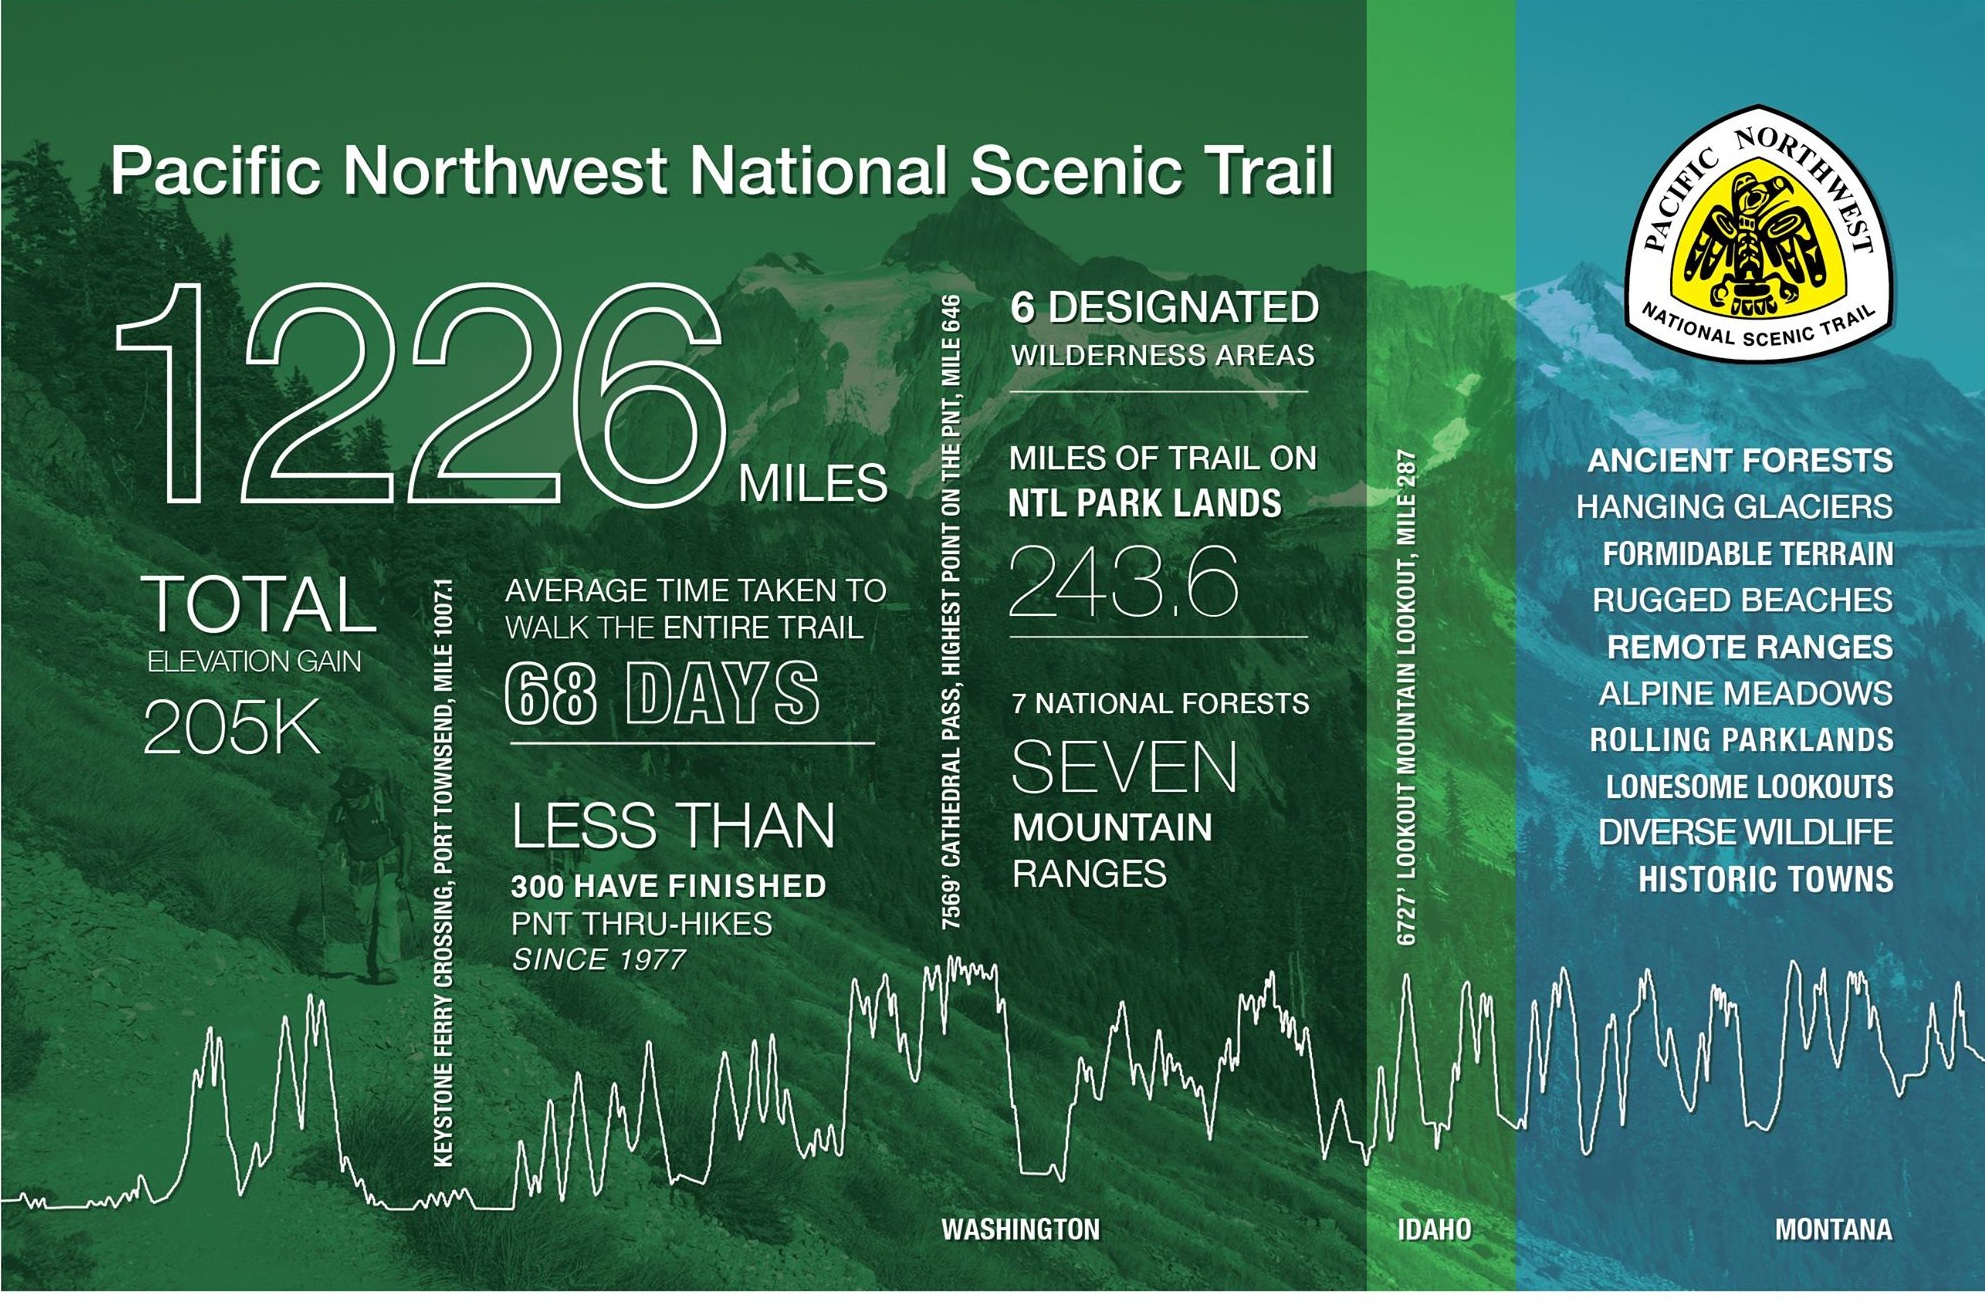
The PNT has all the things I love about backpacking: navigation challenges, undeveloped sections, bushwacking and solitude. The length is perfect for my 3 month timeframe, the trail typically takes 2-3 months. These are the reasons why I’m choosing the PNT over some of the more popular trails like the AT or PCT. Plus, I love the scenery and the vibe of the Pacific Northwest and am excited to spend the summer walking across it.  

Having a lot of experience backpacking I’m confident in my backcountry skills, but that’s not to sound naive. According the PNTA less than 300 people have completed the trail since its inception in 1977. It’s going to be tough. Really tough. It will test me. It might even break me. All part of the adventure. Let’s do this.

My Sub 2lb Camera Setup

As much as I like to shed weight heading into the backcountry it’s also the time I want the best camera possible.

Sub 2lb set up

Sub 2lb set up

Over the last few years I’ve experimented with the balance of weight and image quality. On shorter trips, like weekend trips or day hikes, I’ve taken full frame cameras such as the Canon 5DS R, Sony A7Rii and Nikon Z7. A full frame camera is an amazing tool to have in the backcountry but the weight penalty comes at a premium. The only one I’d consider on a longer trip would be the lightest of the 3 above, the Sony A7Rii (or A7Sii if I was shooting more video) weighing in at 22oz w/ card and battery. Weight aside I just really love the Sonys and already use them for non-backcountry travel and professional shoots.

Which brings me to my current solution for a balance of weight and quality: the Sony A6000. There are newer models (A6300, A6500) with extra features but ever the frugal guy I was able to get a used A6000 with a low shutter count for a bargain.

Photos w/ Sony A6000 and Zuiko 28mm f/2.8 lens

The A6000 has an APS-C sensor which isn’t as nice as full frame but in high light for outdoor shooting I feel it does a great job. And it only weighs 11.6oz with battery and card (no body cap). 11.6oz!

Lens-wise my preference is to use a prime lens. I think the image quality is superb and they are typically lighter and faster than zoom lenses. There are drawbacks like a fixed focal length, but I mostly take landscape photos and it ends up not being a big deal for me. If I wanted to take wildlife photos I would definitely look into a zoom.

Again, being a frugal guy I tend to be an opportunist when it comes to lenses (and everything in life). The lens I take with me is an old Olympus Zuiko 28mm f2.8. Yes. That’s what I take. I picked it up at a consignment shop for $20 (they tend to run $50-$75 on eBay). All manual everything. With the crop factor of the Sony APS-C sensor (x1.5) the 28mm becomes a 42mm (if I lost you crop factor explained). To me this lens packs quite a punch for its compact size and the weight isn’t too bad at 6.2oz.

My $20 Zuiko 28mm f/2.8

My $20 Zuiko 28mm f/2.8

The downsides are the OM to Sony adaptor weighs another 3oz, no auto focus and it’s a sort of atypical focal length for landscapes. I’ve been considering getting a wider lens, something between 18mm and 28mm, and probably will but it’s hard to justify spending the money.

Outside of my camera setup I love the Peak Design Capture clip. To have my camera on my shoulder strap ready to shoot photos means I use my camera a lot more. It’s actually easier to access than my phone.

I also take the Pedco Ultrapod. The tripod is great for long exposure photos (astrophotography)  and low light situations (morning, dusk) and I trust it with a lot of weight. If you need a tripod it’s great, but I’ve been finding that I rarely use it and, at 4.2oz, would consider leaving it at home when I’m counting every ounce. It’s not that hard to find a rock or a log to balance the camera on the rare occasion that I use it.

A breakdown of my typical backpacking camera setup (*new version of Capture Clip is even lighter than mine!):

camera setup

Never Summer Wilderness Weekend

It feels appropriate to ring in the fall equinox in the Never Summer Wilderness. I wasn’t sure what to expect here having not read much about it (and really I shouldn’t be surprised) but, wow, it was an excellent trip. Scenery was top notch, it was only 2 hours from my door to the trailhead for an amazing weekend loop. And the bonus: from Boulder the fastest way is to take the Trail Ridge Road through Rocky Mountain National Park. Not. Bad.

Never Summer Wilderness-01017.jpg

We hit the trail the first day around 11ish (yes we are lazy). From the parking lot the trail skirts the side of the mountain until it intersection with the Bowen Trail, which is also part of the CDT! From here we began to climb up Bowen Gulch. Our total gain was 2,800ft over 8 miles but given the consistent increase it didn’t feel too bad. We split off the CDT onto the Bowen Lake Trail for the last 1.25 mi to get to Bowen Lake, a great place to set up camp and chill for a few hours before sunset. There were a few people around but it really wasn’t busy. The hike up was mostly through the forest, not much for long views but a very pleasant hike, especially with the aspens starting to change. Scenery at the lake opened up a bit and we could see the ridge we were taking the next day.

2018 Never Summer Wilderness-01039.jpg
Never Summer Wilderness-01050.jpg

Day 2 we hit the trail early and got up onto the ridge behind Bowen Lake, the Cascade Mt Trail. The ridge section is about 4 miles and there are amazing views in every direction. And a summit of Cascade and Ruby Mt if you choose to (the trail itself goes just below the summits). The trail is easy to follow, in a few sections it became faint but since we were following a ridge, no problem.

Never Summer Wilderness-01086.jpg
Never Summer Wilderness-01078.jpg
Never Summer Wilderness-01111.jpg

The ridge descends down to Bowen Pass and intersects with the CDT/Bowen Trail. We headed west on the CDT for a ¼ mile before the intersection of the Jack Park (?) trail. There is a small creek here and it provided a sunny spot for lunch. The trail winds up the side of Fairview Mt and after a mile we bore right at another unnamed trail junction. We headed up to the pass between Fairview Mt and Parika Peak getting good views along the way. At the pass we could see down to Parika Lake and the Baker Gulch, our way back to the car. Parika Lake is exposed and would make for a tough camp in windy weather if doing the loop in the other direction. There are more sheltered spots a bit farther down Baker Gulch near an unnamed lake at approx 11,000ft that would make a good camp. The walk out down the valley became mostly wooded and was similar to the Bowen Trail we took up.

Never Summer Wilderness-01171.jpg

Made it back to the car around 4pm, I was tempted to stop in Estes Park but I’m glad I was able to wait another 30 minutes to Lyons where we hit up the Oskar Blues Taphouse for a delicious burger and a beer.

If you go

20 Hour Getaway

Its a busy Labor Day weekend for me but I have the itch to camp. 

After shooting photos for a client in the morning i grabb my pack and hastily shove my gear in. Luckily, in the spring I got on kick making a bunch of meals in anticipation of hiking season. I grab one of those and some oats and hop in the car. An hour later I’m at the Moffat Tunnel trailhead ready to hit the trail. The beauty of living in Boulder.

Blog Crater Lakes-0545.jpg

I’ve been to James Peak Wilderness before and I know there are multiple lakes with awesome campsites within 3-4 miles of the trailhead. This time I’m headed to the Crater Lake area, about 3 miles from the car. 

It’s late afternoon by this point and most people I pass are headed back to the trailhead. After 2 miles of steady gradual incline I get to the turn off to crater lakes. From here the trail becomes more steep before eventually flattening out near the lakes.

Unsurprisingly, there is a lot of activity around the lakes. On another weekend it could be a nice place to camp but for tonight I’m going another .5 mile and 400ft up to Upper Crater Lake. 

Blog Crater Lakes-0497.jpg
Blog Crater Lakes-0513.jpg

This is the steepest part of the climb and at lake level it becomes more of a rock hopping experience than actual trail. Not a lot in the way of flat sites but I find a little spot for my tent near the east side of the lake just past the outflow. The bonus is no one else is up here camping. 

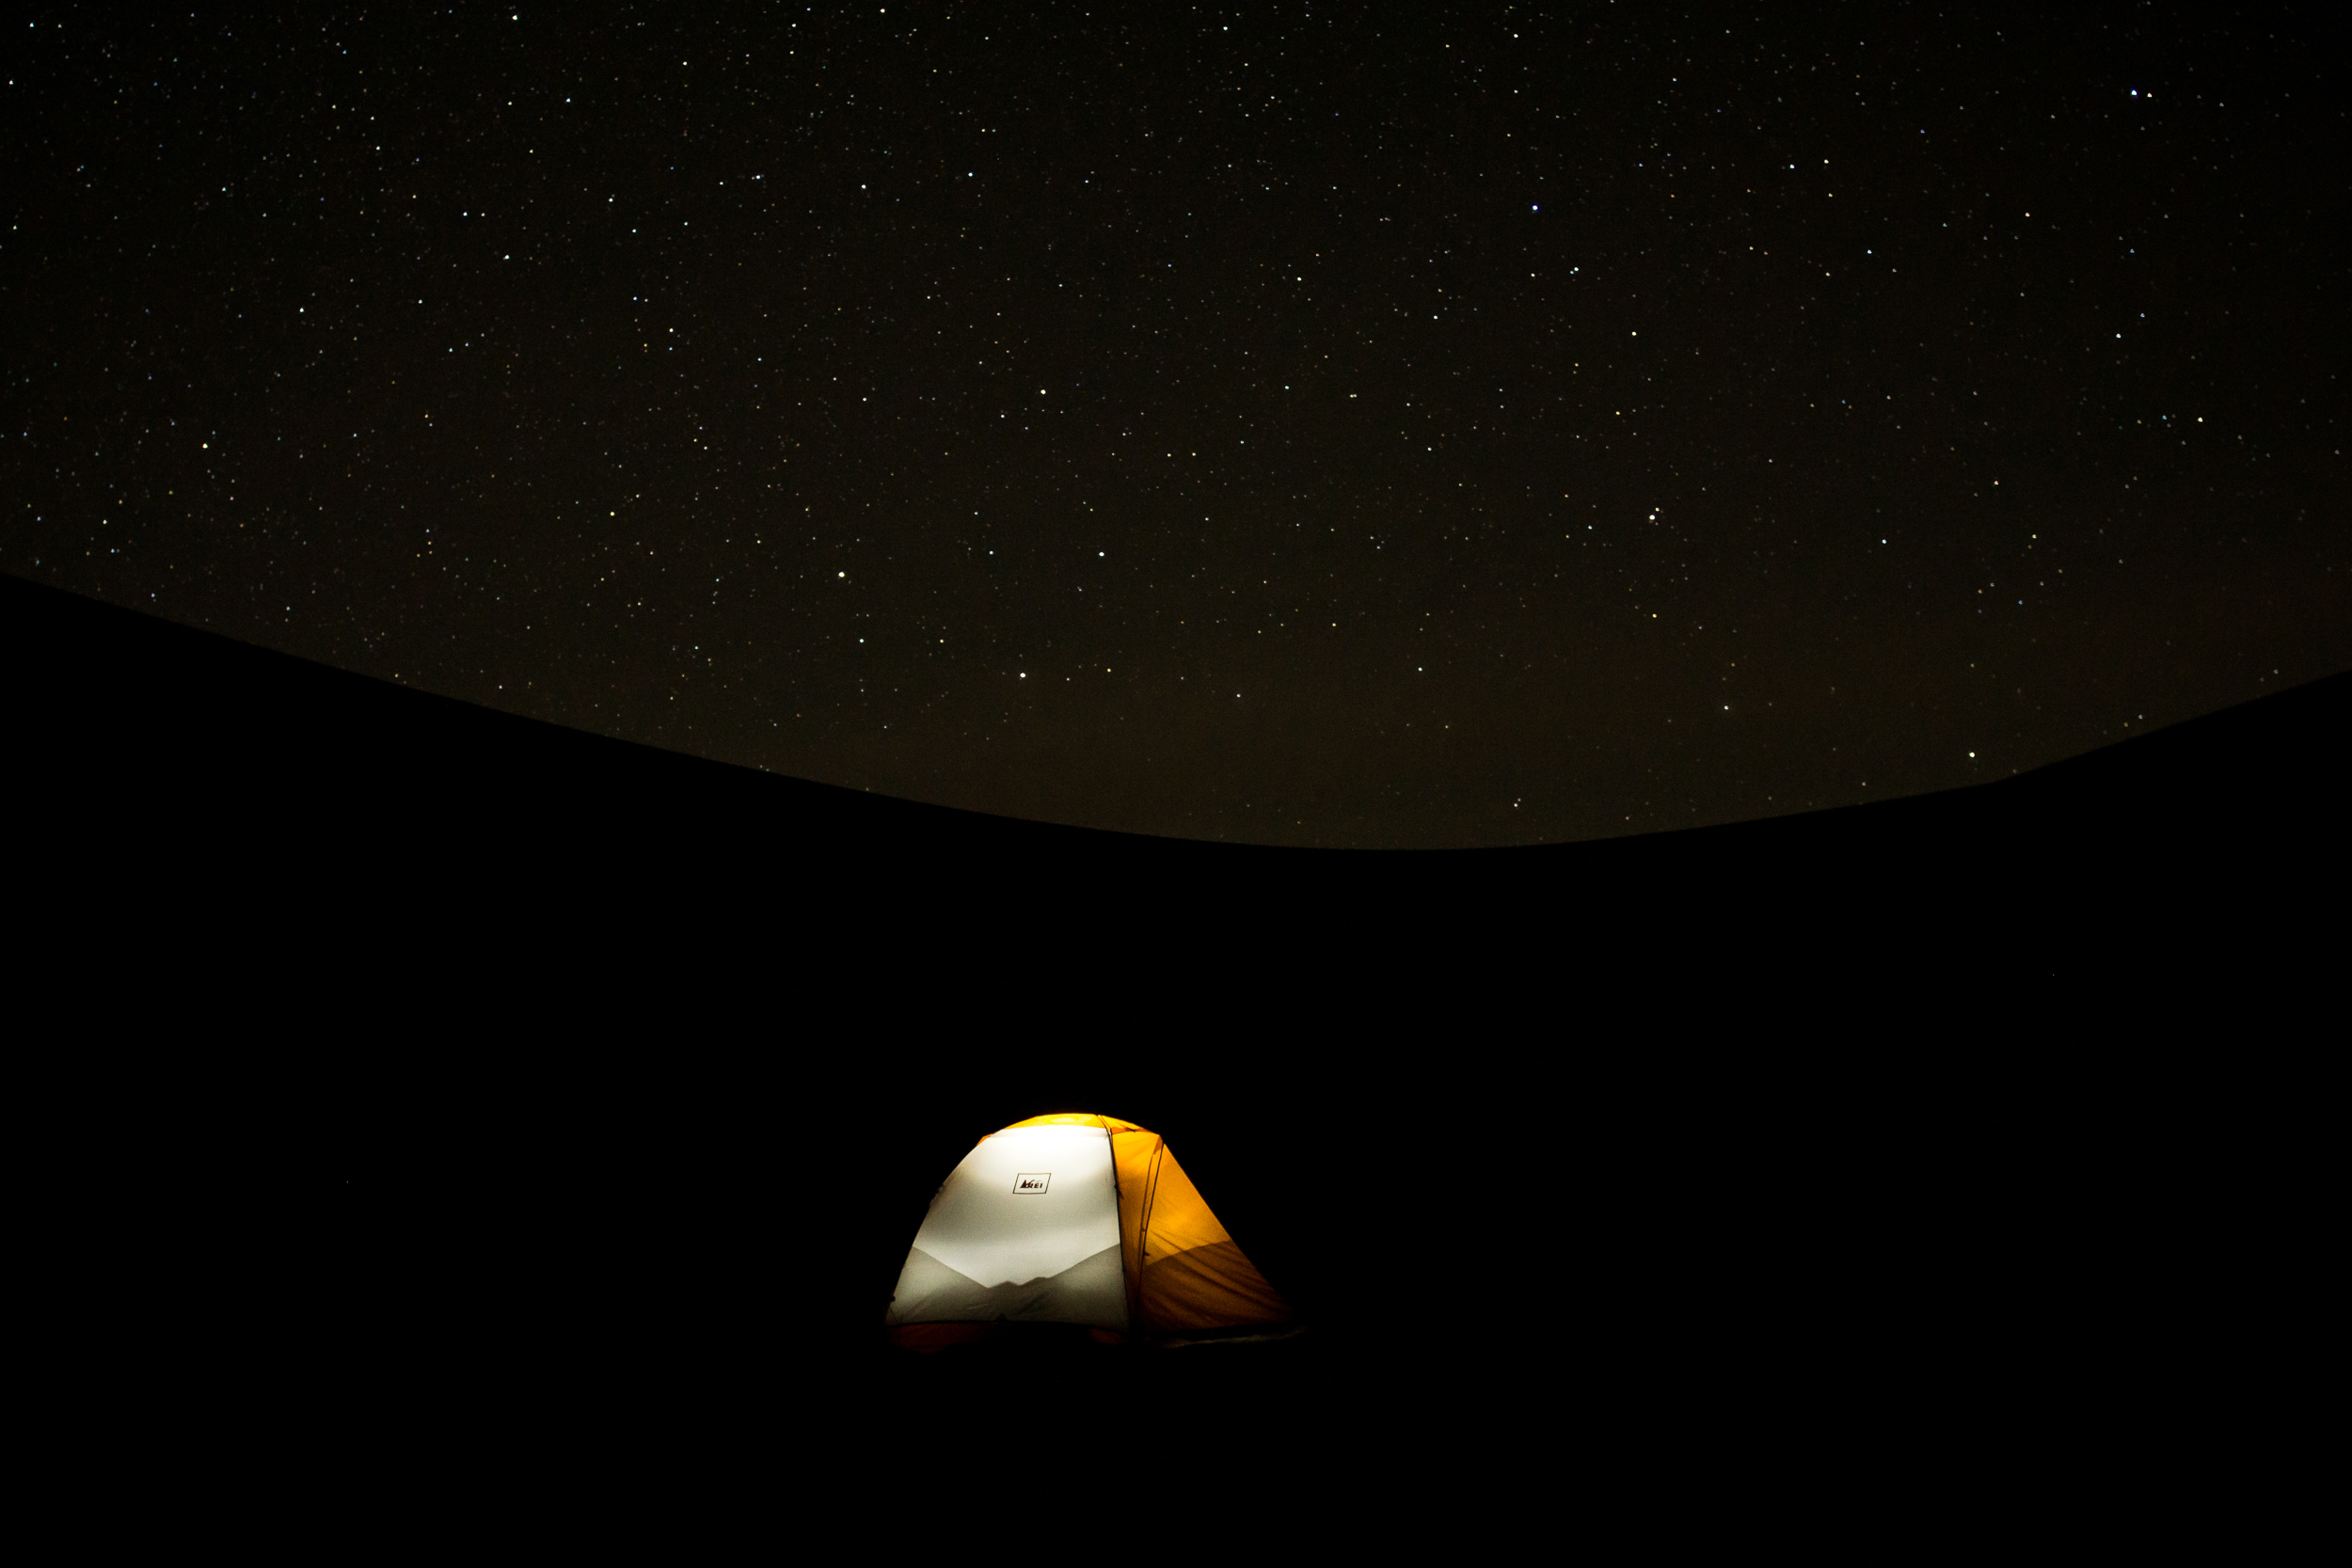
By the time I finish dinner it is already fairly dark and the Milky Way is starting to emerge. The job I was working this morning was using a Canon 5DS R with an 16-35mm zoom. Perfect for having a bit of fun messing around with long exposure shots while the sky is still moonless. This is a great camera, it’s completely impractical to bring into backcountry but, hey, what the hell.

Blog Crater Lakes-0469.jpg
Blog Crater Lakes-0460.jpg

The next day I make it out early to get home. From door to door the whole trip was only 20 hours but was a great reset.

If you go: