Hey PNT: I Still Love You but the Honeymoon Is Over

A version of this post appears on The Trek, which you can read here

Don’t get the wrong idea, we’re having a great time but section two of the PNT has more road walking, fewer alpine views, and more up and down. To be fair, the first section through the majestic mist-shrouded peaks of Glacier was always going to be a tough act to follow.

Physically the initial boost of energy and excitement has waned as we set in for the long haul. The day to day of thru-hiking has become more routine and less novel. My body seems to tire easier and recover slower. The road walking is harder on the feet than trails.

But hey, PNT, you’re still amazing.

12C2787B-8571-4F60-BD9E-4DB4E015C344.jpeg

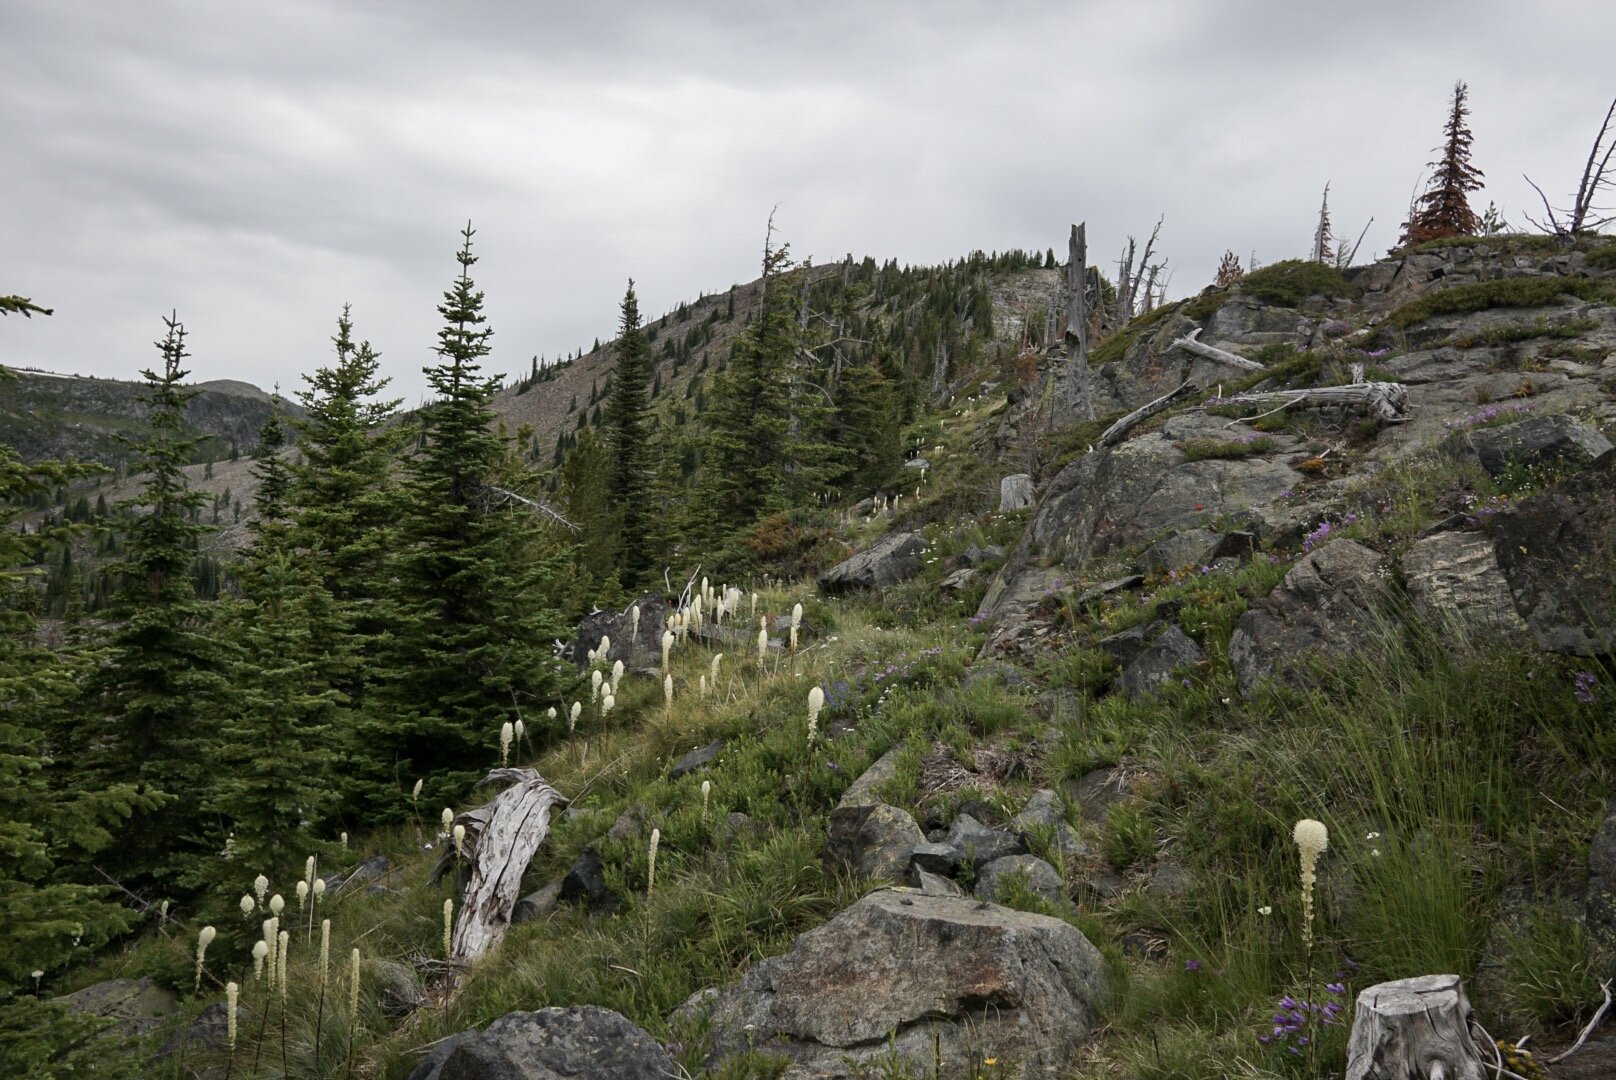
I was enticed by the quiet, subdued beauty in this section. Dark, dense forests that seem to have stood for ages. Rugged mountain trails littered with wildflowers. Secret waterfalls to swim in. Fire lookouts with endless views to stay in (in fact you could line up the first three to four days of this section to stay exclusively in lookouts!).

D16D6C35-1A68-4C89-9F8E-795E6C5426CD.jpeg
7A3709A0-3F6F-414E-A58D-58DD8CE4BF89.jpeg
414AF6BD-E908-453F-84F6-AE3C84BF8DD4.jpeg

Yaak was a great anything goes trail town. Pitch the tent anywhere. $4 burgers. Live music. And maybe even laundry if they can find the key by the time you come. The huckleberries are also ripening!

Feist Creek Falls Resort welcomed us in with open arms (even though they were technically closed) and to a special once a year Vietnamese meal.

F6A11F9C-8B65-4FB3-9FD5-80C0F719D9BA.jpeg

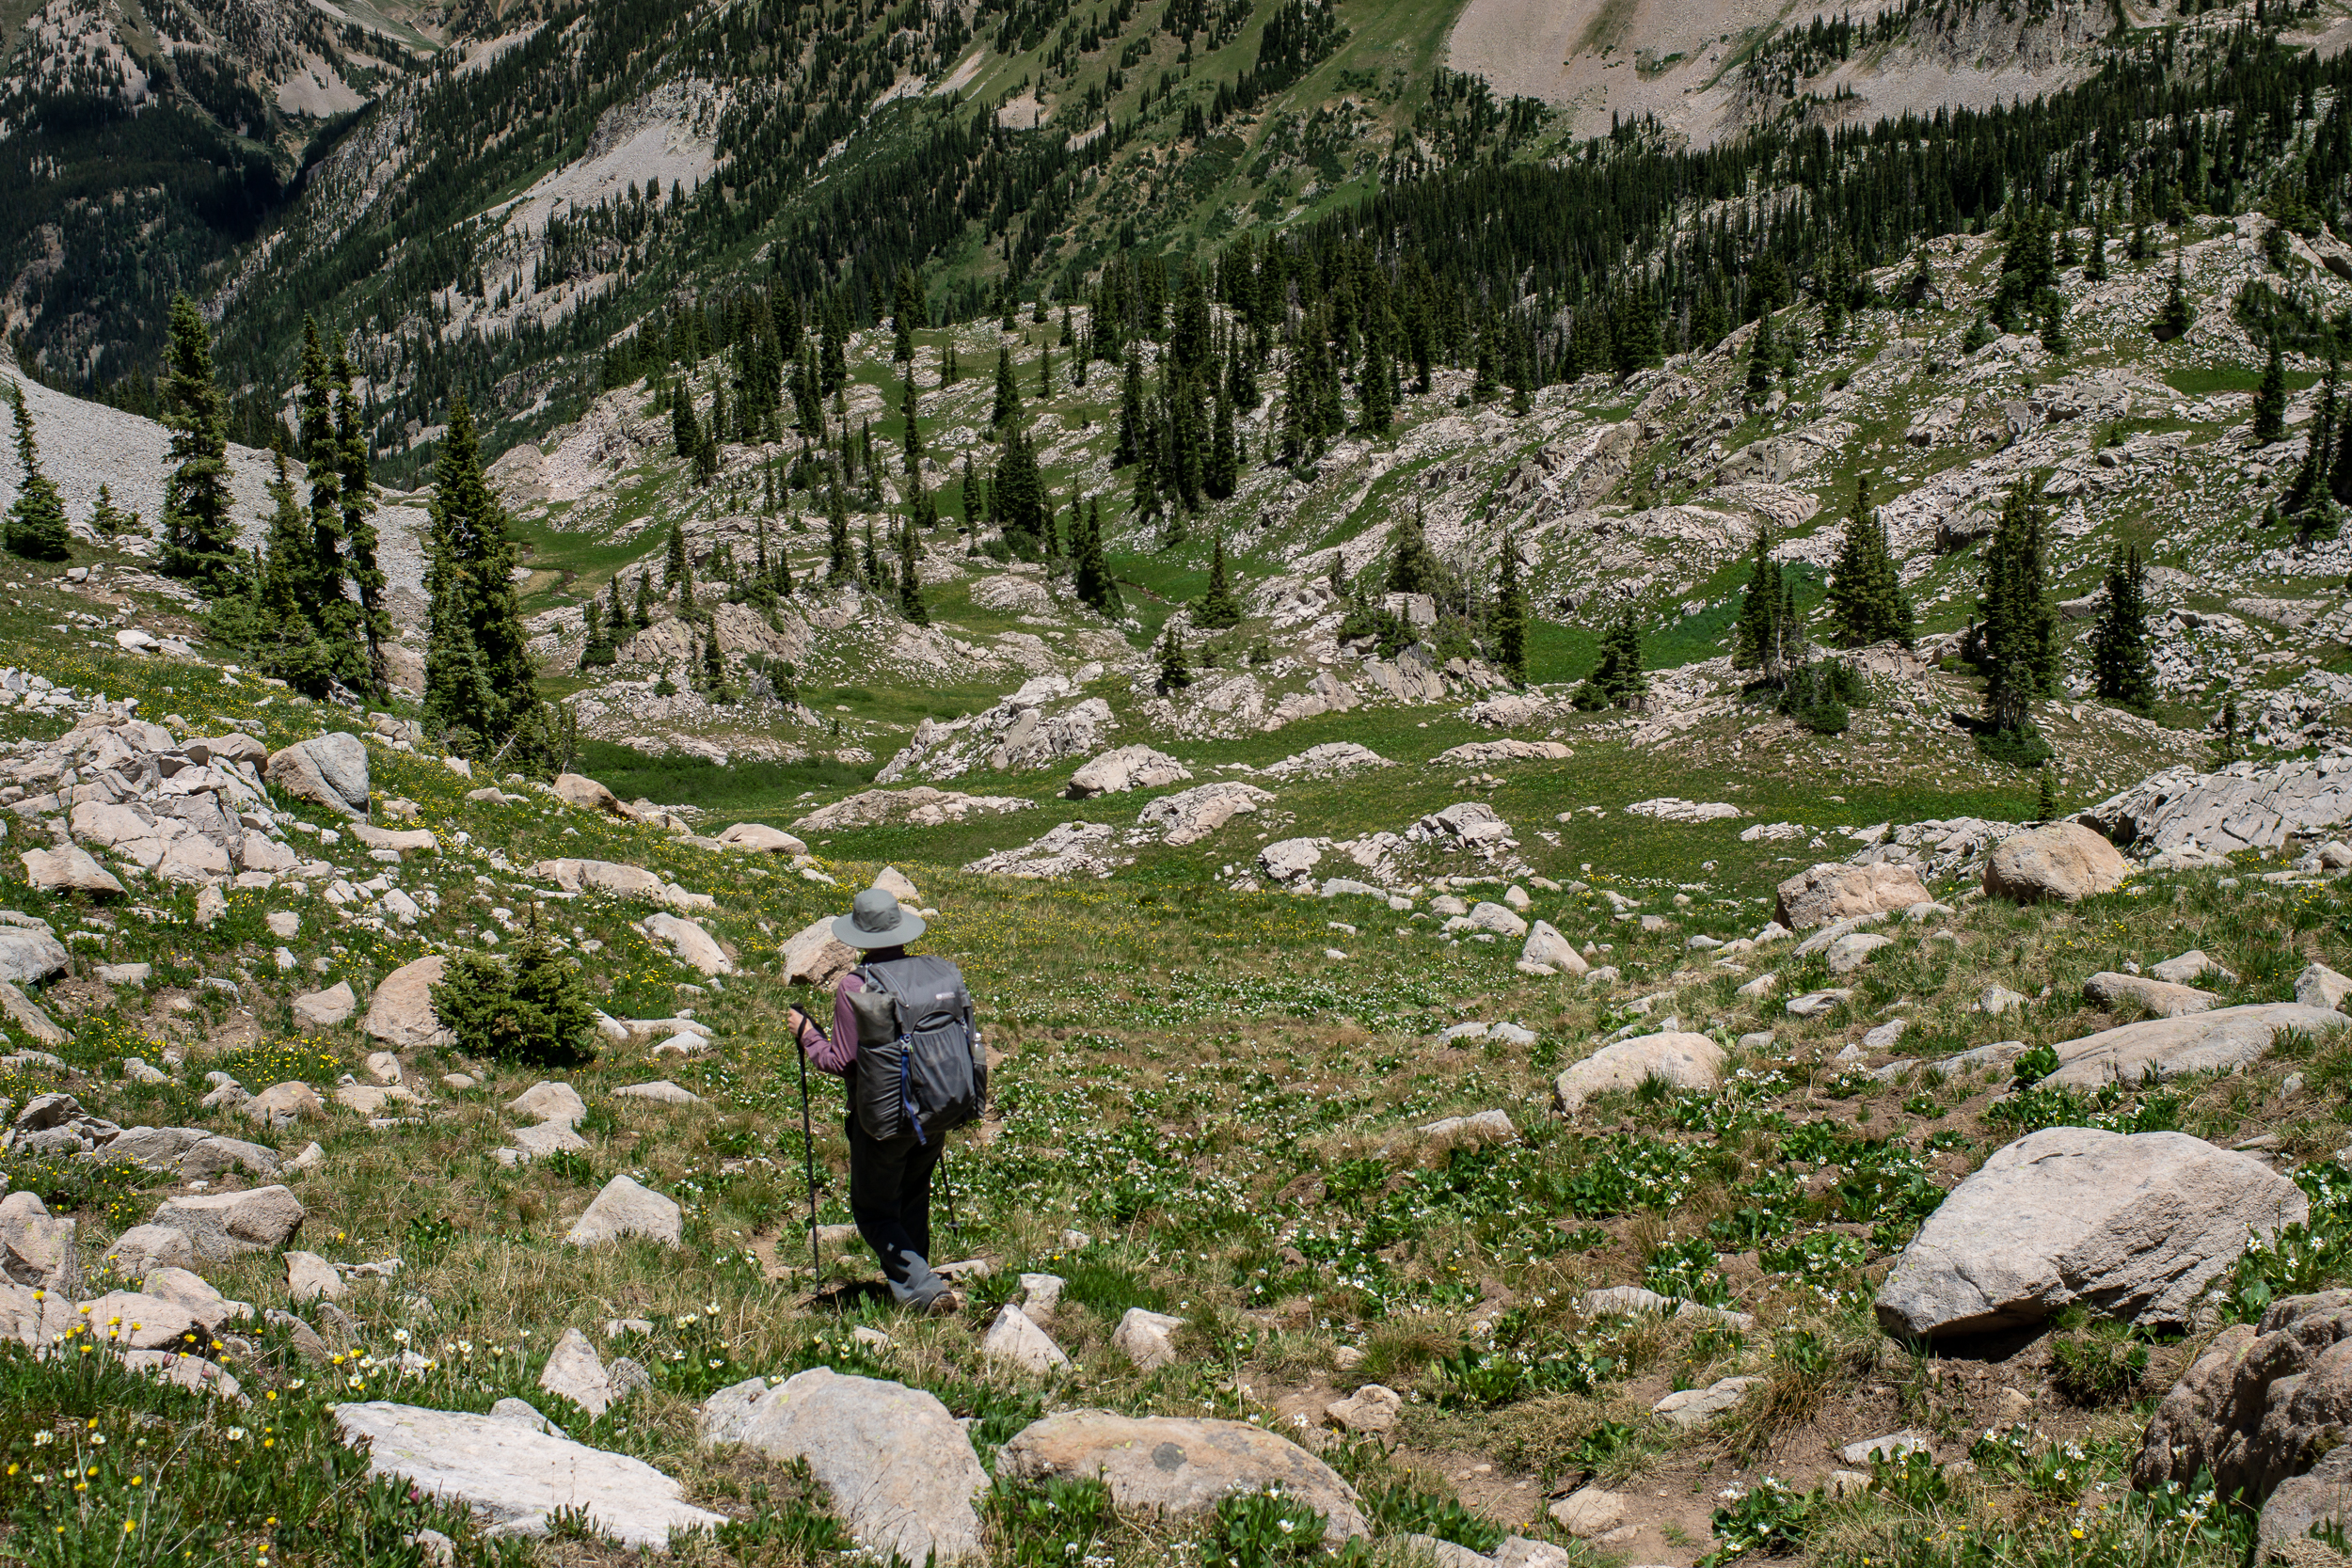
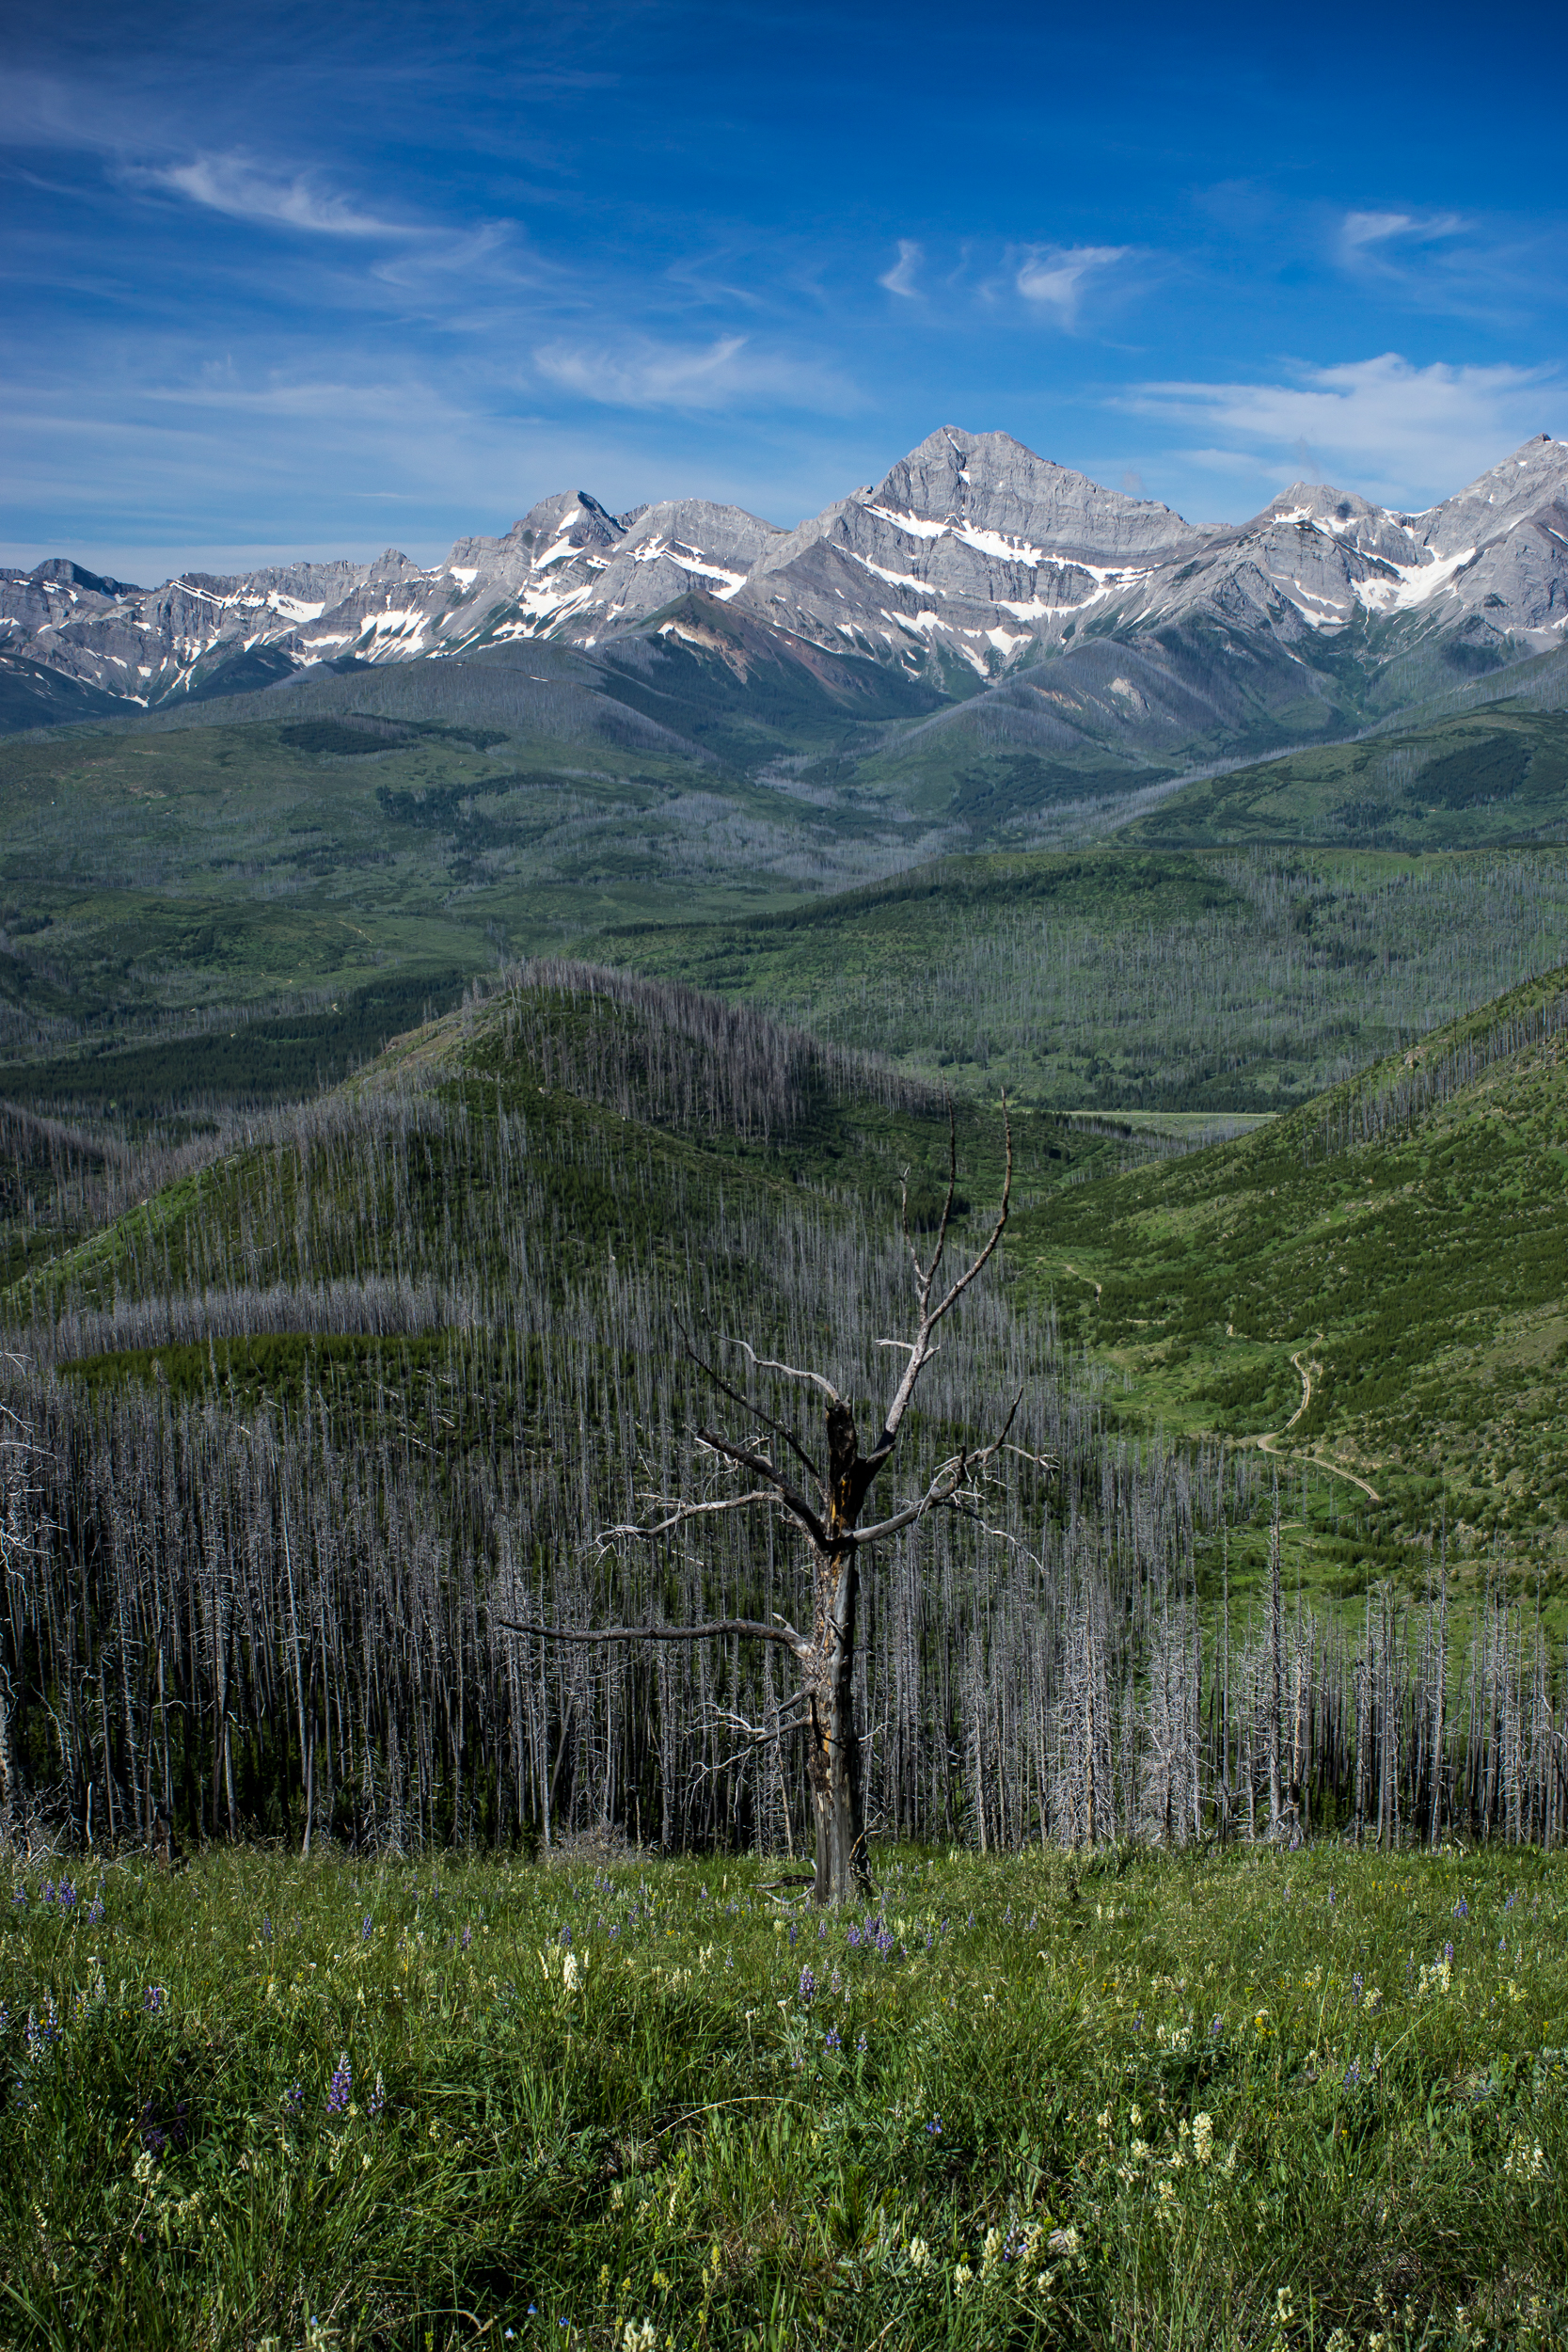
Just when I started to despair all of the road walking, we hit a great alpine section with bountiful wildflowers and lots of views of the mountains that surround us. Including views back to the now tiny peaks of Glacier where we started seemingly so long ago. And views of what’s to come in section three with the mighty Selkirks looming to the west.

4EDD24BE-DA66-4B57-BBB6-C4BA27111046.jpeg

The honeymoon’s over, but PNT, our relationship is just getting started.
PNT Section 1 – Am I Back in New Zealand?

A version of this post appears on The Trek, which you can read here

I grew up spending lots of time in the outdoors but I credit the two-plus years I lived in New Zealand for cultivating my love for backpacking.

Ever since moving back stateside I’ve been looking and longing for places that could match. The Pacific Northwest is the closest I’ve found in the Lower 48, a big part of the reason I chose to thru-hike the Pacific Northwest Trail.

BD040E1C-1443-4902-AB86-EE820CF0D78F.jpeg

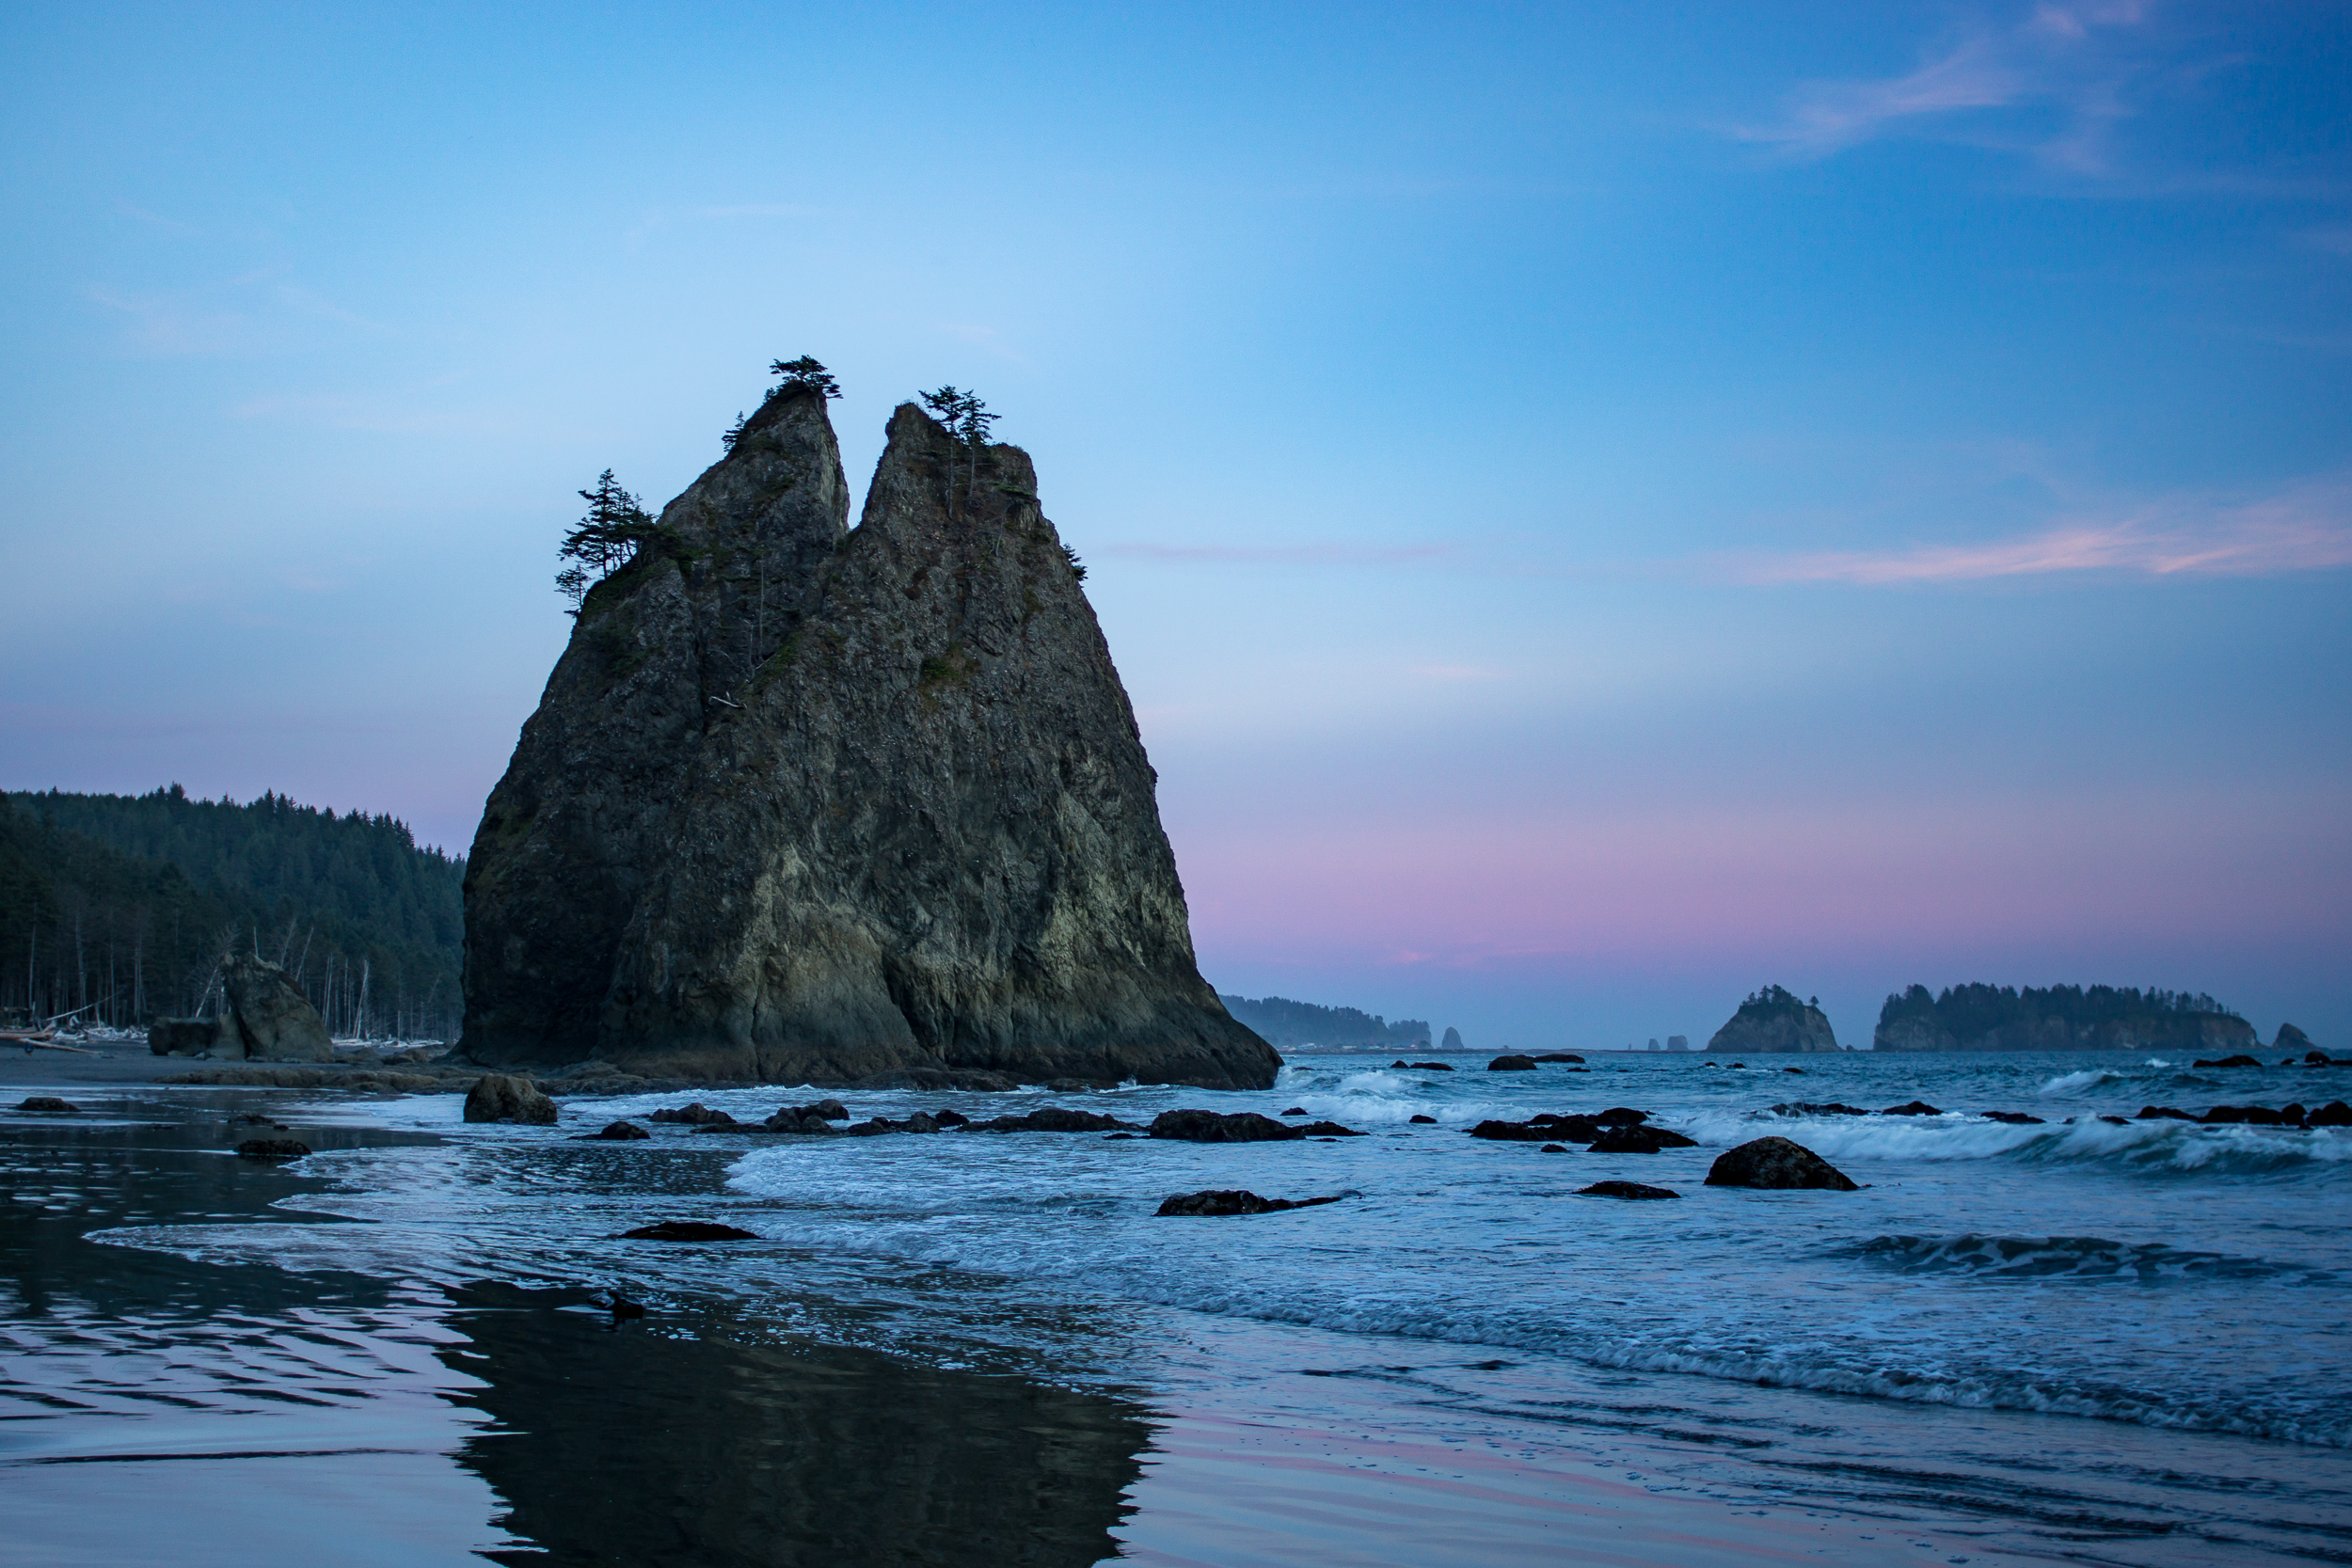
I was expecting the NZ nostalgia to kick in during the Olympics, possibly the Cascades, but not right away in Glacier National Park. Steep mountains, wet misty weather and lush valleys took me back to the land of the long white cloud.

6EDE4785-1F74-4799-802B-1F3AD593F184.jpeg

Getting to the start of the PNT at the Chief Mountain trailhead is a bit of an adventure in and of itself. There are many ways to get to Chief Mountain but they boil down to either hiring an expensive private shuttle or a series of free shuttles and hitches that can take the better part of a day. Then I got a lead on a former AT hiker, Turtle Man, giving rides to hikers in his turtle van for a very reasonable rate.

We crammed in four PNT hikers and one CDT hiker and set off on the two-hour journey. About halfway through on the Going-to-the-Sun road Turtle Man told us to slide open the door to “enjoy the epic views.” Epic indeed.
58DCFB35-A1C7-423E-9664-23BF001F440E.jpeg

It was overcast when we set out, the best weather we’d have for the better part of the next week. Certainly the driest we’d be. I wish we had more of the views in Glacier but there is a special moody feeling to walking through mountains shrouded in mist and cloud (those NZ feels kicking in again).

The trail runs right through the town of Polebridge at mile 55. Consisting of a hostel, a bar, and a general store, it has everything you need and nothing you don’t. The perfect place for hungry and wet hikers.

82DD1ED4-04EC-4F47-81C4-A0516A0DE8F8.jpeg

The second half of section one runs 80 miles through national forest, features more ridge walking, more up and down, and we are no longer permit limited so we can hike as far as we please each day.

The weather also improves; it still rains each day but for shorter and shorter amounts of time. The highlight of the four days to Eureka is the night we spent atop Stahl Peak in an old hut. The sunset was out of this world and the weather was perfect. The pictures do a better job describing it than I ever could.
BF46BC46-FD5C-4BEB-8009-9569AA76C4B9.jpeg

My Final Gear List for the Pacific Northwest Trail

A version of this post appears on The Trek, which you can read here

Let’s get down on some gear talk for a second. I love nerding out on my spreadsheets (believe me I do) but I also like my bank account to be larger than my base weight. 
276B92E3-AF87-4055-B422-218D29B1D70A.jpeg

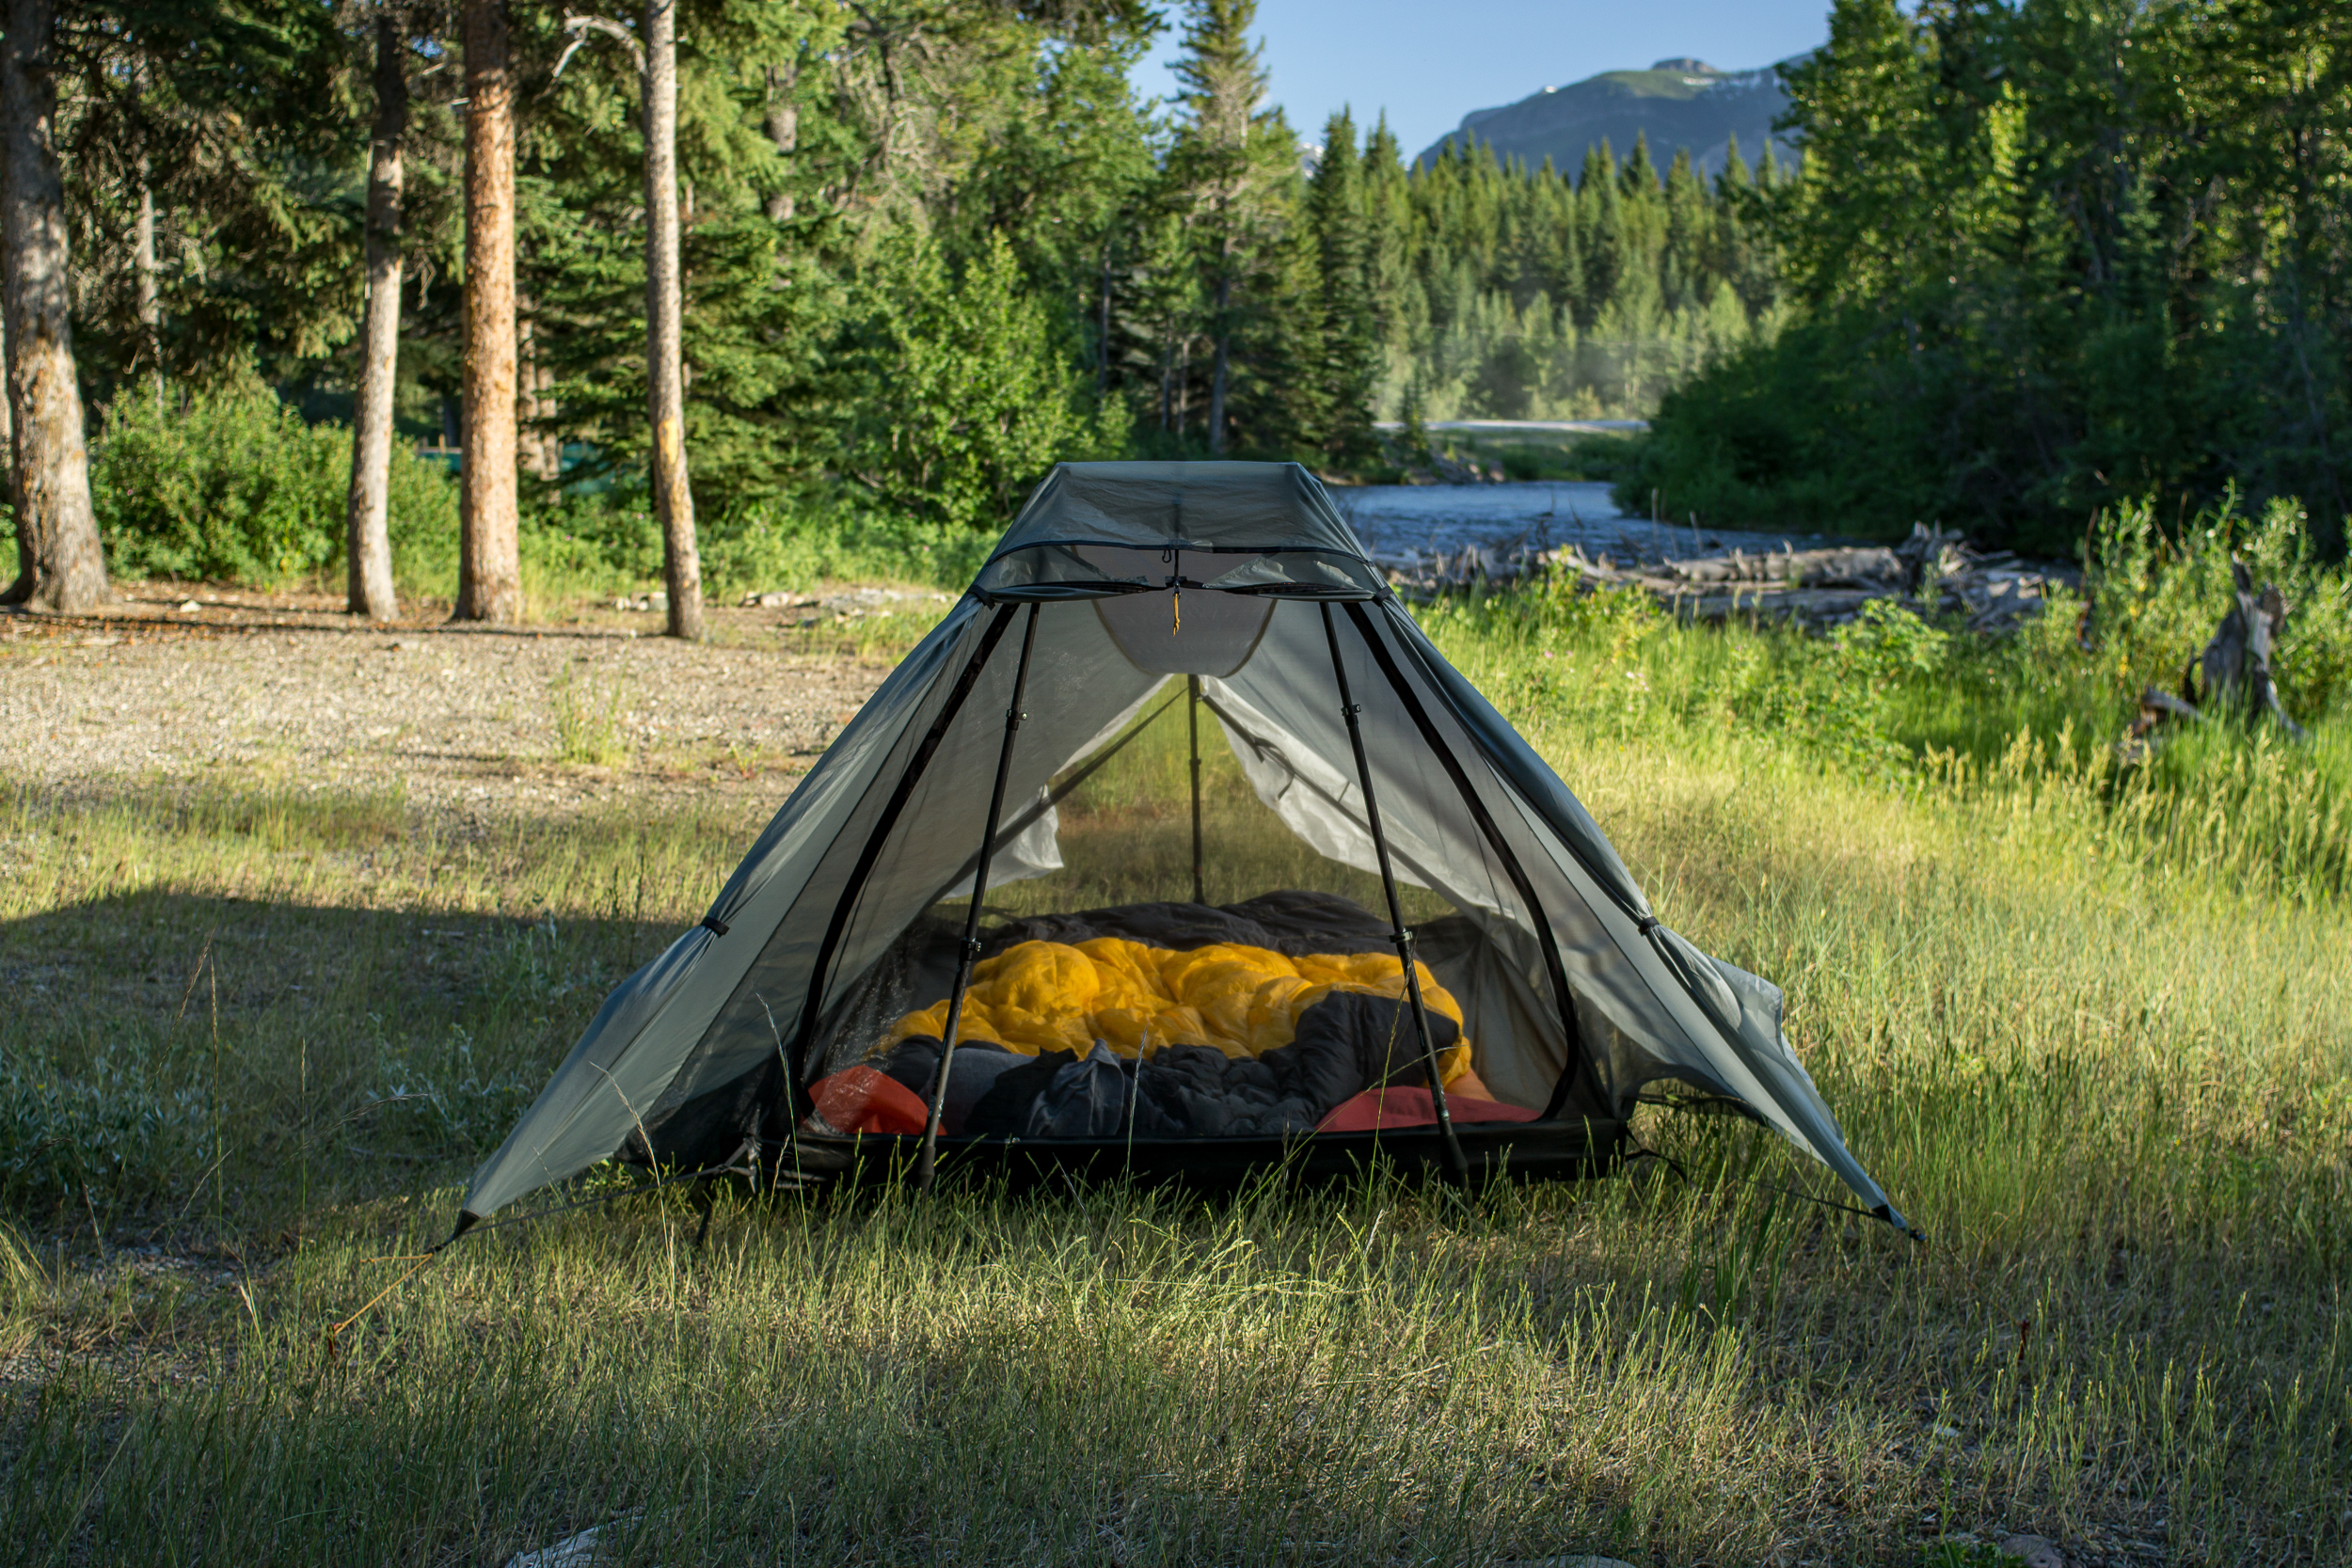
As a backpacking couple I get a nice bonus to split weight on items and can also skirt needing to buy super light options. For example, our Silnylon Tarptent MoTrail is 38oz with stakes. You can definitely go lighter but split two ways it’s 19oz each and under $300. Not bad.

Gear-08325.jpg

Being patient has rewarded me with a pretty good run with sales. I found my 850 fill down puffer jacket for $14 at a Kohl’s end of season blow out. I don’t have a fancy logo on it but it keeps me toasty, and at 9.9oz no complaints here.

Sometimes I’ve been downright lucky. My Gossamer Gear Pilgrim pack I found at a thrift store, in pristine condition, for $49.99. Whatever gods blessed me on that day I am forever in your debt.

Of course many times I’ve had to just bite the bullet and pay full price. However, I’ve had good luck buying quality items when I do buy new. I’ve had my Enlightened Equipment Accomplice sleeping quilt for 2.5 years now and it’s still going strong. The initial price tag of around $400 was not fun but certainly worth it in the long run, especially if it makes through this summer.

Tl;dr that’s a long winded intro to giving you a glimpse into my pack. Below is all the gear K and I are bringing on our thru hike this summer. It works out to a base weight of  11.1 lbs each. On our longest sections, 9 days and 8 nights, we’re starting off with a total carried weight of 29.85lbs including food and consumables. 

Document-page-001.jpg
Document-page-002.jpg
Document-page-003.jpg

PNT Prep

Less than 3 weeks until we set off on the Pacific Northwest Trail and we’re in full prep mode. Food, maps, gear. Our apartment is a mess.

PNT Prep-1323.jpg
PNT Prep-1343.jpg

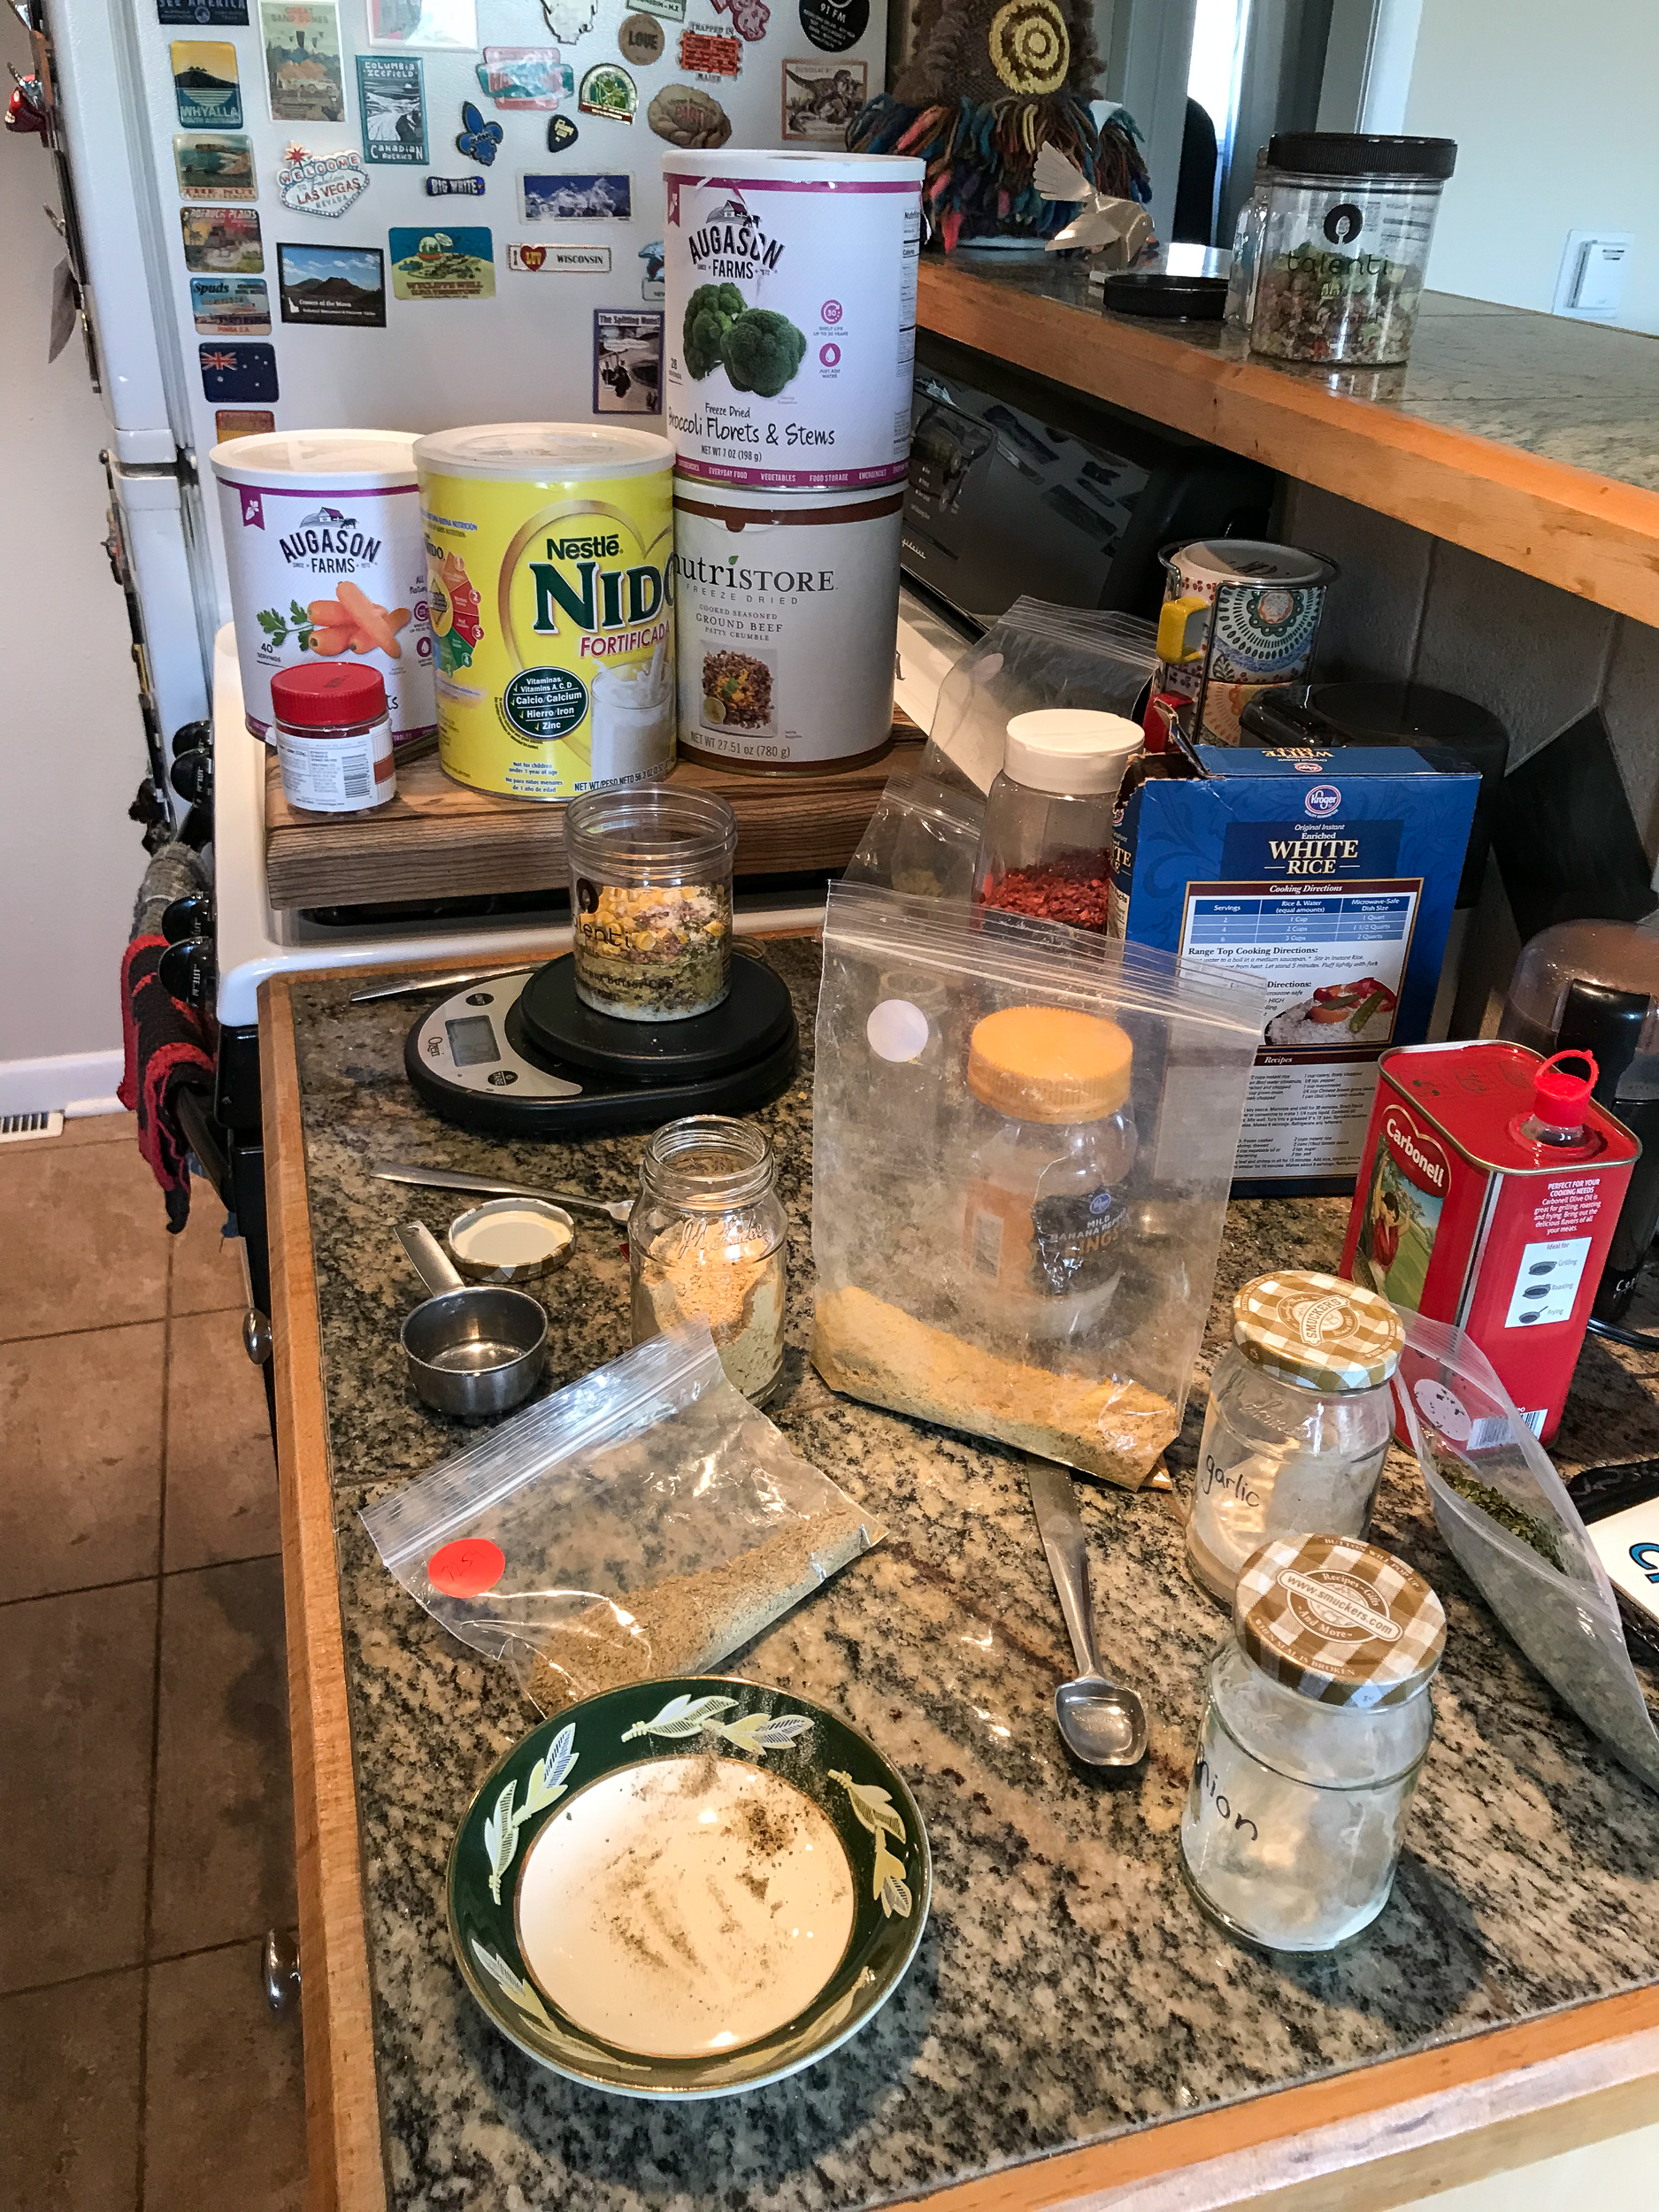
Mostly the mess is due to the food. We’re making all of our meals due to K’s gluten allergy (more info and a recipe here). It’s a lot of work to do ahead of time but it’s also pretty fun, put on some tunes and get a production line going.

Biggest change from previous backpacking trips is we’re going no cook. At least that’s the plan. Seems doable from the comfort of our home but time will tell how I feel after ~70 days of cold soaking (don’t worry my stove will be on hand to send via resupply in case this plan goes horribly south).

2 months of maps 😍

2 months of maps 😍

Maps! Maps are maybe my favorite thing. Not just for backpacking but maybe also in life. K can attest to how long it took me to sort these out (too long) because I kept stopping to look them over. So pretty. So nice. Can’t wait to start using them.

The Pacific Northwest Trail

A version of this article appears on The Trek, which you can read here

I remember as a kid seeing a North Country Trail sign while hiking on Lake Superior. I asked my uncle where the trail went and when he said “New York to North Dakota” the idea of hiking that far both baffled and enticed me.

Since then thru-hiking a long trail has always been in the back of my mind as “something to do someday” but I never really had a plan (or time) on how to do it. Then 3 years ago when I was laid up with a broken ankle I stumbled across the book “Grizzly Bears and Razor Claims” by Chris Townsend. I devoured it. The Pacific Northwest Trail resonated with me: rugged, rough, remote. I became somewhat (ok, totally) obsessed with the idea of hiking it.

And just over a month from now I’ll be starting the PNT. Hell. Yes.

IMG_1315.jpg
PNT+Profile.jpg

Why the PNT?

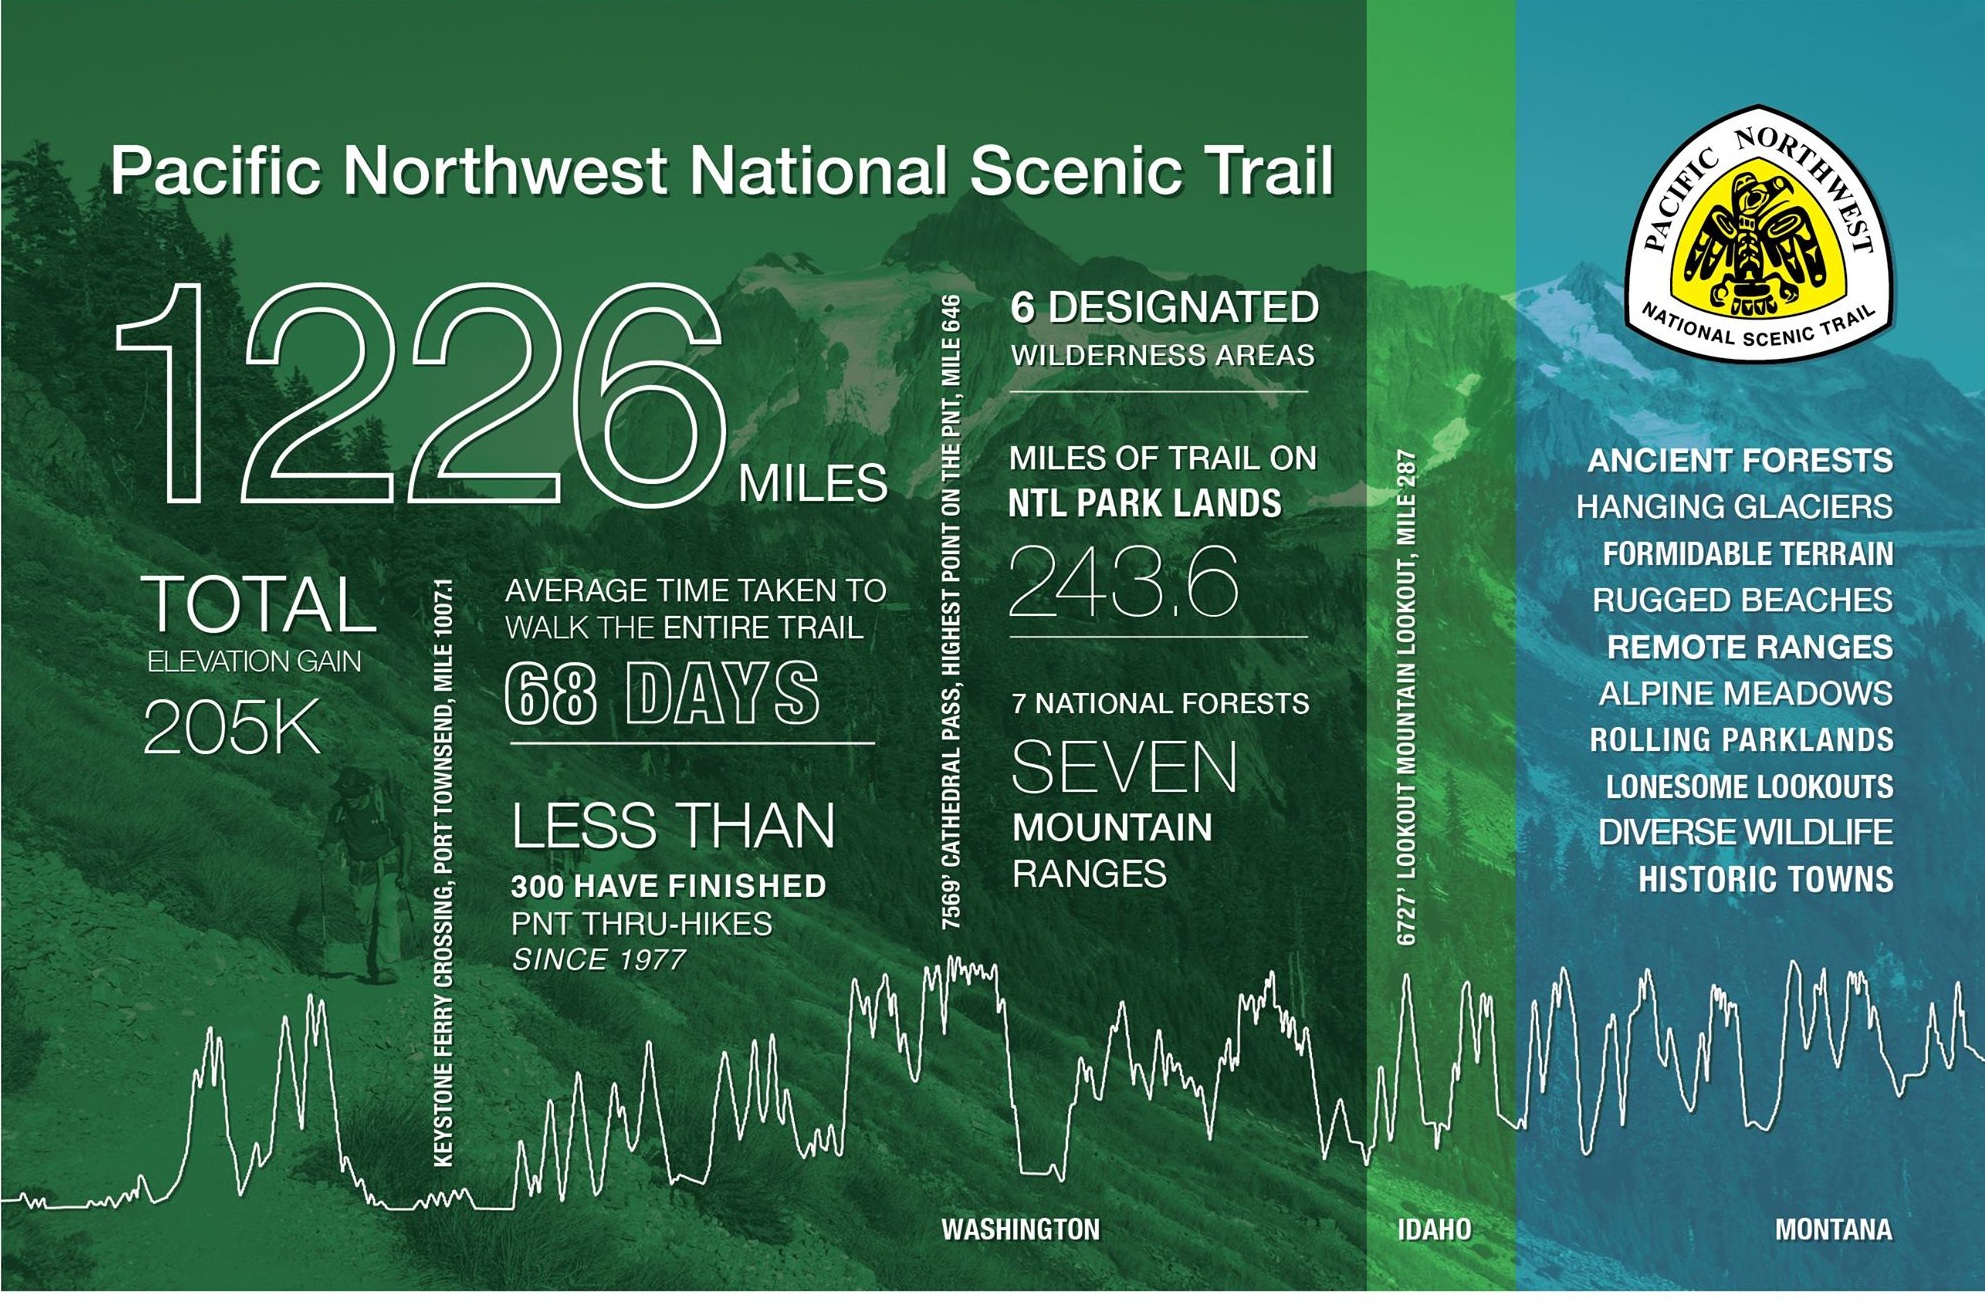
The PNT has all the things I love about backpacking: navigation challenges, undeveloped sections, bushwacking and solitude. The length is perfect for my 3 month timeframe, the trail typically takes 2-3 months. These are the reasons why I’m choosing the PNT over some of the more popular trails like the AT or PCT. Plus, I love the scenery and the vibe of the Pacific Northwest and am excited to spend the summer walking across it.  

Having a lot of experience backpacking I’m confident in my backcountry skills, but that’s not to sound naive. According the PNTA less than 300 people have completed the trail since its inception in 1977. It’s going to be tough. Really tough. It will test me. It might even break me. All part of the adventure. Let’s do this.

Cold Soak Recipes

I spend a lot of time in the winter scheming up new ideas for my summer trips. Usually these involve lightening pack weight and spreadsheets. Oh how I love my spreadsheets.

This winter’s obsession was cold soaking. Yup it’s what it sounds like: pour cold water on your food and let it sit and soak. No stove, no heat.

Initially I was intrigued, can this really be good? My philosophy for trail food is it has to taste good and be nutritious. I don’t want to eat ramen packets, pop tarts or anything else chock full of things I can’t pronounce. It shocks me what some people eat on the trail (to be fair it shocks me what most people eat in real life). I fully admit that I’ve been known to scarf down some less than “clean” food without shame, I just don’t want this to be part of my plan before I head out on the trail.

The mad scientist’s lab

The mad scientist’s lab

coldsoak-0949.jpg

What got me onto the cold soak train was thinking about how much I actually use my stove. I realized that on my most recent trips I’ve only used it once per day, at dinner time. I gave up making a hot drink at breakfast a while back to save time and I’ve always, even at home, eaten my oats uncooked. Seemed like a lot of weight to carry fuel, stove and a pot around for just once a day.

Tower of power

Tower of power

There are lots of good companies out there that make pre-made cold soak meals but I’m frugal and enjoy making up my own meals, so my winter goal became to create a nutritionally balanced menu with high caloric density that I actually want to eat. Oh and it has to be gluten free too since K can’t handle the gluten. I was hoping to get 4 solid meals, seemed like a good rotation for an 8 day or less trip: each meal twice... I ended up creating 6, they are: Thai Peanut Rice, Southwest Beef and Corn w/ Rice, Thai Cashew Green Curry Rice, Beef and Corn Chowder, Pea/Walnut/Carrot Salad, Almond/Broccoli/Cranberry Salad.

All of the dinners vary slightly in weight and calories; however, the average of the 6 is 140.09 cal/oz and 6.92oz each, about 970 calories per meal.

Most of the ingredients I buy in bulk and a good rainy spring day activity is mixing up a bunch of meals at once. Then when I decide to go on a trip I can grab and go from the cupboard.

The cost for each meal varies, but they are between $2.61 - $4.78 per serve and pack more calories than most packaged meals. The beef is the premium ingredient costing about $2/meal, if I were to go vegetarian the costs would be $2.61-$3.69 per meal.

Below is the Thai Cashew Curry recipe, this one costs $3.07 when buying in bulk. I’d love to hear your thoughts if you make it, I’m always open to improvements!

Screen Shot 2019-05-23 at 2.58.24 PM.png

My Sub 2lb Camera Setup

As much as I like to shed weight heading into the backcountry it’s also the time I want the best camera possible.

Sub 2lb set up

Sub 2lb set up

Over the last few years I’ve experimented with the balance of weight and image quality. On shorter trips, like weekend trips or day hikes, I’ve taken full frame cameras such as the Canon 5DS R, Sony A7Rii and Nikon Z7. A full frame camera is an amazing tool to have in the backcountry but the weight penalty comes at a premium. The only one I’d consider on a longer trip would be the lightest of the 3 above, the Sony A7Rii (or A7Sii if I was shooting more video) weighing in at 22oz w/ card and battery. Weight aside I just really love the Sonys and already use them for non-backcountry travel and professional shoots.

Which brings me to my current solution for a balance of weight and quality: the Sony A6000. There are newer models (A6300, A6500) with extra features but ever the frugal guy I was able to get a used A6000 with a low shutter count for a bargain.

Photos w/ Sony A6000 and Zuiko 28mm f/2.8 lens

The A6000 has an APS-C sensor which isn’t as nice as full frame but in high light for outdoor shooting I feel it does a great job. And it only weighs 11.6oz with battery and card (no body cap). 11.6oz!

Lens-wise my preference is to use a prime lens. I think the image quality is superb and they are typically lighter and faster than zoom lenses. There are drawbacks like a fixed focal length, but I mostly take landscape photos and it ends up not being a big deal for me. If I wanted to take wildlife photos I would definitely look into a zoom.

Again, being a frugal guy I tend to be an opportunist when it comes to lenses (and everything in life). The lens I take with me is an old Olympus Zuiko 28mm f2.8. Yes. That’s what I take. I picked it up at a consignment shop for $20 (they tend to run $50-$75 on eBay). All manual everything. With the crop factor of the Sony APS-C sensor (x1.5) the 28mm becomes a 42mm (if I lost you crop factor explained). To me this lens packs quite a punch for its compact size and the weight isn’t too bad at 6.2oz.

My $20 Zuiko 28mm f/2.8

My $20 Zuiko 28mm f/2.8

The downsides are the OM to Sony adaptor weighs another 3oz, no auto focus and it’s a sort of atypical focal length for landscapes. I’ve been considering getting a wider lens, something between 18mm and 28mm, and probably will but it’s hard to justify spending the money.

Outside of my camera setup I love the Peak Design Capture clip. To have my camera on my shoulder strap ready to shoot photos means I use my camera a lot more. It’s actually easier to access than my phone.

I also take the Pedco Ultrapod. The tripod is great for long exposure photos (astrophotography)  and low light situations (morning, dusk) and I trust it with a lot of weight. If you need a tripod it’s great, but I’ve been finding that I rarely use it and, at 4.2oz, would consider leaving it at home when I’m counting every ounce. It’s not that hard to find a rock or a log to balance the camera on the rare occasion that I use it.

A breakdown of my typical backpacking camera setup (*new version of Capture Clip is even lighter than mine!):

camera setup

Utah with the Nikon Z7

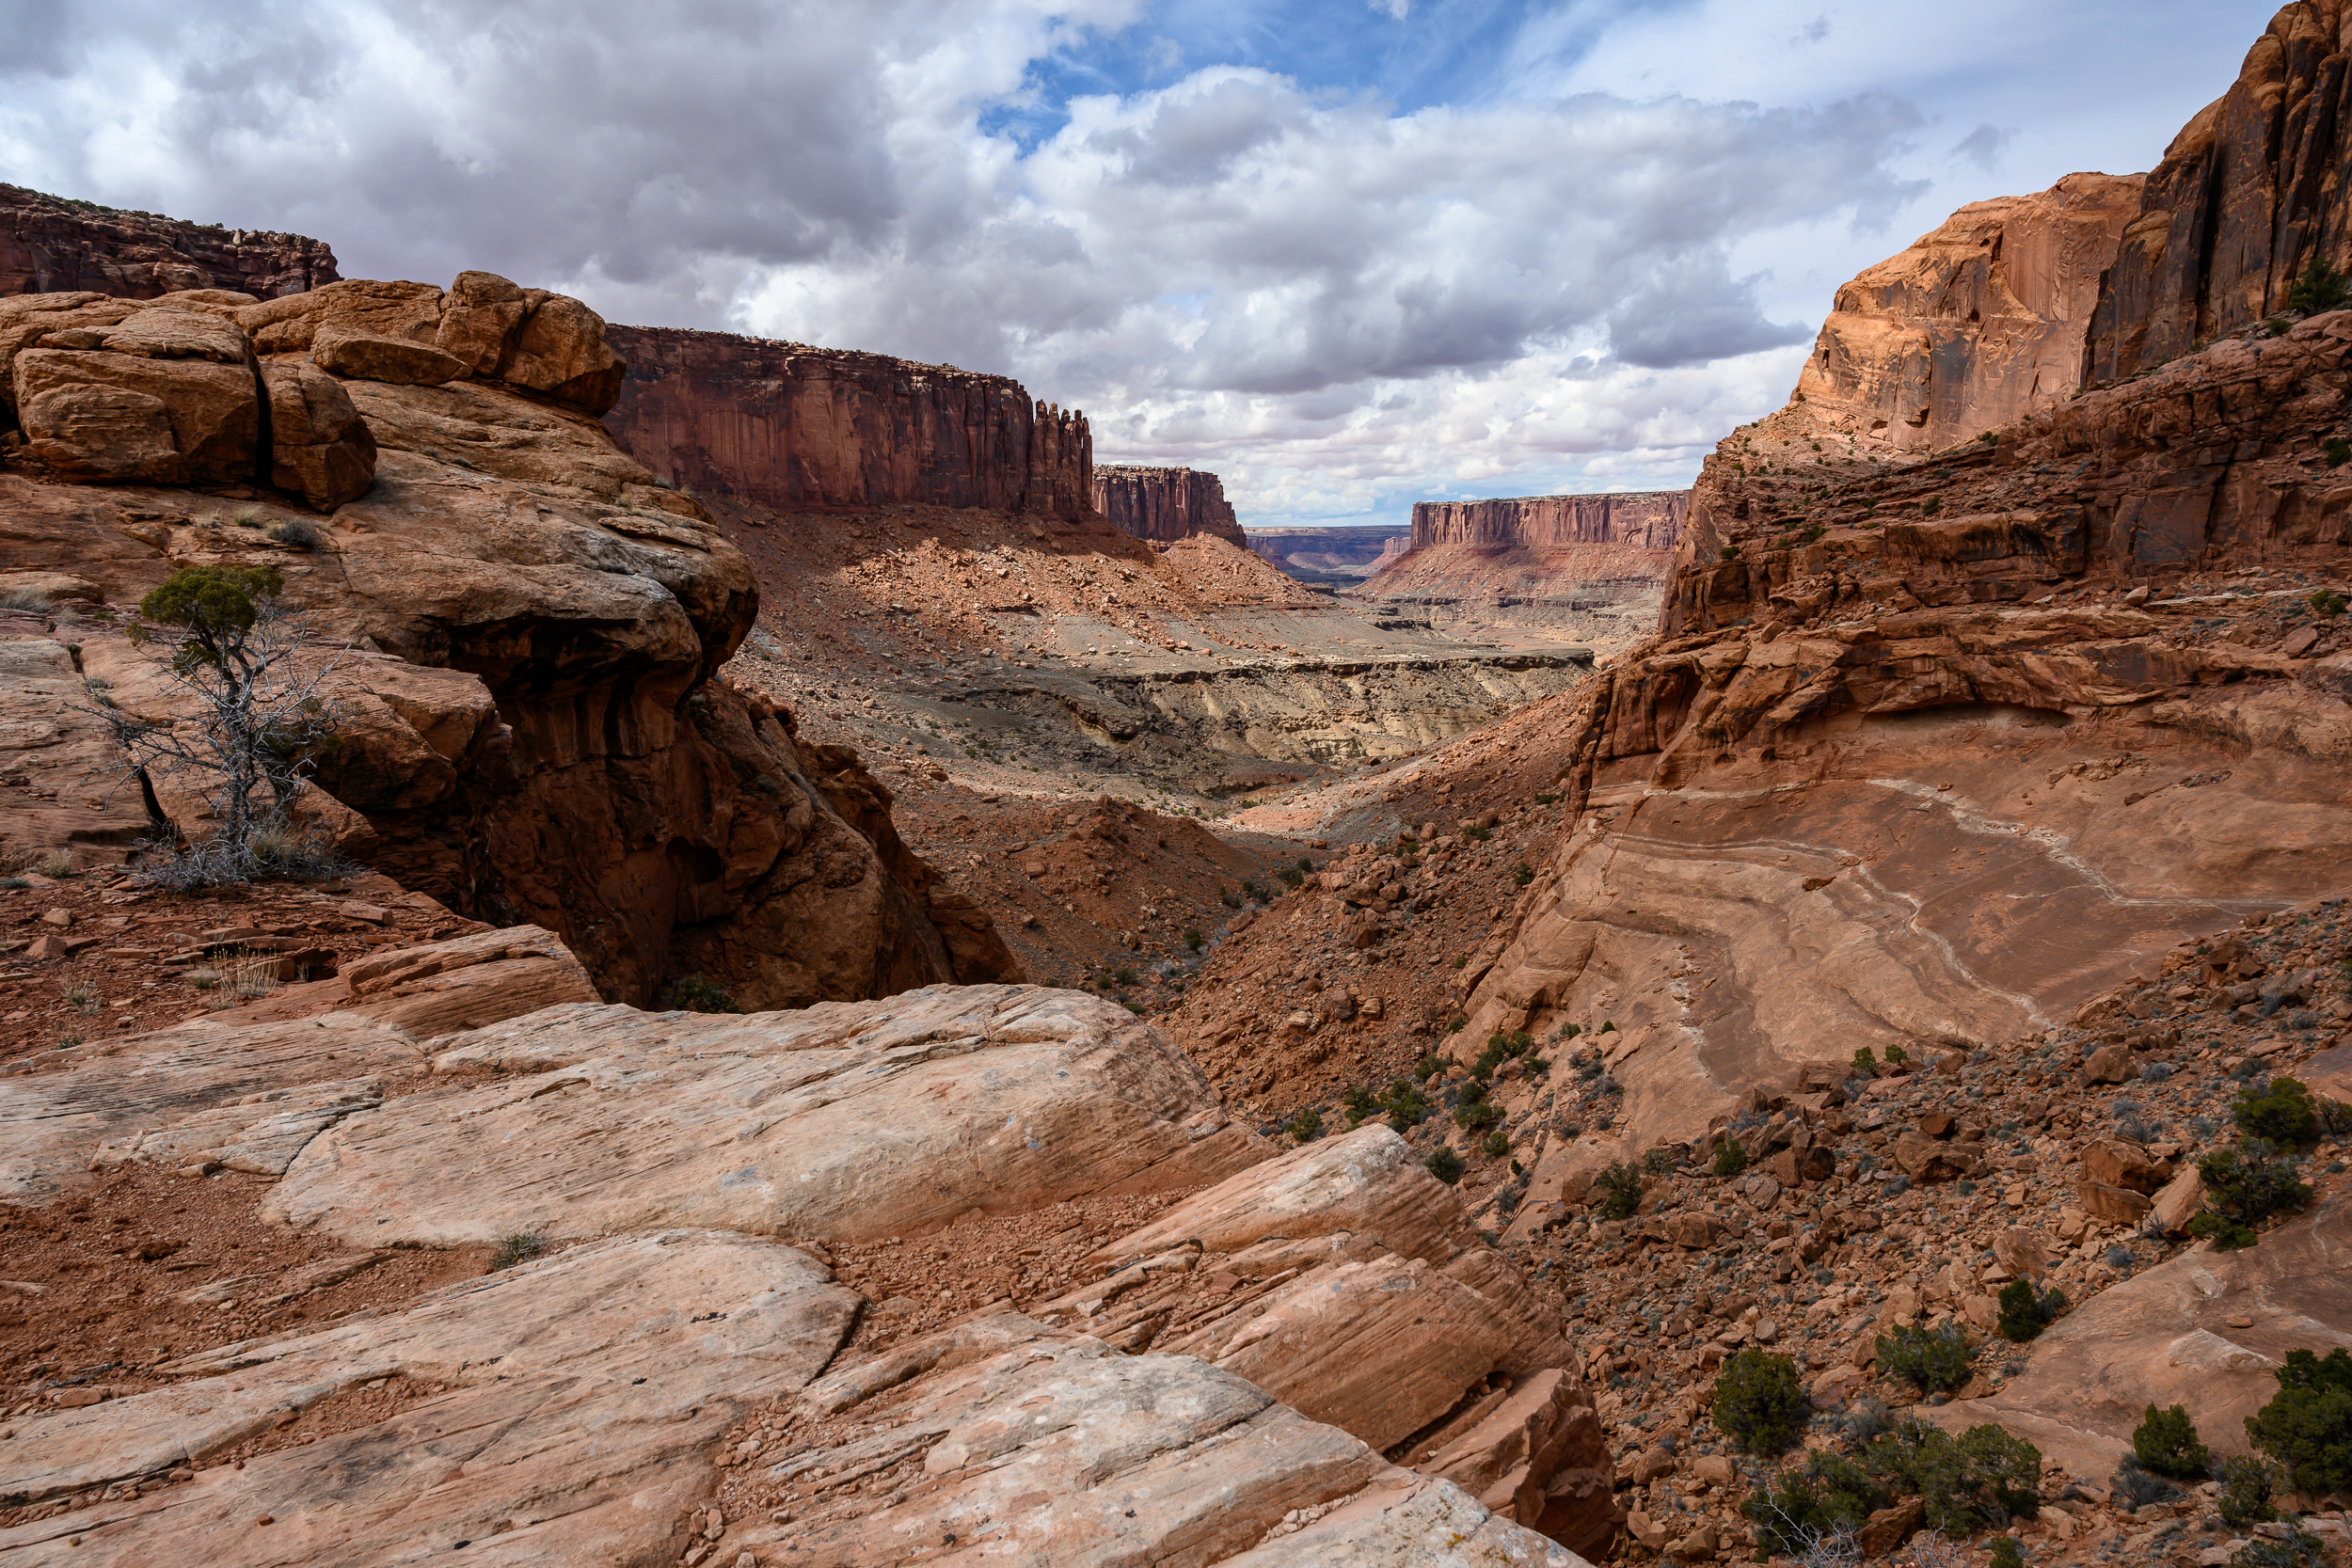
We blast over the divide and into Utah for a long weekend and find a truly stunning camping spot overlooking a canyon just outside of Canyonlands National Park. We might end up just sitting here the whole weekend.

Moab-0402.jpg
Moab-0385.jpg

I was able to score a Nikon Z7 w/ Nikkor Z 24-70mm zoom lens to test for the weekend. All photos from this post are taken with that camera, and more detailed review follows (warning, I’m not a gear junkie, it’s more of an aesthetic review than a technical).

We do end up leaving the camp to do the Syncline Trail in Canyonlands NP. This trail is awesome. It circles the Upheaval Dome, the origin of which is unknown (cool). First we hike down into a canyon and along a riverbed, then up a boulder field and back to the start. It’s certainly my kind of hike: the trail isn’t always obvious, scrambling required, lots of up and down through amazing scenery and very few people.

Moab-0127.jpg
Moab-0137.jpg

The Devil’s Garden & Primitive Trail in Arches NP also has the scenery but is much more popular. The Devil’s Garden Trail is very busy, makes sense there are a ton of arches in a short span. For being a popular trail in a National Park I’m pleasantly surprised by the ruggedness of some sections, especially the ones walking on and over rock faces. Taking the Primitive Trail makes this hike a loop (yay!) and adds more of a challenge with steep rock climbs and less obvious trail. Despite the warnings of such our hike on this trail turns into more of a rescue mission. K pulls an 80 year old woman up a rock face (kudos to her for making it that far!), I guide a group of hikers down a steep section of rocks and we help a number of people re-find the trail. It’s kinda fun, makes me feel like I know what I’m doing.

Moab-0219.jpg
Moab-0326.jpg

One of the days we switch it up with a bit of 4WDing down the valley we are camped by and under a giant rock. We also explore Moab a bit - I found a $4 flannel shirt in a thrift shop, that’s my highlight from town.

Moab-0283.jpg

On the way back to Boulder we stop to do the Professor Creek and Mary Jane Trail. The trail follows a creek up a deeper and deeper canyon and ends with a waterfall (we didn’t go that far, just to the canyon). It’s really fun to splash through the creek. There isn’t really a trail and we end up follow footprints in the sand to make sure we are going the correct way. It would be easy to get lost in these canyons and if it was raining a flash flood would be dangerous here. Getting back is easier, just follow the main branch of the creek back the way you came.

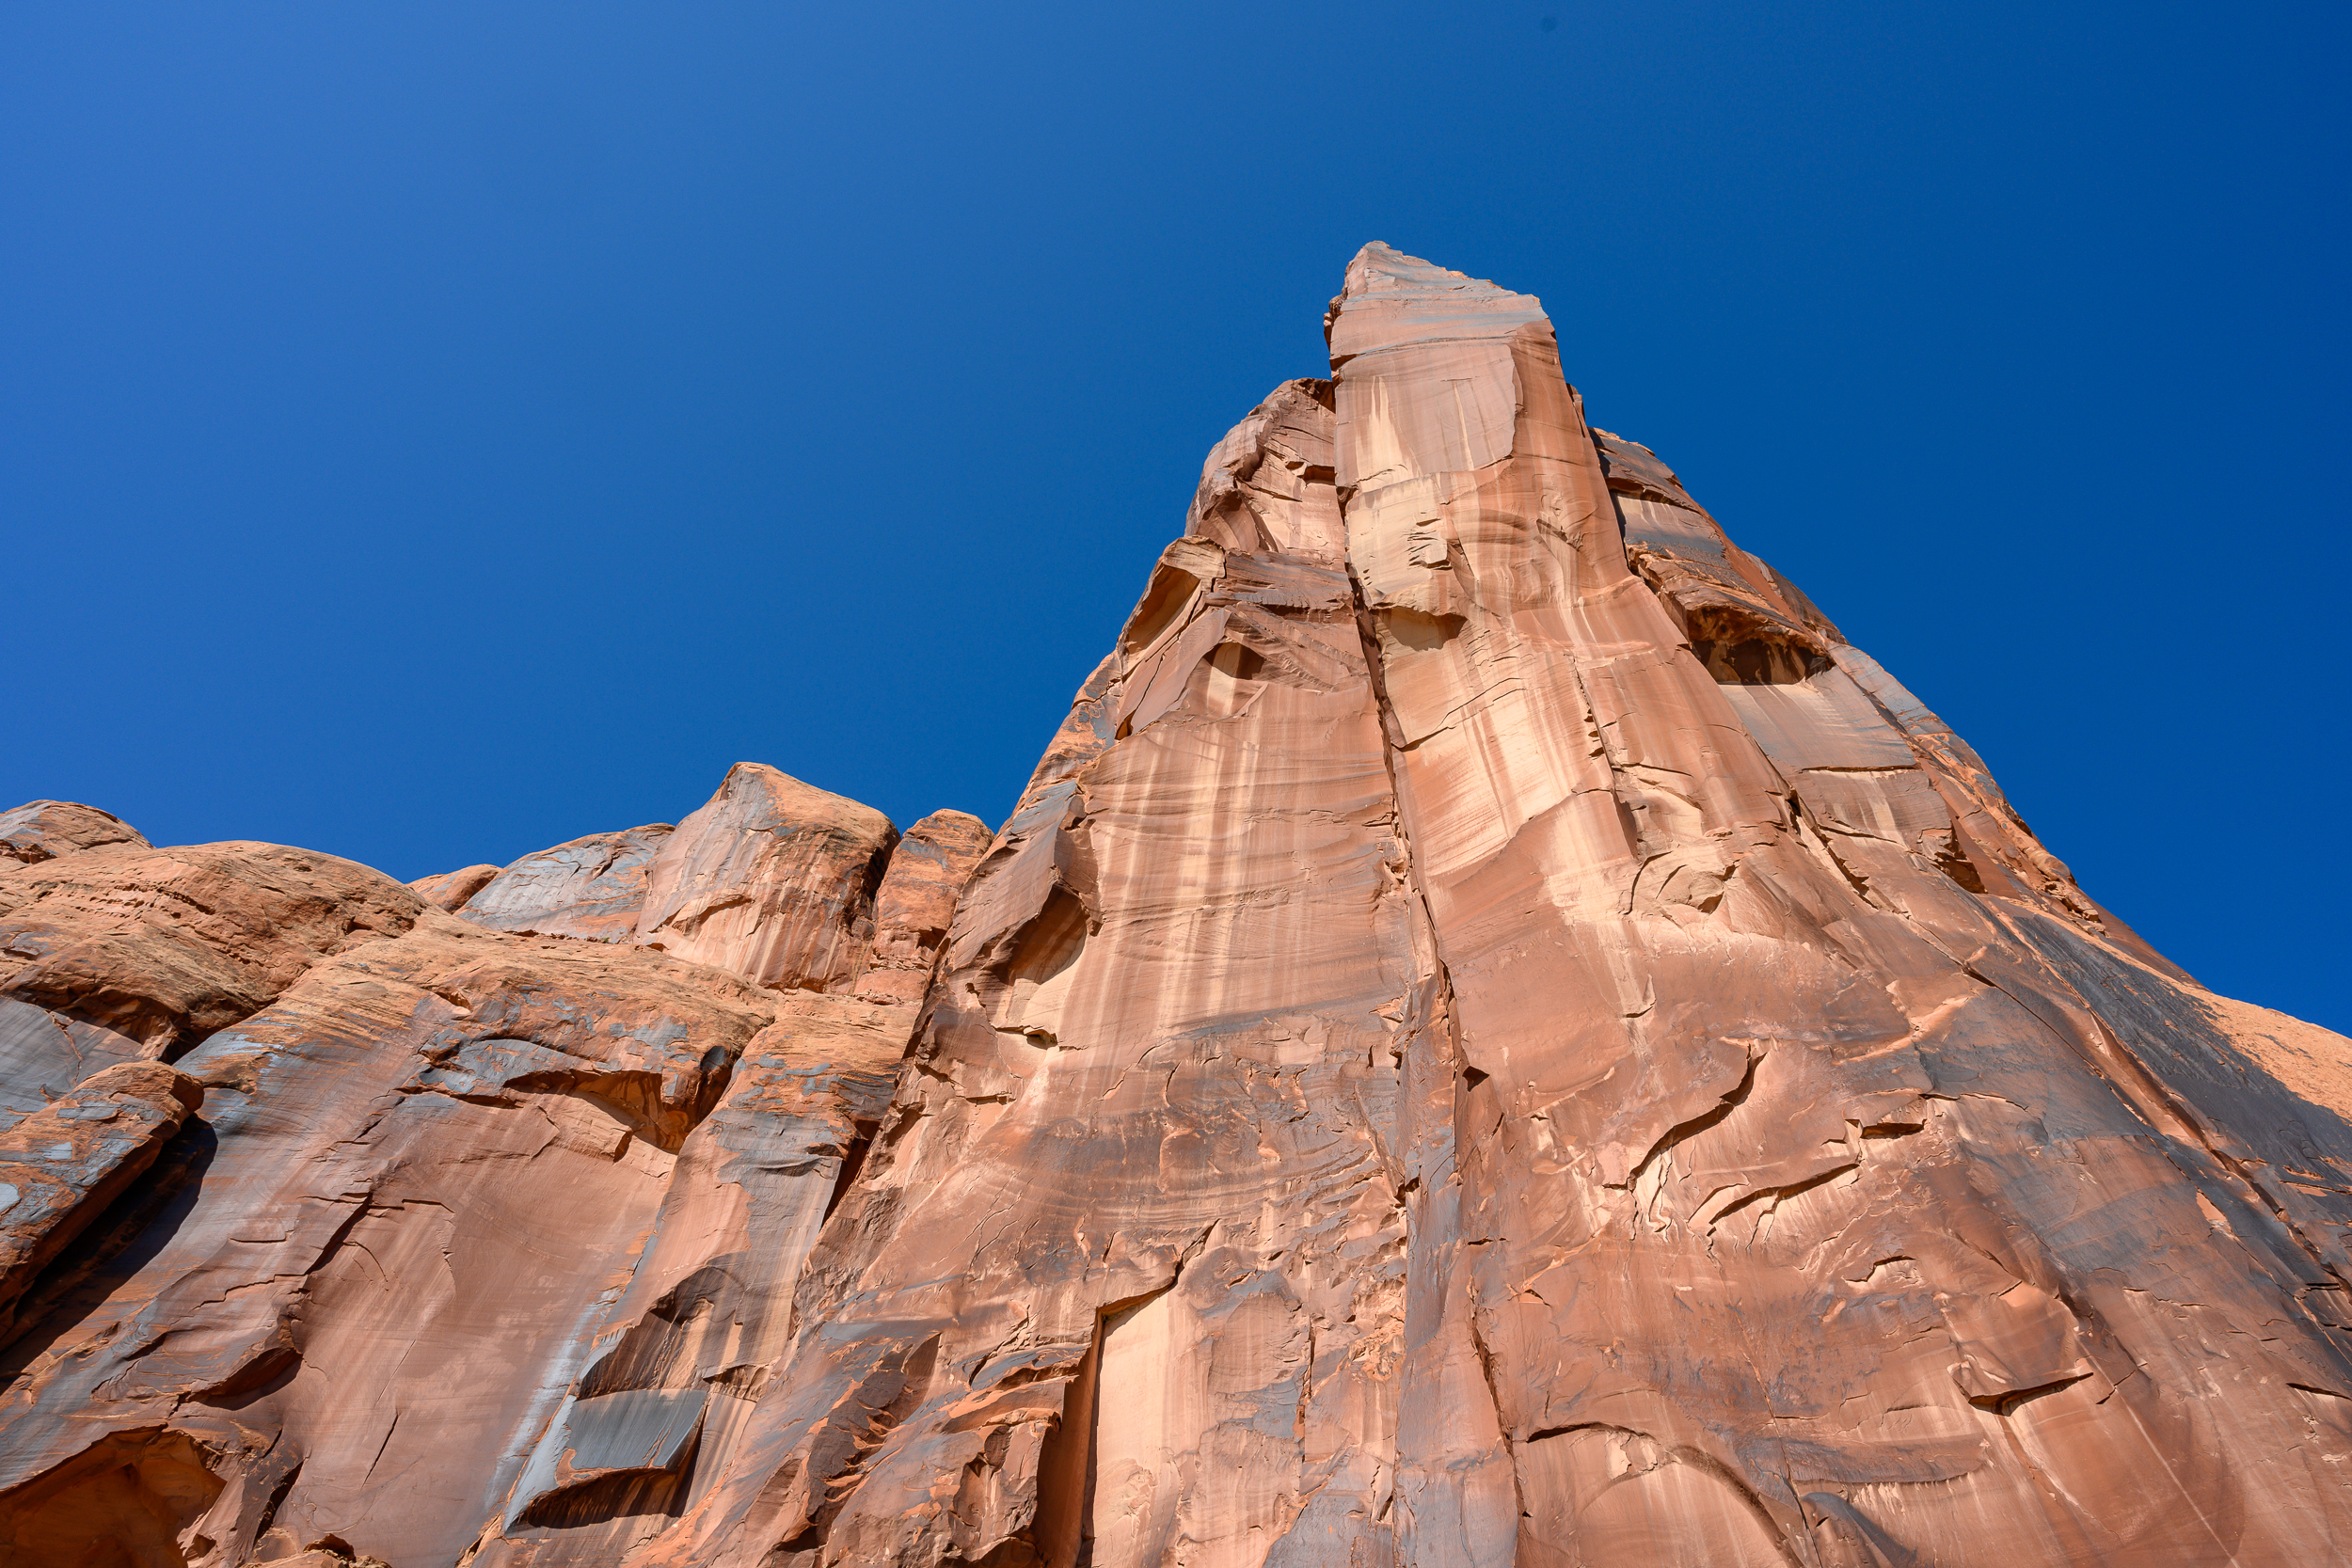
Using the Nikon Z7 for the weekend was a fun treat (my primary cameras for hiking & backpacking are the Sony A6000 or Sony A7R ii). I don’t often use zoom lenses so I had to retrain myself how to take photos. I don’t have to walk around to get different shots, I can zoom! As fun as the zoom is I really enjoy using prime lenses, I feel like they are more “natural” to how my eyes perceive the world. Due to habit most of the pictures in the post are taken at 24mm, the widest the lens goes, because I forgot the lens could zoom. The exceptions are the shot with the car which is at 38mm and the shot of the arch which is at 36mm.

The camera has a nice feel in the hand, the grip is more robust than the Sony’s, and has a nice look to it. I’m not fully dialed in with the Nikon control menus but I found it easy to navigate and use when I wanted to change settings. For the kit lens I found the Nikkor 24-70mm to take excellent pictures. The biggest con for me is the weight (why I love the Sonys so much), I think the Z7 would be good on day hikes but it would be too much for a longer trip.

If you go:

Moab-0181.jpg

Winter Walk to Emerald Lake

Emerald Lake-01462.jpg

It seems like I never go to Rocky Mountain National Park in the summer (not to hike anyway, we’ve driven the Trail Ridge Road a couple of times). I suppose it makes sense; it’s less crowded in winter and in the summer I’m usually backpacking somewhere I don’t need permits or to plan months in advance.

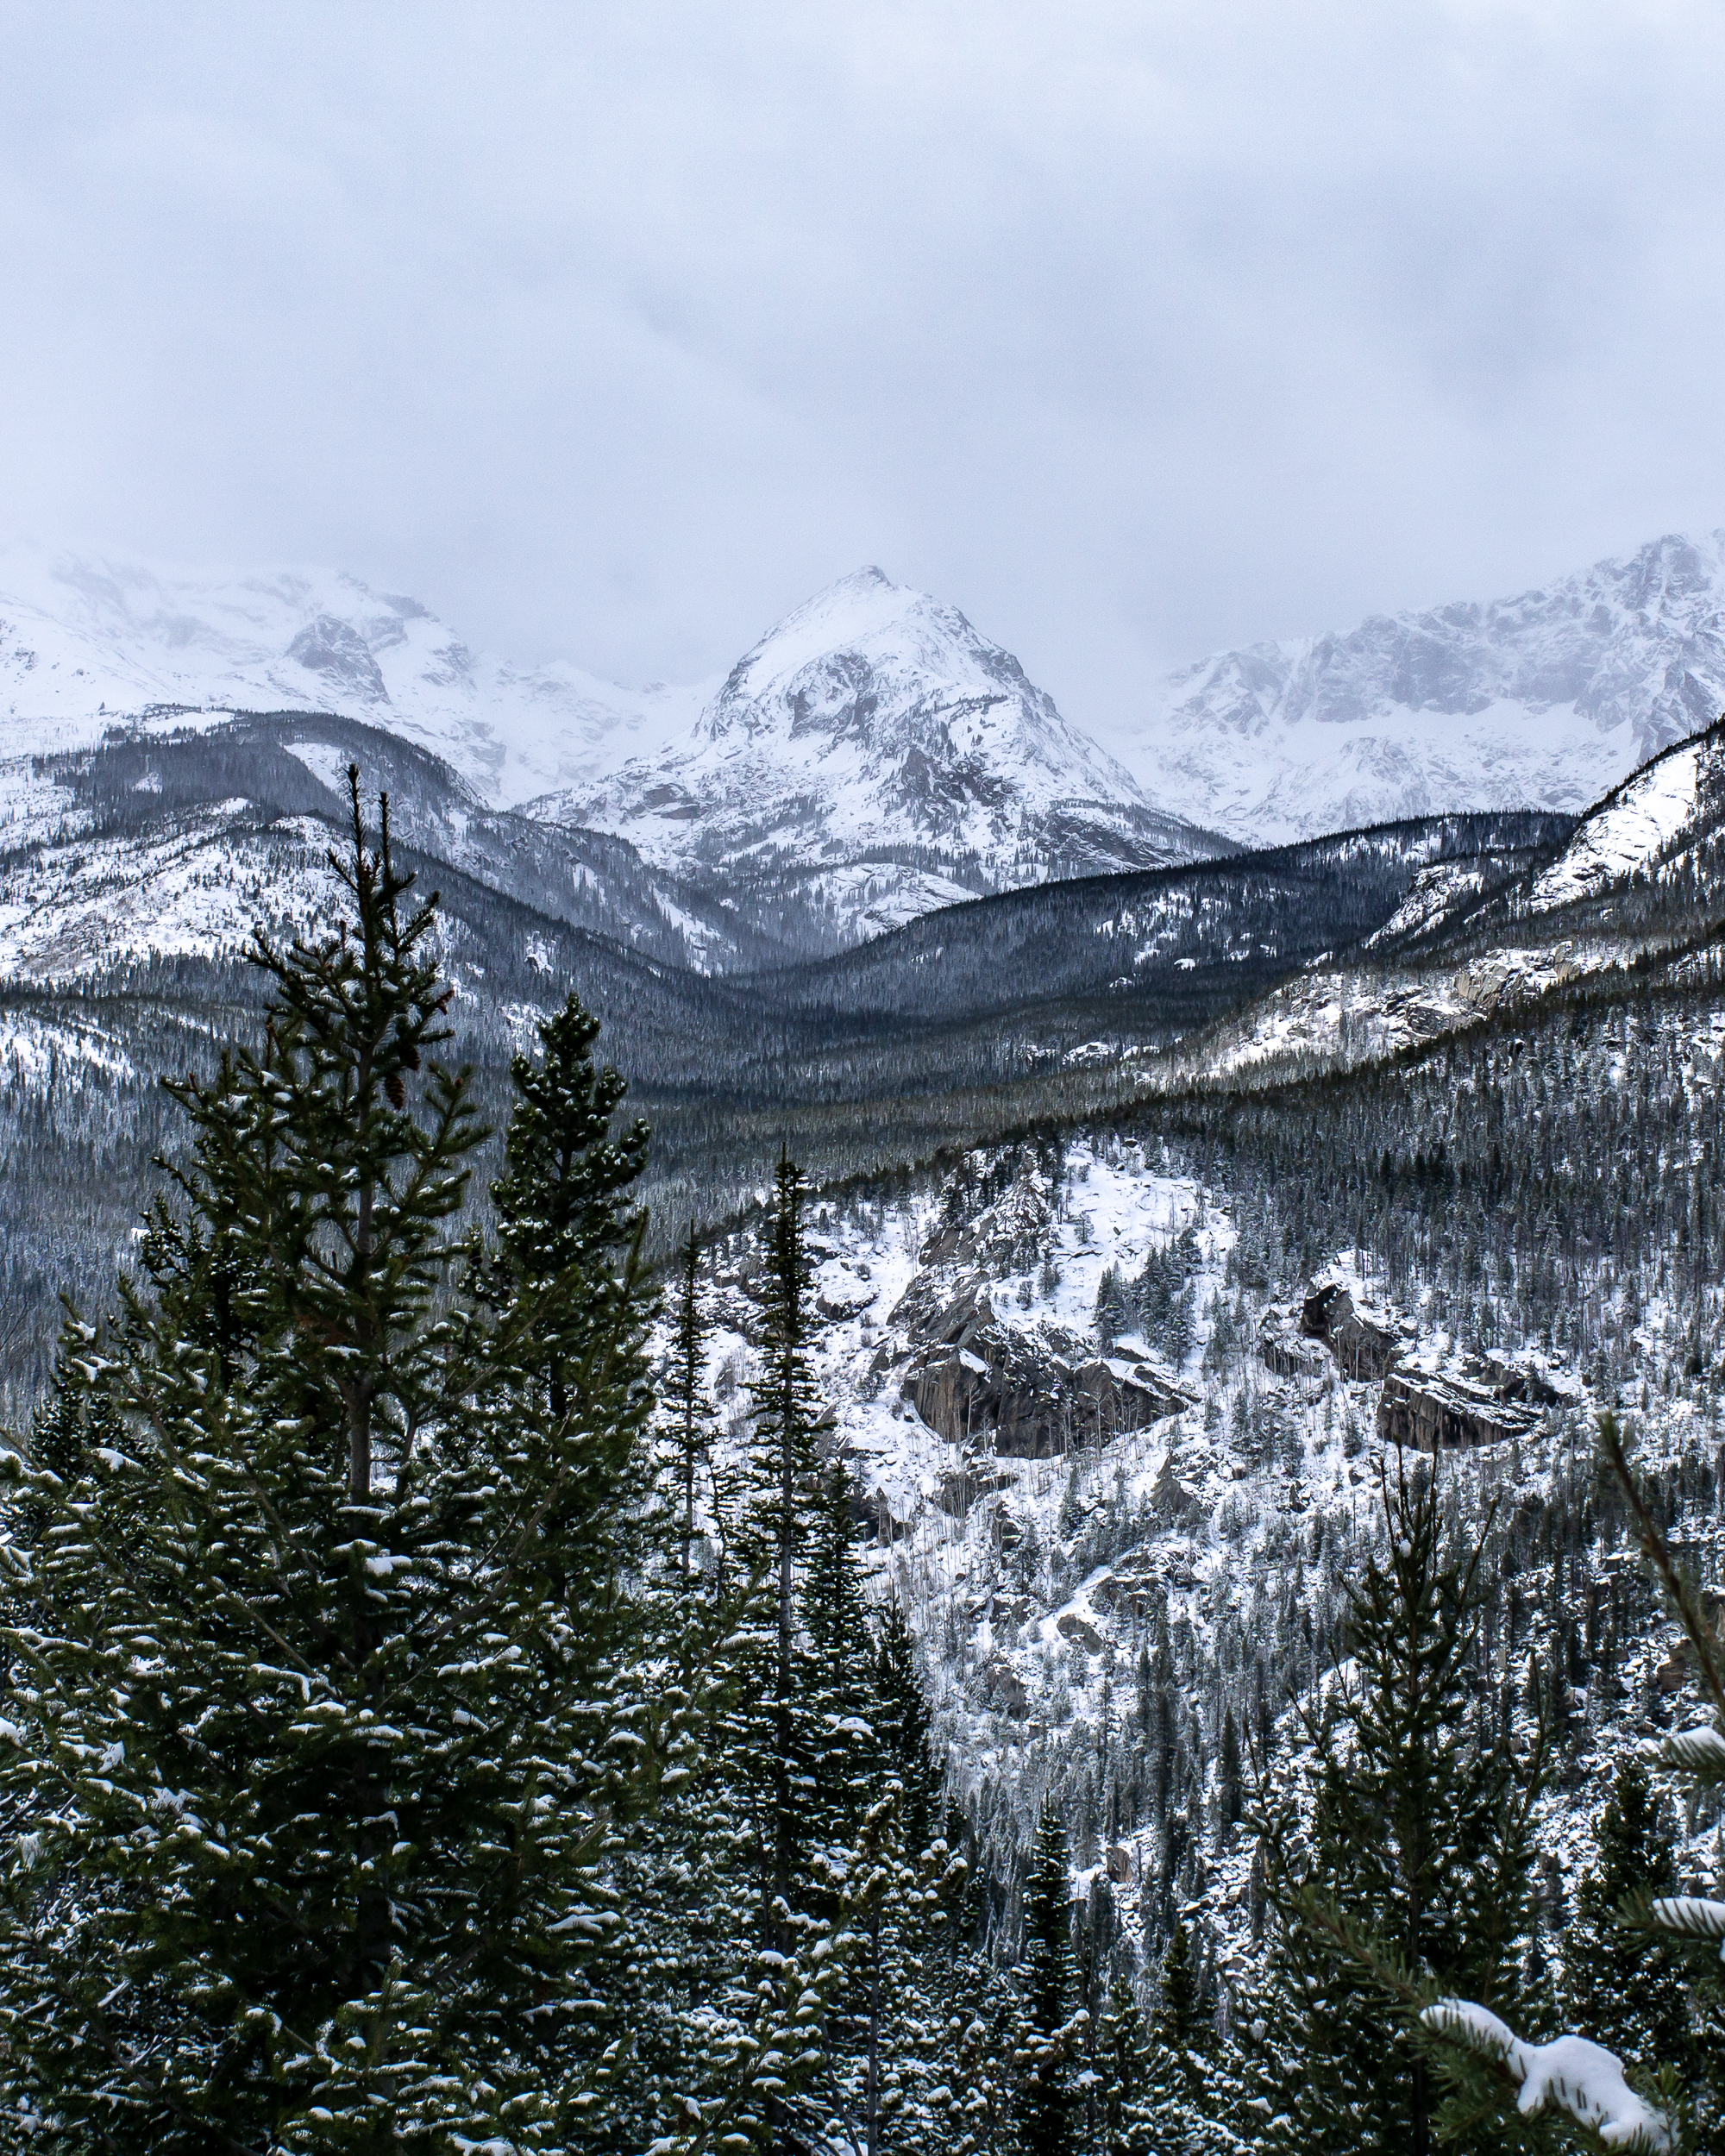
Anyway - Emerald Lake. It’s one of the more popular hikes so even though there was a ton of snow we didn’t need snowshoes, just microspikes, since the snow was packed down. It was super windy at Emerald Lake (I suspect common) but the sunny skies made it feel much warmer. For a short, ~3 mi out and back hike, it was nice to get out into the mountains, even if it’s only for a few hours.

If you go: